14
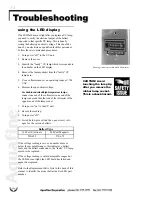
using the LED display
If an LED bulb does not light after you replace a UV lamp,
you need to verify the electrical output of the ballast
connected to that specific UV lamp. This is done by
testing the ballast open circuit voltage. This should be
done by an electrician or qualified facilities personnel.
Follow these recommended procedures:
1. Turn power “off” to the UV unit.
2. Remove the cover.
3. Identify the “faulty” UV lamp which corresponds to
the number on the LED display.
4. Remove the lamp socket(s) from the “faulty” UV
lamp base.
5. Use a voltmeter and set an operating range at >700
VAC.
6. Measure the open circuit voltage:
For double-ended/and high-temperature lamps:
connect one end of the voltmeter to one end of the
lamp socket and the other end of the voltmeter of the
opposite end of the lamp socket.
7. Turn power “on” to the UV unit.
8. Record the reading.
9. Turn power “off”.
10. Listed below please find the open circuit volt-
ages for the various ballasts:
If the voltage reading is zero or a number above or
below the acceptable ranges, this indicates a ballast
fault, and the ballast connected to the “faulty” UV lamp
must now be replaced.
If the voltage reading is within acceptable ranges but
the LED does not light, the LED board has failed and
needs to be replaced.
Refer to the Replacement Parts Lists in the back of this
manual to identify the proper ballast and/or LED part
number.
CAUTION! Avoid
touching the lamp tip
after you remove the
rubber lamp socket.
This is a shock hazard.
120 Volt Electronic
240 Volt Magnetic
550-650
575-675
Ballast Type
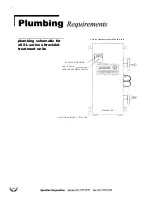
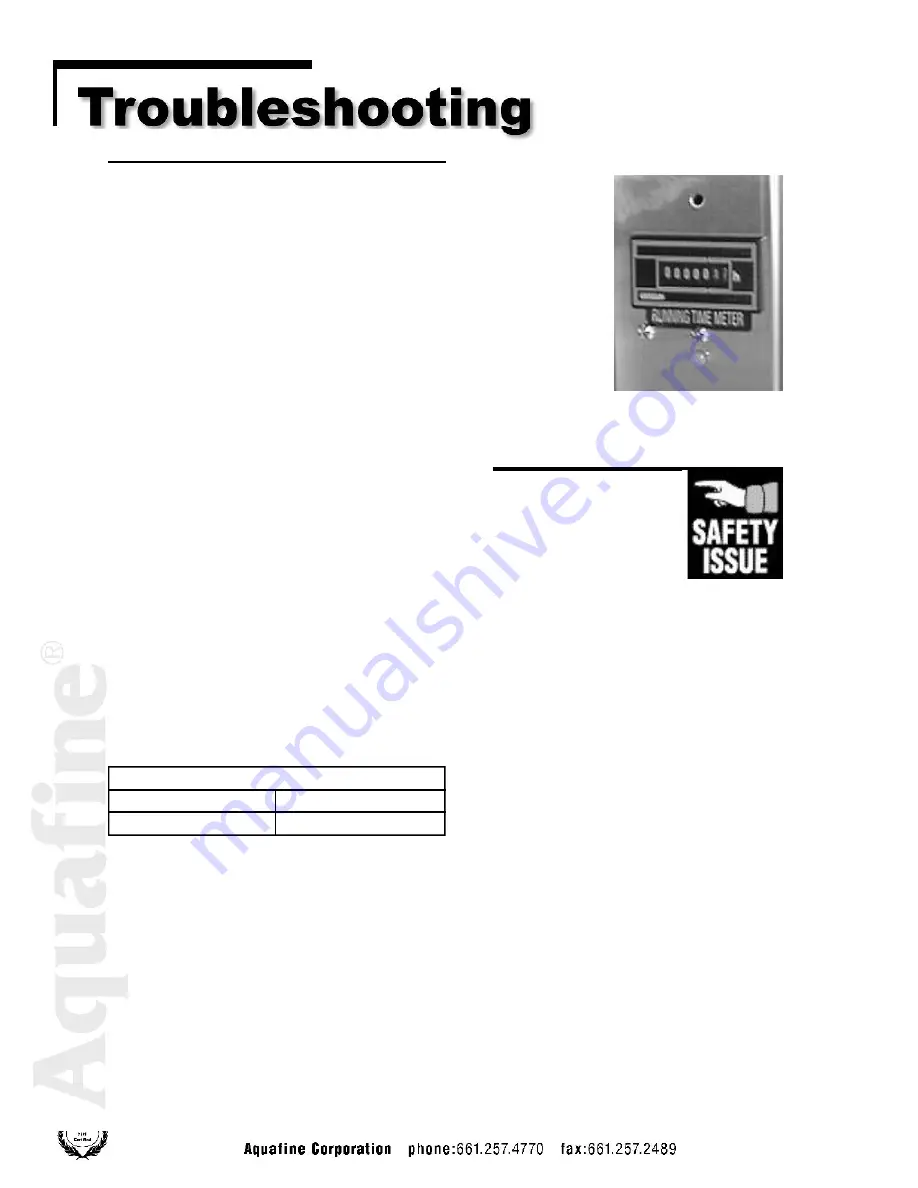
Running time meter with lamp LED indicator.
Содержание MP-2-SL
Страница 2: ......


