11
After each fi ve or so runs and or after a day of running it’s a
good idea to relubricate the drive cable. Here are the tools and
supplies you need to complete the task.
10mm open end wrench
12mm open end wrench
AquaCraft GrimRacer Speed Grease
Paper towel
6.
Loosen the cable coupler using the 10 and 12mm wrenches.
7.
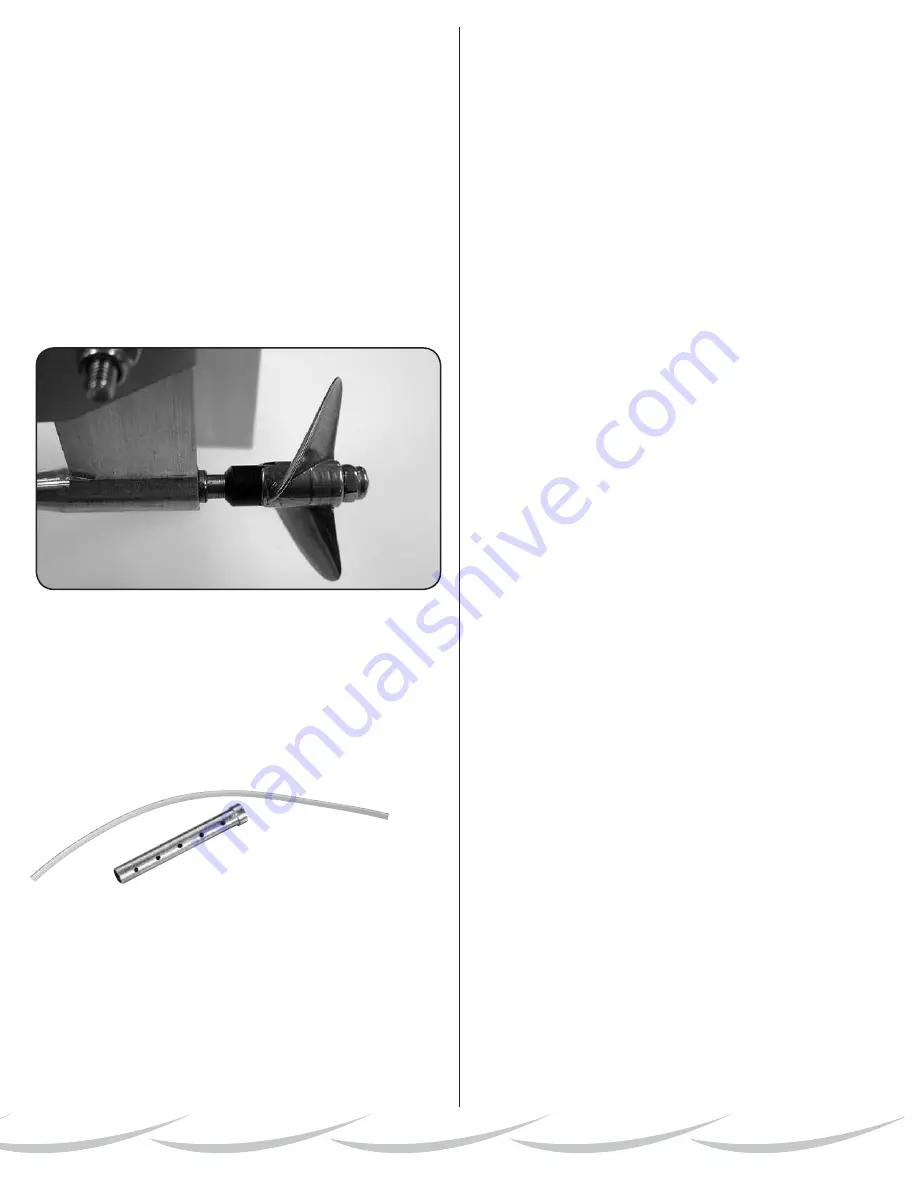
Firmly pull the prop and drive shaft out of the back of the
boat. Now is a good time to inspect the bushing for excess wear.
8.
Wipe away any old grease and water. Apply new speed
grease to the shaft and slide it back into the strut, moving it in
and out as you do so to help spread the grease along the length
of the cable.
9.
Before tightening the cable coupler make sure to leave a 4 or
5mm distance between the back of the strut and the front of the
drive dog. This will keep the drive system from binding or breaking
as the cable operates. Tighten the cable coupler, reversing the
direction of the open end wrenches.
DO NOT OVERTIGHTEN.
NOTE:
The drive cable is supported by the brass stuffi ng tube
which has a low friction liner. The prop shaft (or “stub shaft”) is
hard-soldered to the fl exible drive cable and spins in a brass
bushing located in the back of the stuffi ng tube. The bushing and
liner should be replaced when they start to show wear.
AQUB7884 Prop Shaft Bushing
AQUB7869 .150” Cable Liner 10” (cut to length as needed)
At the end of the day make sure to leave the cowl off and the drain
plug out overnight. This will allow any moisture that collected in
the boat to safely evaporate.
TUNING TIPS AND PROP INFO:
“The Business End of the Boat”
Strut:
Tilting the strut down or lowering it tightens the ride of the
boat. A “tighter ride” will help stabilize the boat but at the risk of
more power consumption as well as a loss of speed. It’s also
important to note that this “tight ride” could cause the ESC and
or motor to overheat. Tilting the strut up or raising it loosens the
boat ride. This looser ride allows the boat to go faster but at the
risk of a blow off (the boat lifting off the water). It’s best to make
small strut adjustments and only make one small change at a
time.
Rudder:
The rudder can be tuned in a variety of ways. The most
important aspect is how sharp it is or you make it. Using a fl at fi le,
sharpen the leading edge of the rudder fi nishing with 400 grit, then
600 grit wet/dry sandpaper. You can also gain some performance
if you remove the lift the rudder makes off the bottom of the blade.
You can either round or sharpen the bottom of the blade as either
method works. Another important aspect is the angle front to
back of the rudder blade. Tilting the rudder back and forth also
changes the way the boat operates. Tilting the rudder under the
boat tightens the ride while tilting it back loosens it.
CG:
Adjusting the CG or center of gravity of the boat has a lot to
do with how tight the boat rides as well as the how the boat “fl ies”
as it enters and exits the water. Moving the battery packs forward
or rearward is the best way to adjust the CG.
Scuffi ng:
Scuffi ng is a tuning trick boat racers use to increase
the speed of their boat. Scuffi ng involves dulling the area/s of the
boat that touch the water as the boat is running. We like to use
a red scratch pad like the ones you fi nd in the paint section of
your local home supply store. Scuff the bottom of the boat to the
point the shine is removed from the paint. While this tuning trick
is mostly geared towards the hard core boat racer, sport runners
can benefi t from this as well.
WARNING:
GrimRacer says if you
scuff the boat and don’t like the way it looks, don’t come running
back to me for a new hull. I’m just trying to help you win some
races so don’t shoot the messenger! Now let’s go racing!
Props:
About the best we can do is help guide you to a better
performing prop. Ultimately how you drive and tune your boat
will determine the best prop for your racing program. Having
said that, we have found the GrimRacer 42x55 (AQUB9725) is
about the best overall prop for your Revolt. It is also advisable
that you balance your propeller when it is new and check it for
balance periodically. If you want to learn more about tuning props
check out some of the
How to Balance Your Propeller
link at
aquacraftmodels.com.
Содержание Revolt 30
Страница 1: ...aquacraftmodels com...


