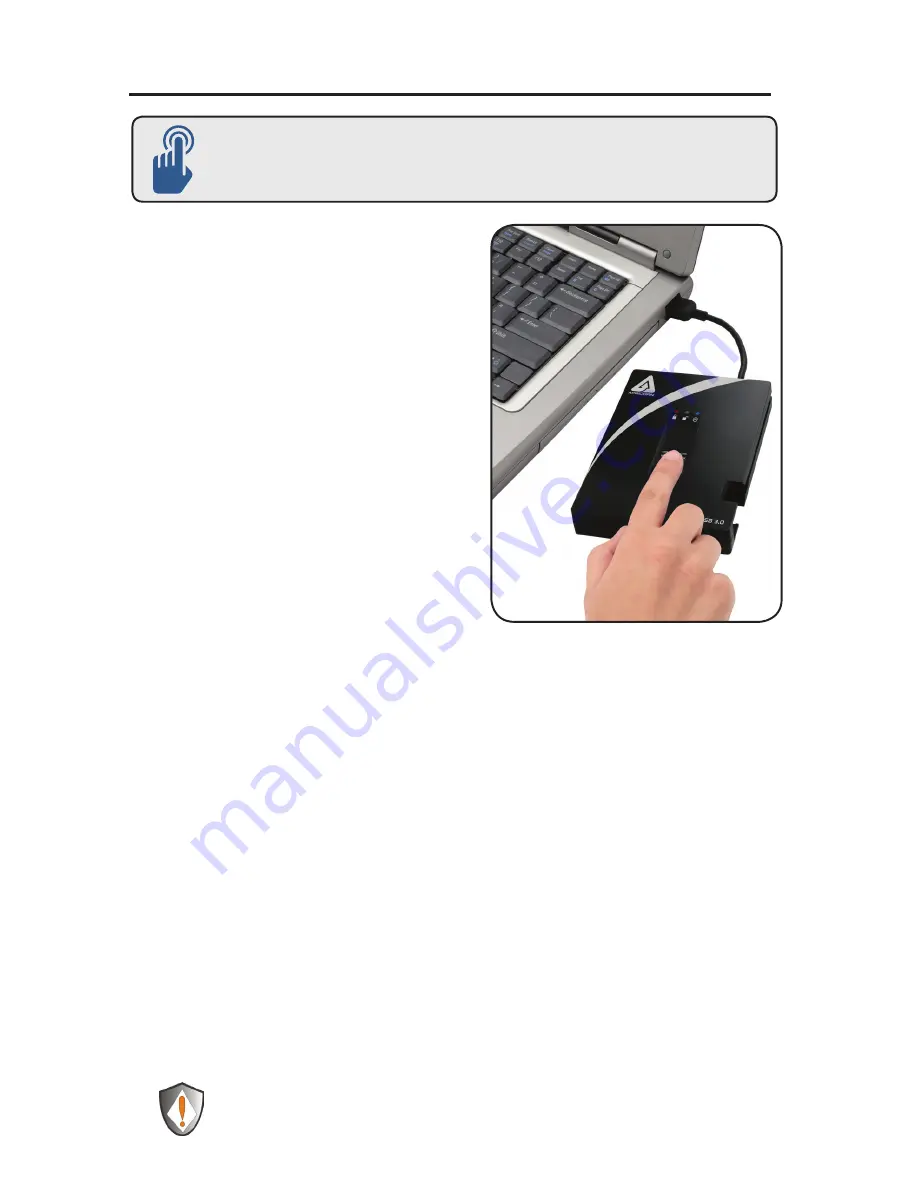
1.
Attach the integrated USB cable of
the Aegis Bio to an available USB
port on your computer. The Aegis
Bio LEDs will show Solid
BLUE
and
Flashing
GREEN
indicating that the
drive is ready to enroll your fingerprint.
2.
Swipe your Finger.
The
BLUE
LED
will turn off while the
GREEN
LED
starts to flicker briefly as the Aegis Bio
processes your fingerprint.
Wait until the
BLUE
LED turns back
to Solid
BLUE
and the
GREEN
LED
returns to its flashing state.
3.
Continue to repeat Step 2
until both
the
BLUE
and
GREEN
LED are
in a solid state, indicating that your
fingerprint is fully enrolled.
NOTE: The number of attempts will vary depending on the quality of
the fingerprint read. For most people six swipes will be sufficient.
If there is a problem with a fingerprint read, the
BLUE
LED will turn off and
the
RED
LED with start to flash.
4.
To enroll more fingerprints, press the ENROLL button within 15
seconds from your last successful fingerprint enrollment and repeat
the process in steps 2 and 3.
NOTE: A maximum of 5 fingerprints can be stored. There is a 15 second
timeout between entering fingerprints. If the
ENROLL
button is not pressed
again after the last fingerprint, the unit will assume no more fingerprints will
be entered and return to a standby state.
Once 5 fingerprints have been stored, all three LEDs will turn on. After 2
seconds the
GREEN
and
BLUE
LED will turn off with just the Solid
RED
LED showing. At this point no more fingerprints can be enrolled.
NOTE: Once enrolled, fingerprints cannot be un-enrolled
individually. To remove enrolled fingerprints, a complete re-set
of the drive is required.
Getting Started - Out of the Box
TIP: We highly recommend that you enroll at least three
different fingers to ensure access to the drive in the case
that your primary finger cannot be used.


