4.2
Change Image Setting
Please follow the steps below to change the image setting through the network if necessary.
1.
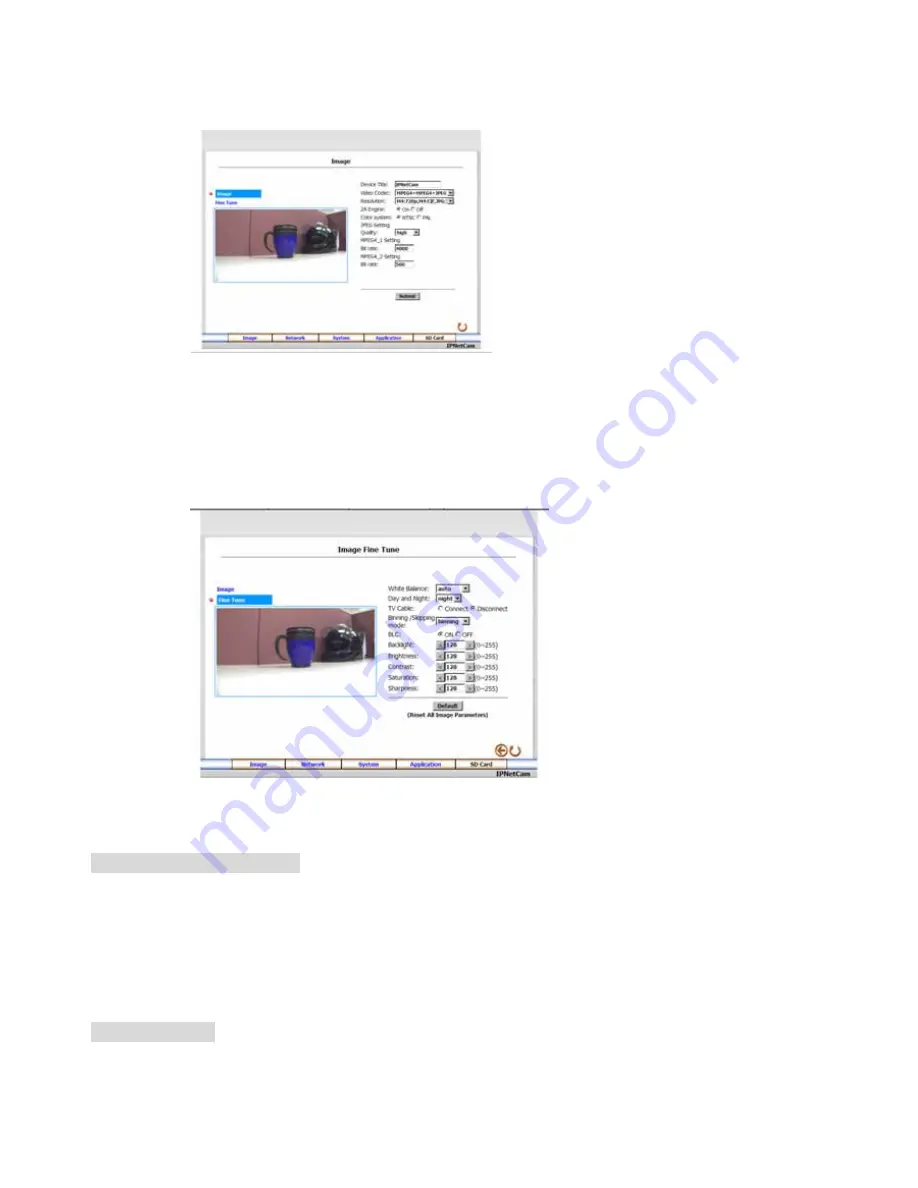
Click the Image button on the home page to enter the image-setting page.
Image setting page of MPEG4 mode
2.
Adjust the image setting including “Device Title”, “Video Codec” , “Resolution”, "2A Engine", "color
system", “Quality”(JPEG Setting) , "Bit rate"(MPEG4-1 Setting) , "Bit rate"(MPEG4-2 Setting) , if
necessary.
3.
Click the
Submit
button to submit the new image setting.
4.
Click the
Fine Tune
button to enter the Image Fine Tune page to set the details of the device including:
"White Balance" , “Brightness”, “Saturation” , etc. Click the
Default
button to reset all the settings.
NOTE: The revised image will appear immediately after any change is made.
5.
Click the
F5
button to refresh to the home page.
Description of function keys:
Device Title:
Type in the camera title in the given space.
Video Codec:
Scroll to choose the codec from “JPEG” , “MPEG4” , "JPEG+MPEG4" ,
"MPEG4+MPEG4" , "MPEG4+MPEG4+JPEG" .
Resolution:
Scroll to choose the image resolution from"720p" and "VGA" (in JPEG and
MPEG4) or “M4:720P,M4:CIF,JPG:360” and "M4:720P,M4:CIF,JPG:CIF” (in
MPEG4+MPEG4+JPEG).
Quality:
Scroll to choose the image quality ranging from ”high”, “medium”, and “low” .
Submit:
Click to submit the new image setting to the IPNetcam.
Fine Tune mode
Brightness: C
hoose your desired brightness level from 0 to 255. The higher level is chosen, the brighter
scene occurs.
Saturation:
Type
your desired saturation level in the blank from 0 to 255. The higher level is chosen, the
more vivid scene occurs.
Default:
Click this button to recover the default settings in all the entries for image parameters.


