- 28 -
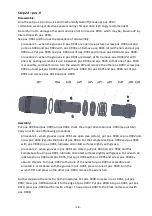
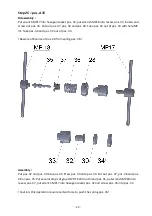
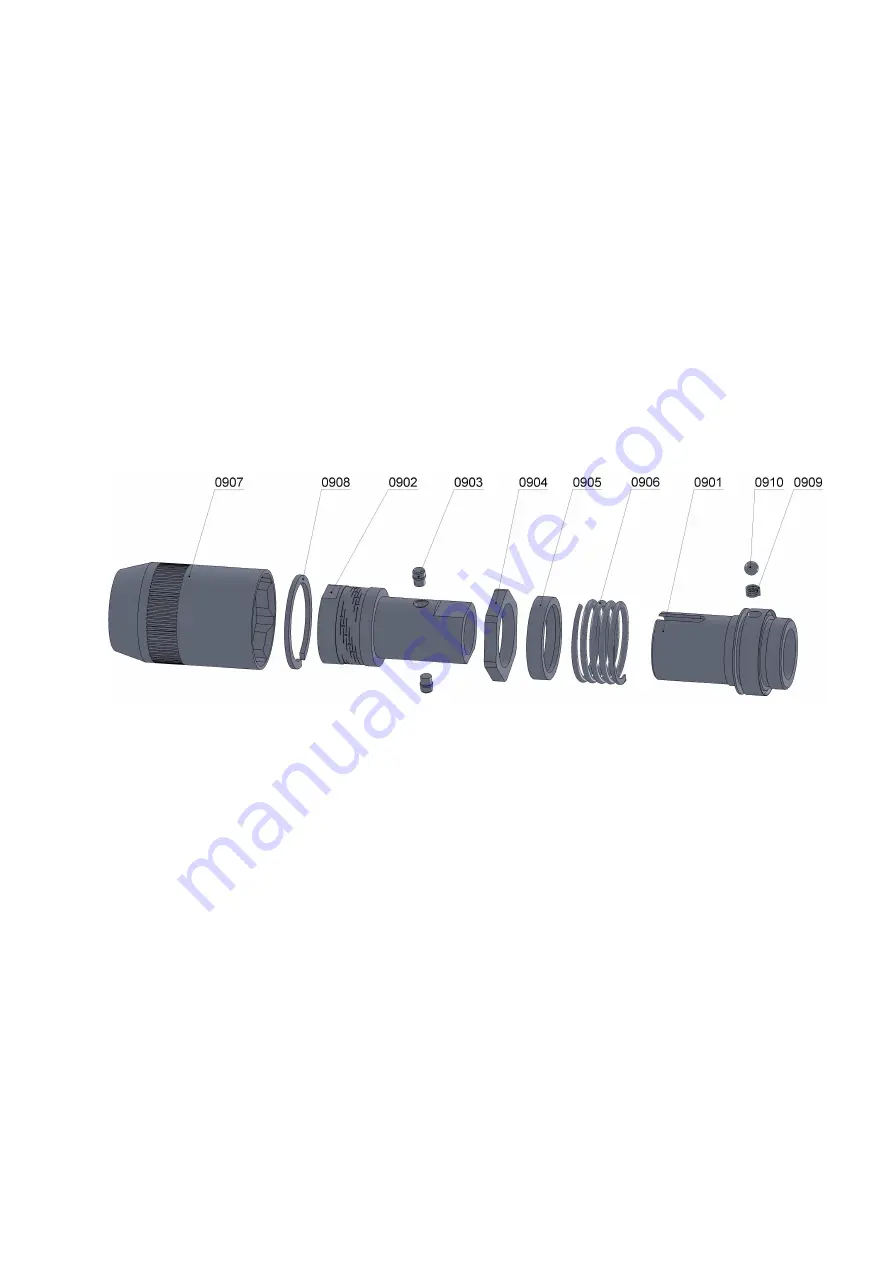
Step 24 – pos. 9
Disassembly:
Grip the set (pos. 9) into a vice and mechanically take off (break up) pos. 0907.
! Attention, wearing protective eyewear during this operation is strongly recommended!
Be careful not to damage other parts and also not to lose pos. 0910, which may be „blown out“ by
interaction with pos. 0909.
See pos. 0901 and find out the procedure of disassembly:
-
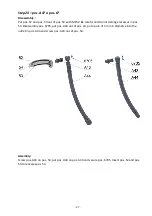
procedure 1 – when the grooves in pos. 0901 are open (see picture), screw pos. 0904 out and
put pos. 0904 and pos. 0902 with pos. 0903 out. Remove pos. 0903 (2x) with pliers and put pos.
0904 out. Put pos. 0905 and pos. 0906 out of pos. 0901 and remove pos. 0910 and pos. 0909.
-
procedure 2 – when the grooves in pos. 0901 are closed, at first remove pos. 0903 (2x) with
pliers by putting a wrench size 22 inbetween pos. 0904 and pos. 0905 so that one of pos. 0903
is accessible, remove this one, turn the wrench 90° and remove the other pos. 0903, screw pos.
0904 out and put pos. 0904 together with pos. 0902. Put pos. 0905 and pos. 0906 out of pos.
0901 and remove pos. 0910 and pos. 0909.
Assembly:
Put pos. 0906 and pos. 0905 on pos 0901, check the proper orientation pos. 0905 (see picture).
Carry on with one of following procedures:
-
procedure 1 - when grooves in pos. 0901 are open (see picture), put pos. 0904 on pos. 0902 and
press pos. 0903 (2x) into the holes of pos. 0902. Put the complete set (pos. 0902 and pos.0903
with pos. 0904) in pos. 0901, lubricate all contact surfaces slightly with grease.
-
procedure 2 - when grooves in pos. 0901 are closed, put pos. 0904 on pos. 0902 and this
komplete set put in pos. 0901, lubricate all contact surfaces slightly with grease. Put wrench 22
inbetween pos. 0904 and pos. 0905, press pos. 0906 with pos. 0905 and screw pos. 0904 by
about 4 threads. Turn pos. 0902 so that one of the holes for pos. 0903 is accessible and
oriented in accordance with the groove in pos. 0901, press on one of pos. 0903, turn the
wrench 90° and press on the other pos. 0903, remove the wrench 22.
Further steps are the same for both procedures. Put pos. 0908 to recess in pos. 0901, put pos.
0907, press pos. 0908 and slide it to the edge of pos. 0907. Put pos. 0909 into pos. 0901, put pos.
0910, press pos. 0909 and fix it with a finger. Than put pos. 0907 to the block and secure it with
pos. 0908.
Содержание AirPower Series
Страница 1: ...Repair Manual AirPower4 Model Z 14026001 Hydraulic Threaded Insert Tool ...
Страница 4: ... 3 4 Assembly drawing of riveting tool ...
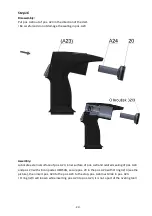
Страница 7: ... 6 Step 2 Disassembly Release pos A45 Assembly Put on pos A45 ...
Страница 20: ... 19 Step 15 Disassembly Put pos 8 out of pos A24 in the direction of the dart Assembly Put pos 8 on to pos A24 ...
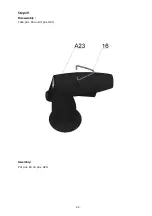
Страница 24: ... 23 Step 19 Disassembly Take pos 16 out of pos A23 Assembly Put pos 16 on pos A23 ...
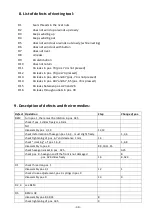
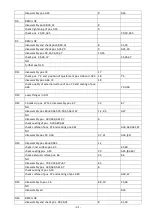
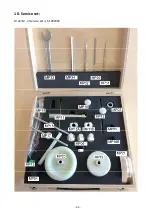
Страница 34: ... 33 10 Service set Order Nr of service set is S 1002002 ...


