ViTAM-1XX Series User Manual
36
Step 3.
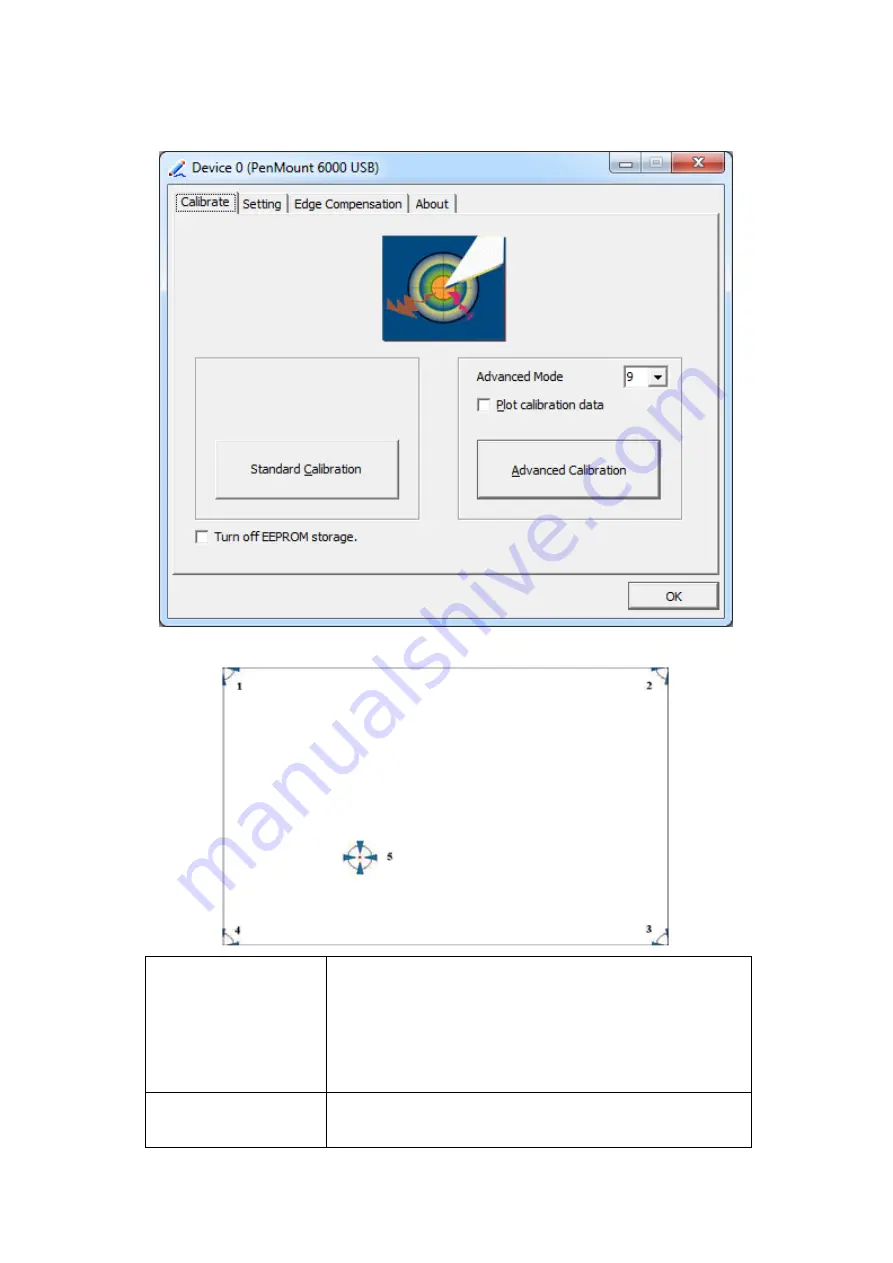
Select
Device
to calibrate, then you can start to do
Advanced Calibration
.
NOTE:
Recommend to use a stylus during Advanced Calibration for greater accuracy.
Plot Calibration Data
Check this function and a touch panel linearity
comparison graph appears when you have finished
Advanced Calibration. The blue lines show linearity
before calibration and black lines show linearity after
calibration.
Turn off EEPROM
storage
The function disable for calibration data to write in
Controller. The default setting is Enable.
Содержание ViTAM-1 Series
Страница 28: ...ViTAM 1XX Series User Manual 27 Step 4 Click Yes to continue Step 5 Click Finish to complete installation ...
Страница 30: ...ViTAM 1XX Series User Manual 29 Step 3 Click Next to continue Step 4 Click Install RS232 interface driver ...
Страница 32: ...ViTAM 1XX Series User Manual 31 Step 8 Go to C Program Files eGalaxTouch Click Next Step 9 Click Next ...
Страница 39: ...ViTAM 1XX Series User Manual 38 Edge Compensation You can use Edge Compensation to calibrate more subtly ...
Страница 50: ...ViTAM 1XX Series User Manual 49 Hardware Saturn Hardware Configuration ...
Страница 51: ...ViTAM 1XX Series User Manual 50 About To display information about eGalaxTouch and its version ...
Страница 52: ...ViTAM 1XX Series User Manual 51 Appendix A Board Dimensions Figure A Dimensions of TB 6029 ...


