


APC-3x93P User Manual
22
Chapter 3 BIOS Setup
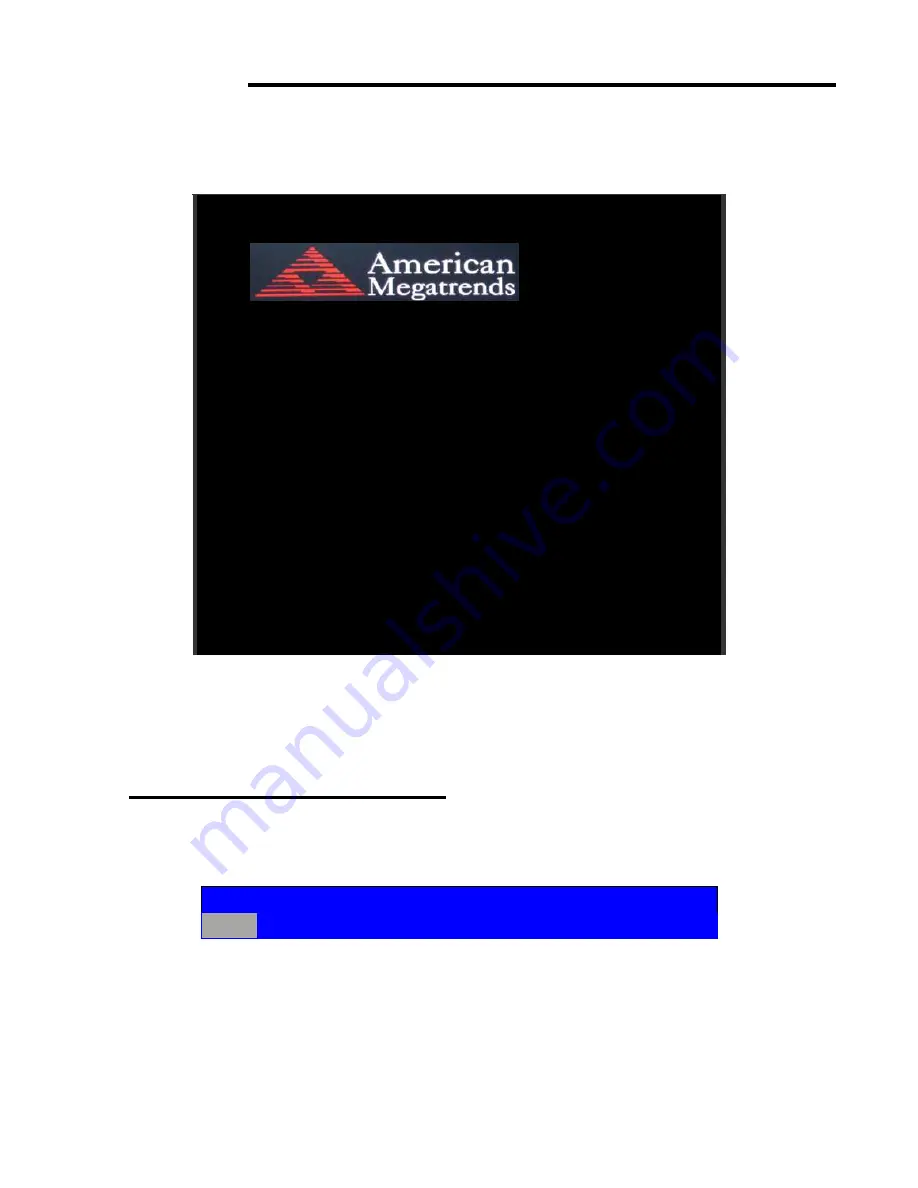
3.1 Operations after POST Screen
After CMOS discharge or BIOS flashing operation,.Press [Delete] key to enter CMOS Setup.
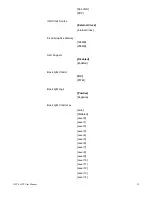
Version 2.15.1226. Copyright (C) 2012 American Megatrends, Inc.
BIOS Date: 12/17/2012 02:22:46 Ver: 7106V002
Press
〈
DEL
〉
or
〈
F2
〉
to enter setup
A3
After optimizing and exiting CMOS Setup, the POST screen displayed for the first time is as follows and
includes basic information on BIOS, CPU, memory, and storage devices.
3.2 BIOS SETUP UTILITY
Press [Delete] key to enter BIOS Setup utility during POST, and then a main menu containing
system summary information will appear.
Aptio Setup Utility
– Copyright (C) 2012 American Megatrends, Inc.
Main
Advanced
Chipset
Boot
Security
Save & Exit
Содержание APC-3x93P Series
Страница 12: ...APC 3x93P User Manual 12 units mm Figure 2 1 Mainboard Dimensions ...
Страница 14: ...APC 3x93P User Manual 14 Board Bottom Figure 2 3 Jumpers and Connectors Location_ Board Bottom ...
Страница 50: ...APC 3x93P User Manual 50 Step 3 Read license agreement Click Yes Step 4 Click Next ...
Страница 51: ...APC 3x93P User Manual 51 Step 5 Click Next Step 6 Select Yes I want to restart this computer now ...
Страница 60: ...APC 3x93P User Manual 60 Step 8 Go to C Program Files eGalaxTouch Click Next Step 9 Click Next ...
Страница 68: ...APC 3x93P User Manual 68 Hardware Saturn Hardware Configuration ...
Страница 69: ...APC 3x93P User Manual 69 About To display information about eGalaxTouch and its version ...
Страница 72: ...APC 3x93P User Manual 72 Step 5 Wait for installation Then click Next to continue Step 6 Click Continue Anyway ...
Страница 78: ...APC 3x93P User Manual 78 Setting ...


