


Operating Your Computer
2-7
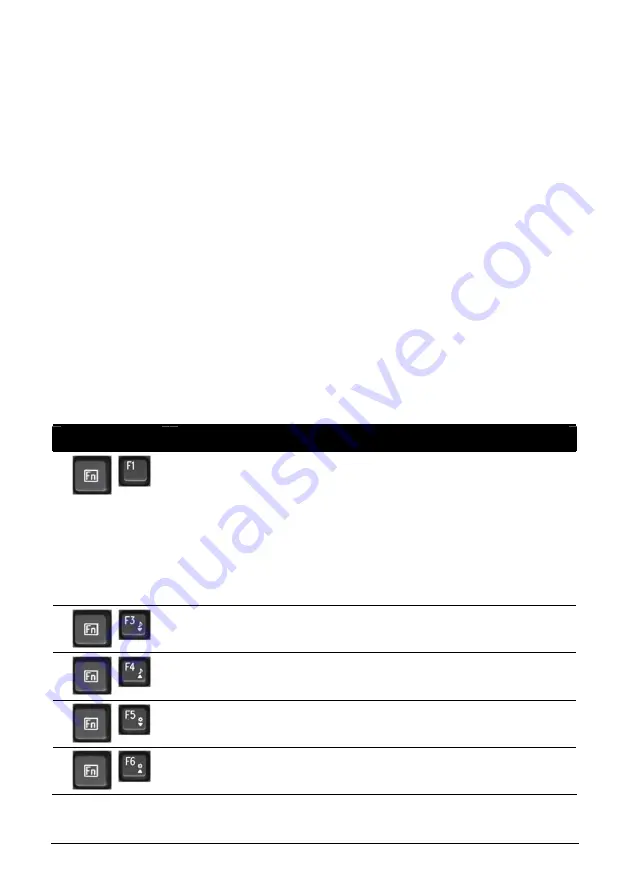
Fn Key
The
Fn
key, at the lower left corner of the keyboard, is used with another
key to perform the alternative function of a key. The letter “Fn” and the
alternative functions are identified by the color of blue on the keytop. To
perform a desired function, first press and hold
Fn
, then press the other
key.
Hot Keys
Hot keys refer to a combination of keys that can be pressed any time to
activate special functions of the computer. Most hot keys operate in a
cyclic way. Each time a hot key combination is pressed, it shifts the
corresponding function to the other or next choice.
You can easily identify the hot keys with the icons imprinted on the
keytop. The hot keys are described next.
Key
Description
Switches the wireless LAN radio on and off.
NOTE
:
z
This function works only if an optional Mini PCI wireless
LAN card is installed.
z
The FAA (Federal Aviation Agency) has deemed it unsafe to
operate wireless devices in aircraft as this may interfere with
flight safety. Remember to turn off wireless LAN when
using your computer in the airplane.
Decreases the sound volume.
Increases the sound volume.
Decreases the LCD brightness.
Increases the LCD brightness.
Содержание A790
Страница 1: ...A790 Operation Manual April 2008 ...


