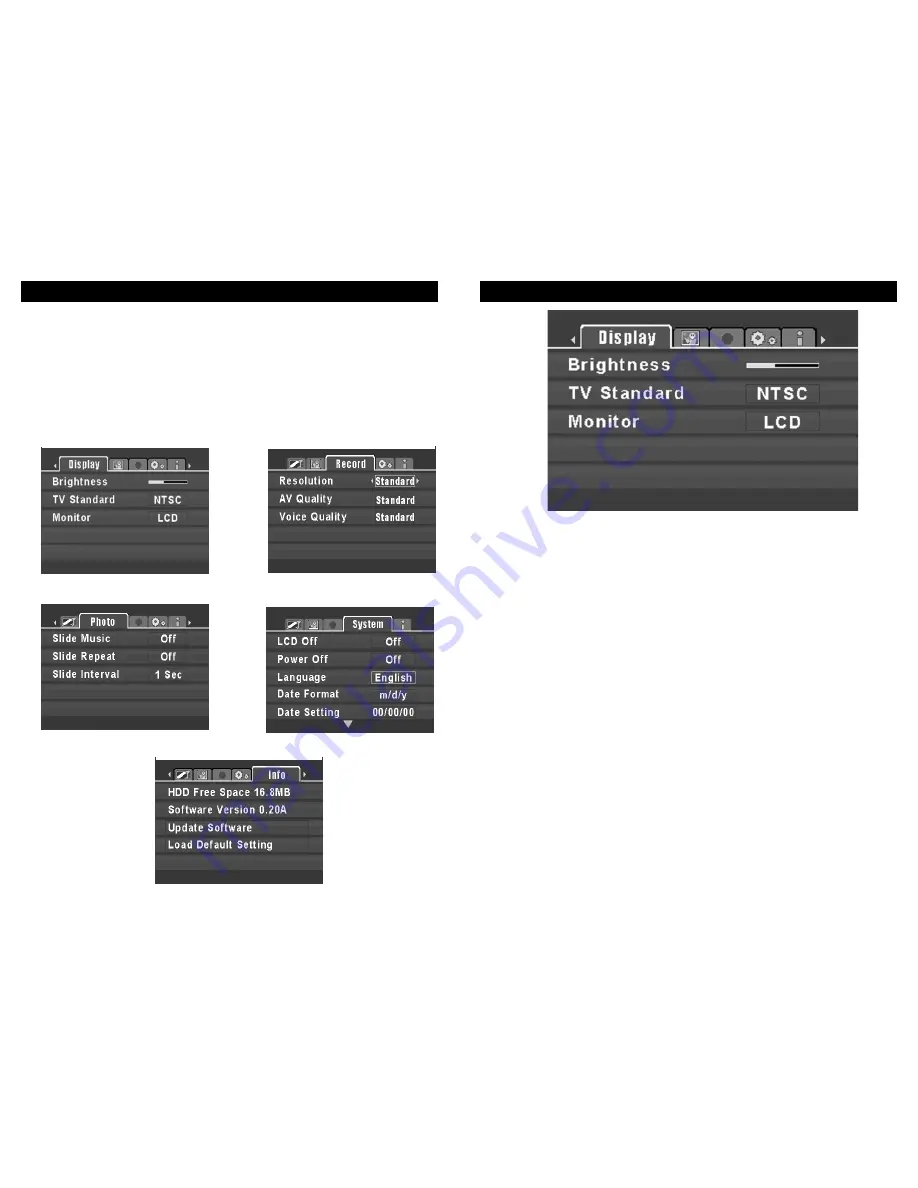
Setting Menu - Display Settings
20
Use the 4-way navigation Button to adjust brightness
of unit’s LCD screen. (Click Left for Darker, Right for
Brighter) Press ENTER button to confirm your selec-
tion. Exiting the Menu will save your settings.
Battery
life tip: Save battery life by selecting a darker setting.
Allows you to select the unit’s video output between
NTSC & PAL TV Systems for maximum flexibility. Use
the 4-way navigation button to cycle through these
options. Press ENTER to confirm your selection.
Exiting the Menu will save your settings.
LCD Setting: selects the unit’s LCD panel for viewing.
TV Setting: when the unit’s A/V cables are connected
to the AV out, use this setting to view the unit’s on
screen display on your TV screen. This allows you to
view your stored photos and videos on the TV. (see
page 29 for further details on viewing the MP-2000’s
output through your TV). Use the 4-way navigation
button to cycle through these options. Press ENTER to
confirm your selection. Exiting the Menu will save your
settings.
Note, when TV mode is selected, the unit’s lcd panel
will go dark and the output will be transferred to the TV.
Brightness
-
TV Standard
-
Monitor-
Setting Menu Overview
19
The Setting menu is where you will make various adjustments to the
functions of the E2GO MP-2000.
The Setting submenu has several screens. Access the individual screens by press-
ing right or left on the 4-way navigation button. Press down to access the settings
for each screen. The screens are:
Record - p. 22
Info - p. 25
System - p. 23-24
Display - p. 20
Photo - p. 21


