Home Theater One Wireless Transmitter
22
3.
Remove the speaker grill from the center speaker. It can be reinstalled after the
system has been successfully set up.
4.
Use the Refresh Map menu item (see the section “Refresh Map” for more details).
5.
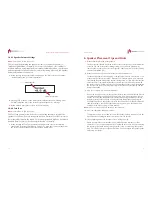
The map shows my proper speaker setup, but the input signal display shows "No Sig"
and I can't hear anything.
When the display shows "No Sig", that means it is not receiving any audio data from
your player. Check the following:
1.
That the Home Theater One is set to the right source. Press the button on the
remote control for the input you want to use.
2.
Your audio device is turned on.
3.
Your audio device is currently playing music.
6.
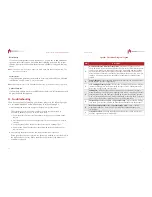
The speaker assignments are backwards. The left sound is coming from the right
speaker.
This happens if the center speaker is placed upside down. Make sure the center
speaker is right-side up and then run the Refresh Map menu item (see the section
“Refresh Map” for more details).
7.
After the system starts up, when I select Refresh Map, or I do a MyZone, I hear faint
“clicks.”
The MyZone and SpeakerFinder sensors use ultrasonic technology. When these
sensors are active, a faint click may be heard.
Owner’s Guide
7
6. Installation and Setup
Follow these instructions to initially setup and use the Home Theater One
Wireless Transmitter, remote control, and your Aperion wireless speakers.
Check out our video to see the setup in action at:
http://www.aperionaudio.com/SummitSetup
1.
Place Your Speakers
a.
Arrange your speakers as shown in the “Speaker Placement” section.
b.
Make sure the center speaker is centered above or below the television screen.
c.
The speakers must all be able to “see” each other and point toward the center of
the room. Do not place them behind furniture, plants, or other objects (this
includes the subwoofer).
2.
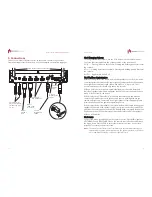
Connect Power and Sources to the Home Theater One Wireless Transmitter.
Note:
Refer to the section “Connections” for detailed connection information.
a.
Plug in all speakers to power outlets.
b.
Plug in the Home Theater One Wireless Transmitter using the supplied power
adapter.
c.
Connect your audio and video sources to the Home Theater One Wireless
Transmitter.
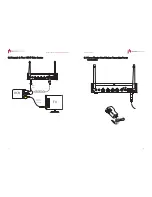
d.
If using HDMI, also connect the HDMI Out to one of the television’s HDMI inputs
for video pass-through.
3.
Add Batteries to Remote Control.
Note:
Refer to the section “Remote Control” for additional information.
a.
Remove remote control battery bay cover.
b.
Insert four “AAA” bat and - polarities correctly oriented.
c.
Replace the battery bay cover.
4.
Power Up.
a.
Press POWER on the remote control.
b.
Press the ASSOCIATE button on the speaker closest to the subwoofer for three
seconds; only do this on one speaker and do not use the subwoofer. The green
light on the speaker will blink faster. This only needs to be done on the first power-
on.
c.
Press ENTER on the remote. The system will now auto set-up.
d.
The display shows “Getting Started” until complete.

