


Connector
Pin1
Pin2
Pin3
Pin4
CD-IN
Left
GND GND
Right
MODEM-CN
Mono In GND GND Mic Out
AUX-IN
Left
GND GND
Right
Pin 1
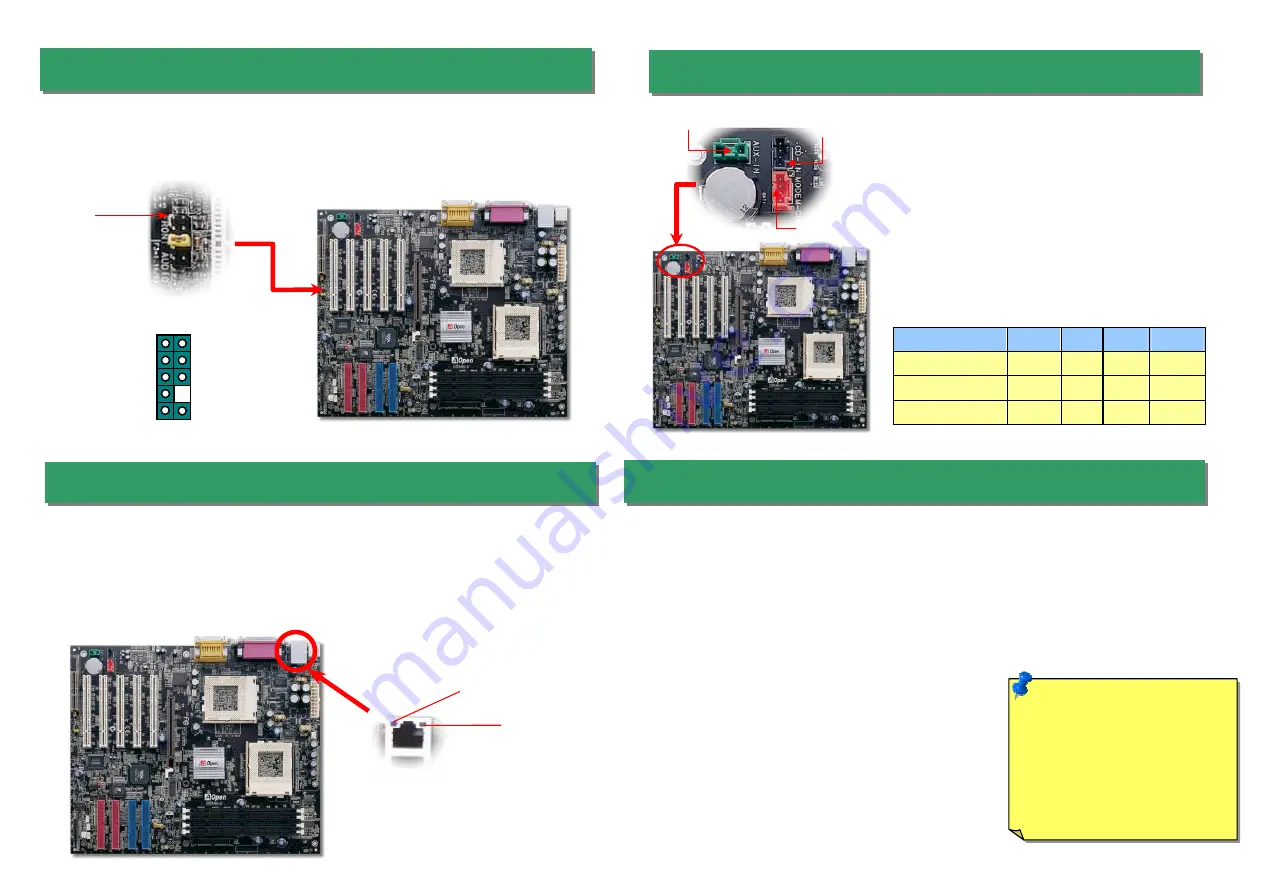
12. Connecting CD / MODEM / AUX
10. Front Audio
11. Support 10/100 Mbps LAN onboard
If the housing has been designed with an audio port on the front panel, you’ll be able to
connect onboard audio to front panel through this connector. By the way, please remove
the jumper cap from the Front Audio Connector before you connect the cable. Do not
remove this yellow jumper cap if housing without an audio port on the front panel.
The
CD-IN
connector is used to connect CD Audio
cable from CDROM or DVD drive to onboard sound.
The
MODEM-CN
connector is used to connect
Mono In/ Mic Out cable from internal modem card to
onboard sound circuit.
The
AUX-IN
connector is used to connect MPEG
Audio cable from MPEG card to onboard sound.
AUX-IN
MODEM-CN
CD-IN
VIA Apollo Pro 133T chipset includes a fast Ethernet controller on chip. On the strength of
LSI 80225 PHY on board, which is a highly-integrated Platform LAN Connect device, it
provides 10/100M bps Ethernet for office and home use, the Ethernet RJ45 connector is
located on top of USB connectors. The green LED indicates the link mode, it lights when
linking to network and blinking when transferring data. The orange LED indicates the
transfer mode, it will light when transferring data in 100Mbps mode.
Green/ACT
Yellow/Speed
FP_MIC
NC
PHONE_R
NC
PHONE_L
GND
+5V
JS1
KEY
NC
1 2
9 10
13. Installing LAN Driver (Optional)
The South Bridge in VIA Apollo 133T chipset integrates a total communication solution including
10/100Mb Fast Ethernet for Office requirement. You can install LAN Driver under Windows
95/98/ME, WindowsNT4 & Windows2000 by following steps.
Manually Adding an Adapter in Windows 95 / 98 / ME / NT4 / 2000:
=====================================
LOCATION OF DRIVER: \Driver\LAN\RTL8100\Windows\
(Depend on various Windows version in your system.)
1. From the Control Panel, double-click the “Add Hardware” icon.
2. Double-click Other Devices or Network Adapters in the list area.
3. Double-click a PCI Ethernet Controller.
4. Click the Driver tab, then click Update Driver.
5. Click Next at the Update Device Driver Wizard.
6. Select "Display a list of all the drivers..." and click Next.
7. Insert the AOpen Bonus CD and click Have Disk.
8. Enter the appropriate drive for your disc media
(for example: D:\) ,and click OK.
9. Click OK at the Select Device dialog box.
10. The Update Wizard displays the message that it has found
the driver. Click Next.
11. Click Finish and restart your computer when prompted.
Note:
If the New Hardware
Found dialog box does not
appear at startup and you
cannot connect to the network,
check the Device Manager list
to see if the new adapter is
present. If it is not, please install
the LAN driver manually.


