English
8
(Original instructions)
EN
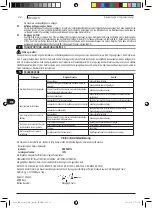
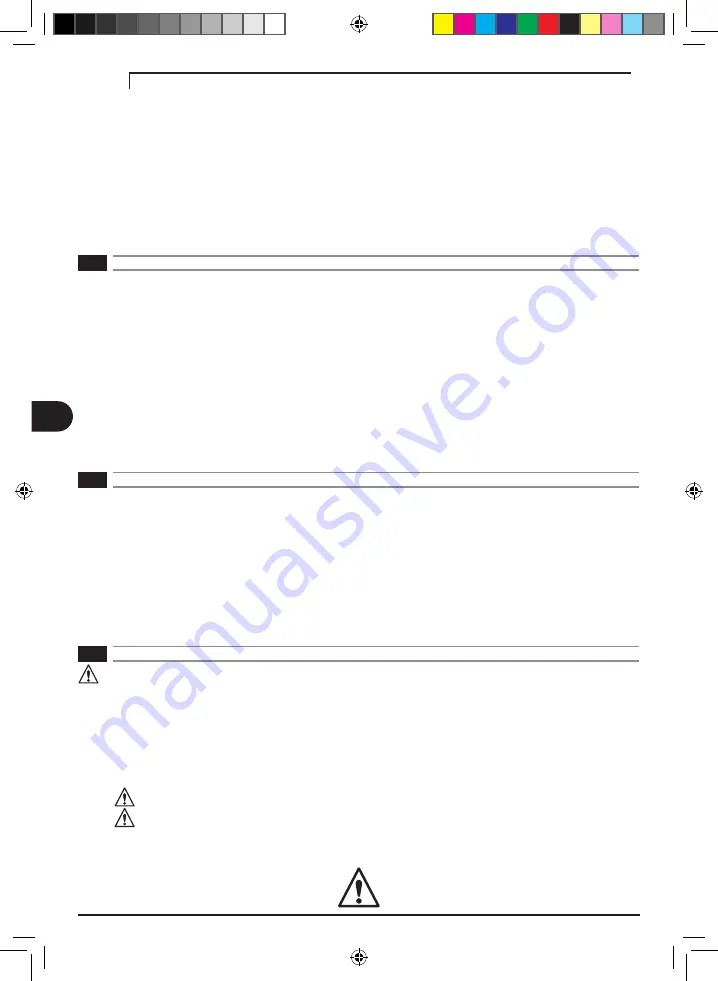
3.2.16 The power supply voltage of the battery charger must match that indicated on the technical data
nameplate. Do not use any other type of power supply.
3.2.17 It is advisable to install a trip switch on the electrical power supply line. Consult your electrician.
3.2.18 Do not damage or tread on the power supply cable. Do not pull the battery charger by the cable. Do
not pull the cable in order to unplug it from the power supply.
3.2.19 Any extension cable must have a higher section than that of the battery charger cable and correctly
sized according to its length.
3.2.20 If the appliance is blocked because the battery runs out, do not continue to press the switch button,
otherwise the battery fails hopelessly.
3.2.21 Do not fully discharge the battery. When the battery is almost discharged, recharge it immediately.
4
GENERAL INFORMATION (PAGE 3)
4.1
Use of the manual
This manual forms an integral part of the appliance and should be kept for future reference. Please read it carefully before installing/using the unit.
If the appliance is sold, the seller must pass on this manual to the new owner along with the appliance.
4.2 Delivery
The appliance is delivered partially assembled in a cardboard box.
The supply package is illustrated in fig.1.
4.2.1 Documentation supplied with the appliance
D1 Use and maintenance manual
D2 Safety instructions
D3 Declaration of conformity
D4 Warranty regulations
4.3
Disposing of packaging
The packaging materials are not environmental pollutants but must still be recycled or disposed of in compliance with the relevant legislation in the
country of use.
5
TECHNICAL INFORMATION (PAGE 3)
5.1
Intended use
The appliance is intended for use as a sprayer for liquid solutions only, in compliance with the descriptions and safety precautions contained in these
instructions.
5.3
Main components:
A1 Cap with handle
A1B Cap valve
A2 Inlet filter
A3 Tank body
A4 Pump filter
A5 Switch button
A6 Battery pack release button
A7 Battery charge indicator
A8 Battery pack
A9 Battery pack charger
A10 Outlet fitting
A11 Gun bar
A12 Lock catch
A13 Gun trigger
A14 Gun hook
A15 Gun filter
A16 Gun nut
A17 Outlet hose
A18 Shoulder straps
A19 Charging indicator
B1 Flat fan nozzle
B2 Adjustable shower nozzle
B3 Dual mist nozzle
B4 Cone to jet nozzle
5.4
Safety devices
Switch button (A5): the starter device prevents accidental use of the appliance.
6
INSTALLATION (PAGE 4)
Warning - danger!
All installation and assembly operations must be performed with the appliance disconnected from the battery.
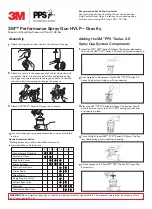
The assembly sequence is illustrated on page 4.
6.1 Assembly
Remove the parts of the sprayer from the box. Install the gun bar (A11) and one of the nozzles (B1, B2, B3, B4) on the gun handle (A13, fig. 2). There
are 4 different nozzle availabe: flat fan (B1, blue), adjustable shower (B2, orange), dual mist (B3, red) and cone to jet (B4, black). Choose the desired
nozzle and tighten it to the outlet fitting (A10).
6.2
Battery charging
IMPORTANT! Before using the device it is necessary to fully charge the battery. Do not fully discharge the battery to keep it efficient.
IMPORTANT! Recharge only with the battery charger indicated by the manufacturer. An inappropriate battery charger can cause a fire
hazard when used with other battery units.
95902_KK_Manual_AR_sprayer_INNER.indb 8
95902_KK_Manual_AR_sprayer_INNER.indb 8
2021/2/1 下午12:25
2021/2/1 下午12:25


