User Guide
EVALUATION BOARD SOFTWARE
Rev. A | 9 of 30
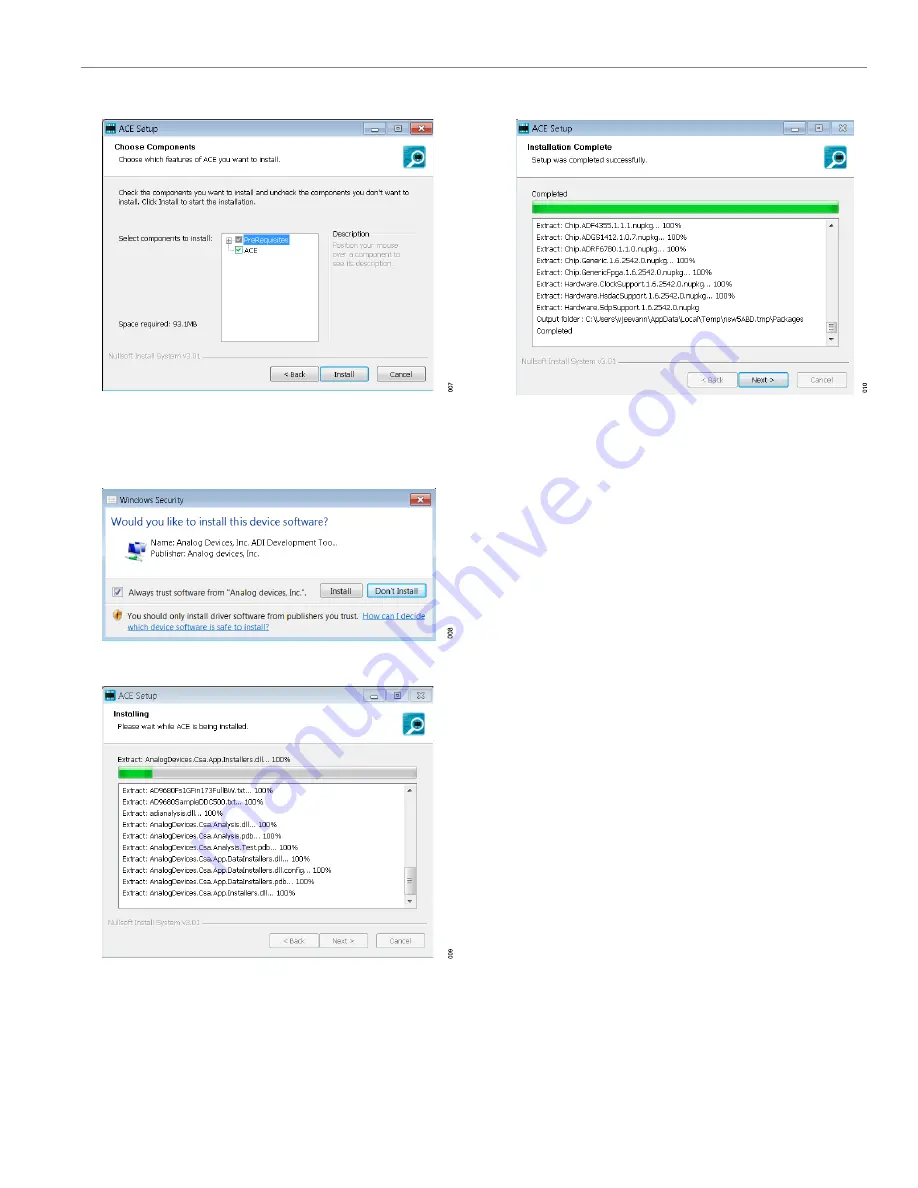
Figure 11. Choose Components
8.
The
Windows Security
). Click
Install
.
shows the installation in progress. No action
is required.
Figure 12. Windows Security Window
Figure 13. Installation in Progress
9.
When the installation completes, click
Next >
(see
and then click
Finish
.
Figure 14. Installation Complete
EVALUATION BOARD SETUP PROCEDURES
The EVAL-ADAQ4001FMCZ or EVAL-ADAQ4003FMCZ connects
to the
. The SDP-H1 is the communication link between
the PC and the EVAL-ADAQ4001FMCZ or EVAL-ADAQ4003FMCZ.
shows a diagram of the connections between the EVAL-
ADAQ4001FMCZ or EVAL-ADAQ4003FMCZ and the SDP-H1.
Connecting the EVAL-ADAQ4001FMCZ or
EVAL-ADAQ4003FMCZ and the SDP-H1 to a PC
After installing the
software, take the following steps to set
up the EVAL-ADAQ4001FMCZ or EVAL-ADAQ4003FMCZ and the
SDP-H1:
1.
Ensure that all configuration links are in the appropriate posi-
tions, as detailed from
2.
Connect the EVAL-ADAQ4001FMCZ or EVAL-
ADAQ4003FMCZ securely to the 160-way connector
on the SDP-H1. The EVAL-ADAQ4001FMCZ and EVAL-
ADAQ4003FMCZ do not require an external power supply
adapter.
3.
Connect the SDP-H1 to the PC via the USB cable included in
the SDP-H1 kit.
Verifying the Board Connection
After connecting the power and the USB cable from the SDP-H1 to
the PC, take the following steps to verify the board connection:
1.
After connecting the SDP-H1 to the PC, allow the
Found New
Hardware Wizard
to run. If prompted by the operating system,
choose to automatically search for the drivers for the SDP-H1.
2.
Navigate to the
Device Manager
window of the PC (see
).
3.
A dialog box opens asking for permission to allow the program
to make changes to the computer. Click
Yes
.


