


Modero X Series® Touch Panels
10
MXD/T-700 7" Modero X Series® Touch Panels
3.
On the leftmost amber button, select between
Rand
(images display at random) and
A-Z
(images display in
alphabetical order based on the name of the file).
4.
The four grey buttons allow scrolling through saved images and the rate of display:
The
Previous Image Saved
button returns the display to the first image uploaded by Picture View.
The
Stop
button stops Picture View and returns to the default panel page.
The
Pause/Resume
button allows the display to stop on one particular image. Press it again to resume the
display procession.
The
Next Image Saved
button returns the display to the last image uploaded by Picture View. If the panel has
not accessed all of the images available on a USB drive, Picture View will display the last one uploaded to
date.
5.
On the rightmost red button, select the number of seconds a selected image will be displayed in Picture View. This
may be selected between 5, 10, 15, 30, and 60 seconds.
6.
The counter beneath the buttons displays the number of images currently uploaded by the MXT-700 versus the
number detected on the USB drive.
Preview Mode and Normal Mode
Picture View has two modes: Preview Mode and Normal Mode. Preview Mode allows the user to configure Picture View.
Once a USB drive containing images is inserted into the panel, the images will begin to display. Touching any place on
the display will result in the configuration popup to slide from the bottom of the display.
Picture View goes into its Normal Mode when the MXT-700 goes into idle timeout while connected to a USB drive.
Normal Mode displays images until the touchscreen is touched, or some other wakeup event is detected. When the
device goes back into timeout, Normal Mode will return to displaying images until the USB drive is removed from the
device.
Picture View Send Command
The
^PIC
Send Command stops either mode of Picture View, or starts Preview Mode. For more information, please
refer to the
Modero X Series Programming Guide
, available at
www.amx.com
.
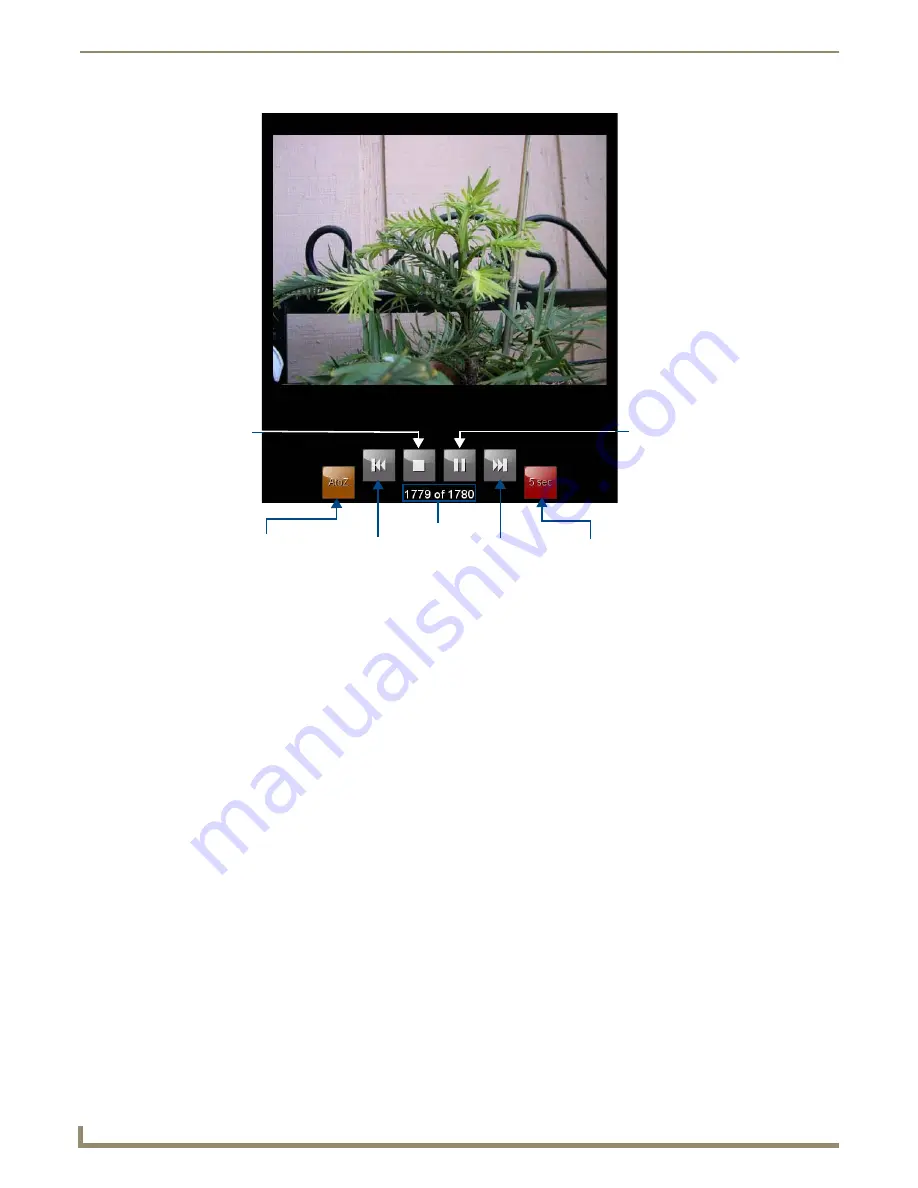
FIG. 8
Picture View configuration popup menu
Previous image
saved
Stop
Pause/
Next image
saved
Counter
Resume
Random/
A-Z
Timer
Содержание MXD-700
Страница 4: ......
Страница 27: ...Installation 22 MXD T 700 7 Modero X Series Touch Panels...
Страница 29: ...Configuration and Programming 24 MXD T 700 7 Modero X Series Touch Panels...
Страница 37: ...Upgrading Firmware 32 MXD T 700 7 Modero X Series Touch Panels...
Страница 39: ...Appendix Troubleshooting 34 MXD T 700 7 Modero X Series Touch Panels...
Страница 40: ...Appendix Troubleshooting 35 MXD T 700 7 Modero X Series Touch Panels...


