


SETUP
DYNAMIC SETUP
Dynamic Setup allows operator selection of the detection
parameters for analysis of each video input frame. This setup
function is executed by selecting the SET UP CHANNEL
ONE (or
TWO) Main Menu option (page
when
the menu CURRENT MODE is set to DYNAMIC. The
Dynamic Setup functions for either channel are identical, and
the procedures below apply to either channel selected.
Dynamic Setup consists of three separate procedures that
execute in the following sequence:
Configuring Channel Detection Zones (this page),
2. Setting Channel Dynamic Attributes (page
3. Setting Channel Detection Modes (page 11).
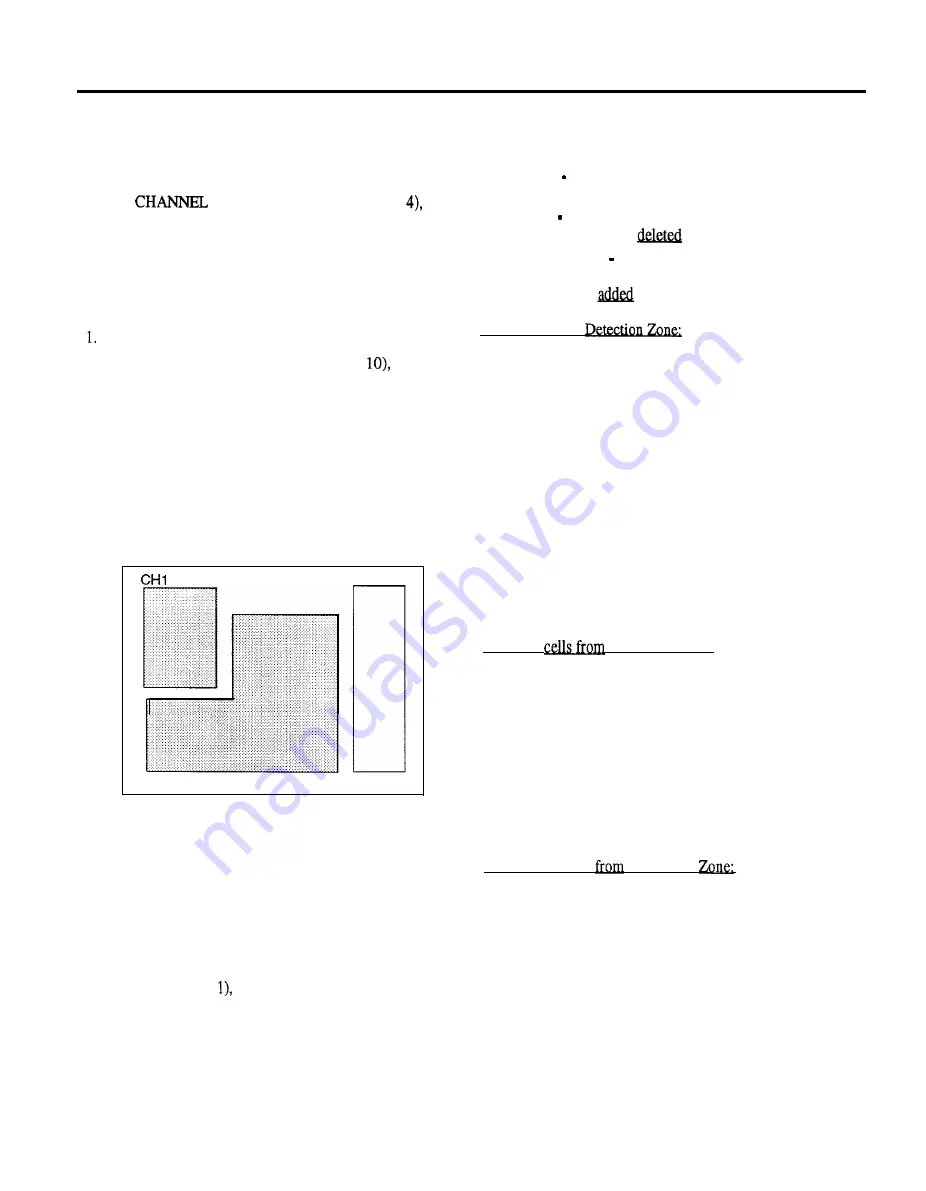
Configuring Channel Detection Zones
When the SET UP CHANNEL ONE (or TWO) function is
selected from the Main Menu, the current cell patterns for each
Detection Zone are displayed on the screen and a message is
displayed at the top indicating the selected channel and zone
configuring function, as illustrated below.
CURSOR: MOVE
The cursor function, displayed at the top left of the screen, is
changed by pressing the MENU button. These functions are:
1. MOVE Moves the cursor anywhere on the screen
without changing any zone pattern.
2. ERASE Deletes cells from any zone. Each cell that the
cursor is moved to is
from its zone.
3. ADD 1, 2, or 3 Selects and add cells to Detection Zone
1, 2, or 3 patterns, respectively. Each cell that the cursor
is moved to is
to the selected Detection Zone.
To add cells to a
1. Press the MENU button until the cursor function is
MOVE.
2. Press the arrow buttons to move the cursor to the desired
Detection Zone.
3. Press the MENU button until the cursor function selects
the Detection Zone being modified, ADD 1, 2, or 3.
4. Move the cursor to each new cell to be added to this zone.
Each time the cursor is placed in a cell, that cell is added
to the active zone.
Caution must be exercised when adding cells since each cell
can be associated with only one Detection Zone. Thus, if the
cursor is placed in a cell previously designated for a different
zone, the cell is removed from the previous zone and placed
into the active zone.
To delete
a Detection Zone;
1. Press the MENU button until the cursor function is
MOVE.
2. Press the arrow buttons to move the cursor to the cell to be
removed from a zone.
3. Press the MENU button until the cursor function is
ERASE. That cell is deleted from its zone.
4. Move the cursor to each additional cell to be deleted from
a zone. Each time the cursor is moved into a cell, that cell
The Detection Zone patterns are shown in different levels of
is deleted from its zone.
intensity. The zone selected (active zone) is displayed in
white, while the unselected zones are displayed in grey.
To delete all cells
a Detection
When the zone patterns are displayed, a blinking cursor is also
1. Select the Detection Zone (ADD) with the MENU button.
displayed at the center of the screen. A message is displayed
2. Press the CH 2 button; a confirm message is displayed.
at the top of the screen identifying the function of the cursor.
3. Press CH 2 again to erase all cells, or press any other
button to retain the cell pattern and perform that function.
When the system is set to default, both channels are set for one
detection zone (Zone
and that zone is filled with detection
To delete all cells from all three zones, press the CH 1 button
cells. To account for monitor overscan, this pattern does not
at any time; confirm this action by pressing CH 1 again.
cover the edges of the video scan (see Scene Management,
Note:
These actions clear the selected zones completely; if the
Appendix page D).
zone is used for detection it must be refilled with cells.
When all changes have been made to the zone patterns, press
the ALARM button to exit the zone configuring function and
execute
Setting Channel Dynamic Attributes,
page 10.
9


