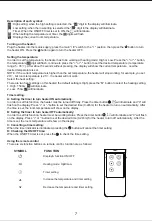
Fig.4
D
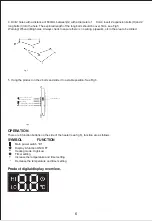
Fig.3
B. For wall mounted use
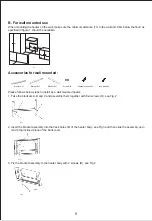
Accessories for wall mounted:
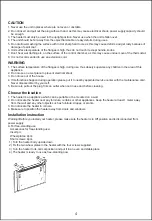
When mounting the heater on the wall, make sure the minimum distance (1m to the wall and 0.6m below the floor) as
specified in figure 1 should be available.
Please follows below steps to install as a wall mounted heater:
1. Take the brackets A, B and C and assemble them together with four screws (D), see Fig.2
2. Insert the bracket assembly into the back holes (E) of the heater body, see Fig 3 and then slide the assembly up to
match the inclined plane of the back cover.
3. Fix the bracket assembly to the heater body with 2 screws (D), see Fig 4
Fig 1.
Bracket A x1 Bracket Bx1 Bracket Cx1 Screw Dx6 Expansion bolts Hx2 Long bolts Ix2
Fig.2
5

