background image

23


Language:


English  

Model

Netti 4U comfort|FA  

Version:

 November 2010

Language:


English  

Model:


Netti 4U comfort|FA


Version:


November 2010    


Language:


English  

Model

Netti 4U comfort|FA  

Version:

 November 2010

Language:


English  

Model:


Netti 4U comfort|FA


Version:


November 2010    

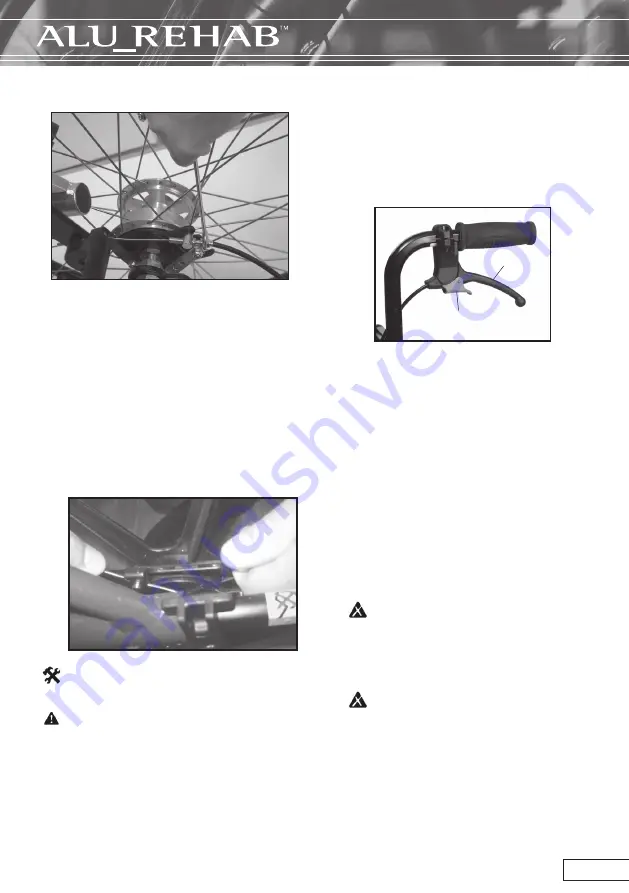
Drum brake

If the brake doesn’t brake properly:

To adjust the wire on one or both sides, adjust 
the foot screw 2-4 rounds out. Then re-check 
the brakes.

If the wire is too loose:

adjust the foot screw all the way in. Tighten the 
wire by loosening the wire clamp before pulling 
the wire further through it. Tighten the wire 
clamp, and adjust the foot screw out again

1 pc 10mm open-end spanner.

To ensure the correct functions of  


       the wire, these must never be           


       taut.

Operating and applying the brake

The wheelbase in drum brake is fitted 
with hand operated hub brakes to allow 
regulation of speed on hills and whilst 
travelling along.  These are located on the 
push handles.

• To apply the brakes, pull the brake 
   levers (1) evenly and smoothly  


   towards handle and bring the wheel-
   base to a stop.
• For to put on and lock the parking    
   brake (2) press the lever (1) against the
   push handle and lock the parking brake
   with the finger.  Be sure that both  
   parking brakes are locked.
• The parking brake will be released when 
   you press the lever (1) against the push
   handle.  It is locked with a spring and
   this will in this way be released.


It is extremely important that the

         parking brakes are locked when 
         the user is left sitting in the    
         wheelchair.


Don’t leave the user in the wheel-

         chair wihout to put the parking
         brake in function.
         

                           1

2

Содержание Netti 4U comfort FA

Страница 1: ...Netti 4U comfort FA u s e r m a n u a l...

Страница 2: ...sures 7 2 QUICK REFERENCE 8 3 DESCRIPTION 9 4 FEATURES OF NETTI 4U COMFORT FA 10 5 ACCESSORIES 11 5 1 Mounting of Hip Belt 12 5 2 Mounting of H belt bar 12 6 ASSEMBLING AND ADJUSTMENT 6 1 Unpacking 13...

Страница 3: ...s Step down 28 8 4 Driving techniques Slope 29 8 5 Driving techniques Up stairs 29 8 6 Driving techniques Down stairs 29 8 7 Transfer 30 8 8 Lifting the wheelchair 31 8 9 Push rim 31 9 TRANSPORT 32 9...

Страница 4: ...erefore it is important to know about the possibilities and restrictions of the wheelchair Netti 4U comfort FA is a wheelchair designed for users with the need for comfort and relief The combi nation...

Страница 5: ...einforced frame and leg rests for this particular need Ignoring this advice could in unfavourable circumstances lead to the deformation or fracture of metal parts in the area of the back tube the leg...

Страница 6: ...d Wheelchair frame Cushions Hubs Brake function Headset bearings test for wear lubrication Directional stability of wheels Bearings Please also note the content of chapter 10 2 Cleaning and washing An...

Страница 7: ...ition of main wheels it is possible to achieve seat height of 500 mm whewheel Backrest height 520 mm Specification min max Overall length with foot support 1130 mm Overall width 700 mm Folded length 6...

Страница 8: ...hapter 5 for more information Mounting descriptions will accompany the accessory For troubleshooting see chapter 11 For mounting and adjustments see chapter 6 and 7 Drive carefully Be aware that frict...

Страница 9: ...t countries 1 3 1 Back cushion 44 53cm cmpl 41350 2 1 Seat cushion Sense 44 53cm 26495 312148 1 1 Netti 4U FA 44 53cm 41295 114178 Pos Qty Name Item no Drawing Mater Chair width Colour Item no 35 44cm...

Страница 10: ...le foot support Height and angle adjustable foot plates Removable ARM SUPPORT Height and depth adjustable Removable HEAD SUPPORT Height depth and angle adjustable Removable ANTI TIP Height adjustable...

Страница 11: ...n the tray Armrest pads Sizes Wide 415x80 mm Long Wide 525x80 mm Long 445x70 mm Standard 385x58 mm Small 333x58 mm Hemi arm support Offers extra support for the affected arm Can be set in fixed positi...

Страница 12: ...the rearmost hole using the enclosed screws and nuts Ill 5 1 3 2 pcs13 mm open end spanner 5 2 Assembling Illustration 5 2 1 Remove the push handles and pull the H belt attachment bar onto the push ha...

Страница 13: ...nents 44 cm width chair Main wheels 1 9 kg each Anti tip 0 1 kg each Front castors 0 8 kg each Foot support angle adj 2 kg each Cushions app 1 kg Head support A 1 kg Head support C 0 9 kg 6 2 Main whe...

Страница 14: ...wheels or to change to a different size of main wheels unfix the hub bushing including washer and nut Remove the hub bushing and mount it in the required position 2 pcs 24 mm open end spanner Main whe...

Страница 15: ...ith plastic plugs Ill 6 5 3 Ill 6 5 4 1 2 3 4 5 6 7 8 9 10 A B C D Seat depth table Netti 4U FA Seat depth Hole position 390mm A6 B10 415mm A5 B9 440mm A4 B8 465mm A3 B7 490mm A2 C7 515mm A1 D7 Ill 6...

Страница 16: ...ck the back rest by pushing the locking bolt through the plastic bracket and the gas spring locking head After changing the hole position in the plastic bracket the hole position in the back rest hing...

Страница 17: ...n adjusting foot supports in angle do not put the fingers in the adjusting mechanism between the moving parts Adjusting the height of the anti tip The anti tip can be adjusted in two fixed positions T...

Страница 18: ...ock on the right foot plate and place the lock over the bolt on the left foot plate To release the foot plate pull the plastic lock and lift the right foot plate up For outdoor use there should be a c...

Страница 19: ...t supports Never lift the wheelchair by the foot supports 6 11 Head support A Lever for depth adjustment B Wheel for angle adjustment C Lever for height adjustment D Head support bracket Place the squ...

Страница 20: ...o the right and left giving the possibility to accomodate special needs for head support Untighten the four screws holding the adapter together Move the adapter to the required position and fix the ad...

Страница 21: ...ks into position Give the arm support a slight push in horizontal direction to make sure that it is locked Ill 6 12 2 Remove the arm support Pull the locking knob at the rear of the arm ill 6 12 3 sup...

Страница 22: ...ws on the outside of the brakes Ill 6 13 3 Adjust the brake position and tighten the screws Ill 6 13 3 For fine adjustment loosen the screw on the inside of the brakes Ill 6 13 4 Adjust the brake posi...

Страница 23: ...brake The wheelbase in drum brake is fitted with hand operated hub brakes to allow regulation of speed on hills and whilst travelling along These are located on the push handles To apply the brakes p...

Страница 24: ...screw is properly tightened To remove the handles the safety screw at the bottom also has to be removed 6 15 Tilt and recline function The stepless recline and tilt function is regulated by using the...

Страница 25: ...sion November 2010 2 Take the seat cushion out 3 Take the back rest cushion out 4 Release the velcro straps on the back of the back rest 5 Remove the plastic hand grips 6 Release the two screws on eac...

Страница 26: ...he back rest 9 Release the two screws under the seat plate at the front on both sides using an allen key 10 Release the two screws under the seat plate at the rear on both sides using an allen key 11...

Страница 27: ...ion Measure width of seat plate The seat cushion consist of three parts Separate the wedges to the same width as the seat plate Place the wide foam layer on top of the wedges and mount the outer cover...

Страница 28: ...step is very low It also depends on the clearance between the footplates and the ground Check that the anti tip is turned up Drive the chair backwards towards the step Make a firm grip on the push ri...

Страница 29: ...ask for assistance Never use escalators even if assisted by a companion With assistance backwards Check that the anti tip is turned up Pull the wheelchair backwards to the first step of the stairs Ang...

Страница 30: ...Techniques for transfering to from the wheelchair should be practiced well with the persons involved Here we give some important advices for preparation of the chair With or without companion sideway...

Страница 31: ...elivered with aluminium push rims as standard The material and distance to the main wheel influences the ability of the user to grip Contact your dealer to get information about push rims that fit you...

Страница 32: ...front castors Chapt 6 3 9 2 Transport in car If the head support is mounted correctly it is very stable but does not replace the need for an external neck support mounted in the car The chair is mark...

Страница 33: ...and and sea water salt used for gritting in the winter can damage the bearings of the front castors and main wheels Clean the wheelchair thouroughly after use Frequency Weekly Monthly Check defects da...

Страница 34: ...ncorrectly mounted Clean the front castors and forks for dirt Too much weight over the front castors 6 4 The front castors are wobbling To much weight over the front castors Adjust point of balance by...

Страница 35: ...et wear from changes in wheelchair assemlies or instutions not approved by Alu Rehab or by use of spare parts delivered or produced by third parties In such cases this guarantee shall be considered nu...

Страница 36: ...this is the case the warranty given by Alu Rehab A S Norway will not be valid If any uncertainty about special fitting and adaptations please contact Alu Rehab A S 12 6 Combinations with other produc...

Страница 37: ...om back rest tube to front seat plate App 3 cm can be subtracted when including standard backrest cushion Measured from ground to seat plate without cushion Standard cushion measures app 7 5 cm Measur...

Страница 38: ......

Страница 39: ......

Страница 40: ...Bedriftsvegen 23 NO 4353 Klepp Stasjon NORWAY Tel 47 51 78 62 20 Fax 47 51 78 62 21 E mail post alurehab com www alurehab com A u tho r i z e d d e a l e r s...

Отзывы: