


46
-EN
Front Camera screen example
Side Camera screen example
4
Touch
[
]
,
[
]
,
[ ]
or
[ ]
to adjust the position of the
guide.
• Touching
[Clear]
clears adjustments and returns to the setting
before guide line alteration.
5
After the adjustment is completed, touch
[Set]
.
Adjusting Guides Simultaneously (for Rear/Side Camera
only)
<Rear Camera>
1
Touch
[Link]
.
The 3 vertical guides of the currently-selected guide link
together, allowing them to be adjusted simultaneously.
When Hitch Guide is set to Off
• Note on the yellow guide line “
” in the center
The yellow guide line “
” is centered between the two yellow guide
lines, “
” and “
” on the left and right, or the green line “
” on
the top and red guide line “
” below.
When Hitch Guide is set to On
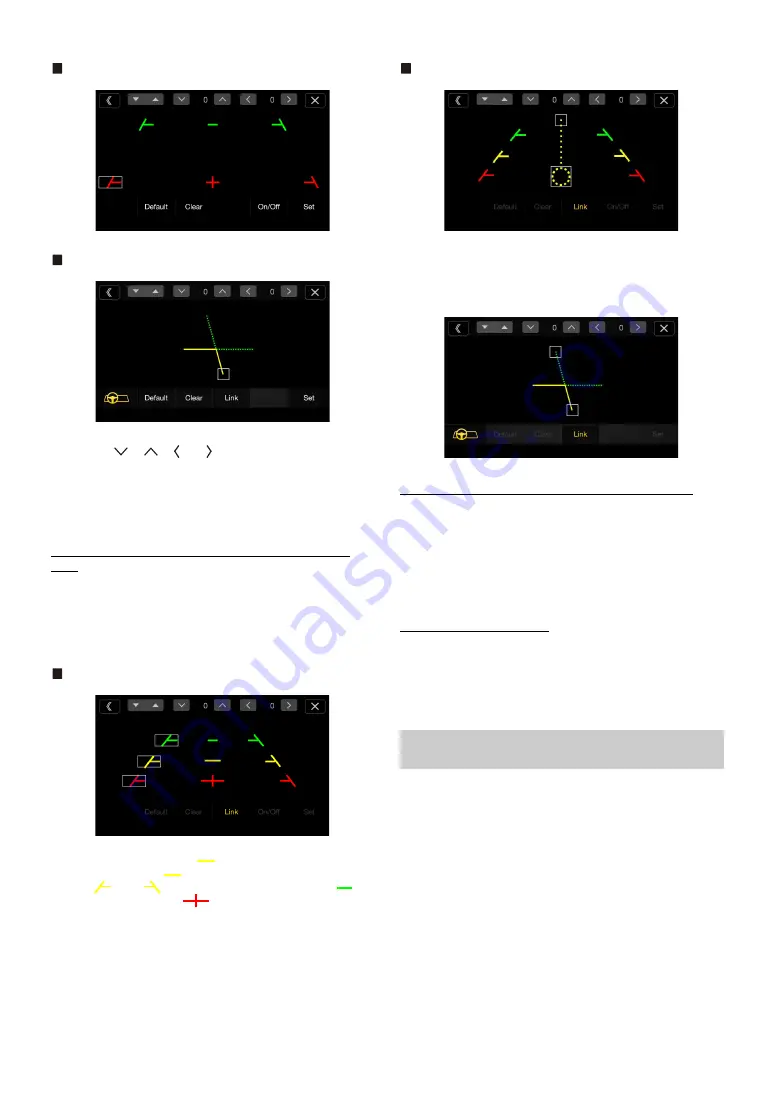
<Side Camera>
1
Touch
[Link]
.
The 2 vertical guides of the currently-selected guide link
together, allowing them to be adjusted simultaneously.
Turning Guide Display On/Off (Rear/Front Camera only)
Turning the selected guide off.
1
Touch
[On/Off]
.
The currently selected guide will turn off.
2
To turn the guide on, touch
[On/Off]
again.
• Guides that are turned off are still adjustable.
Returning Guides to Default
1
Touch
[Default]
.
A message window will appear.
2
Touch
[OK]
.
Adjusted values will return to default settings.
You can set whether to display the rear camera image when the gear
lever is moved to the reverse (R) position while the unit is turned off.
You can select this item only when Camera Select is “Rear.”
Setting item:
Camera Interrupt (Power Mode)
Setting contents:
On (Initial setting) / Off
Camera Interrupt Setting (Power OFF Mode)
(Rear Camera Only)
On:
The rear camera image is displayed
Off:
The rear camera image is not displayed
Содержание X109D
Страница 2: ......
Страница 103: ...103 EN List of Language Codes For details see page 69 ...


