background image

5

-EN

Setting the Front Panel closing mode

1

Press and hold the INTLZ button for at least 2
seconds.

2

Press the 

f

 UP button repeatedly to select

"CLOSE".
Each press of the 

f

 UP button changes the

modes as shown:

∗ 

CDA-7969 Only

NOTE

If you press the DN 

g

 button the display scrolls in

reverse sequence.

3

Press the TUNE button to toggle mode between
CLOSE AUTO and MANU.

CLOSE AUTO: The Front Panel automatically
closes when ACC is on OFF.

CLOSE MANU: The Front Panel remains open
until closed manually.

4

When the setting is completed, press the INTLZ
button for at least 2 seconds to return to the
normal mode.

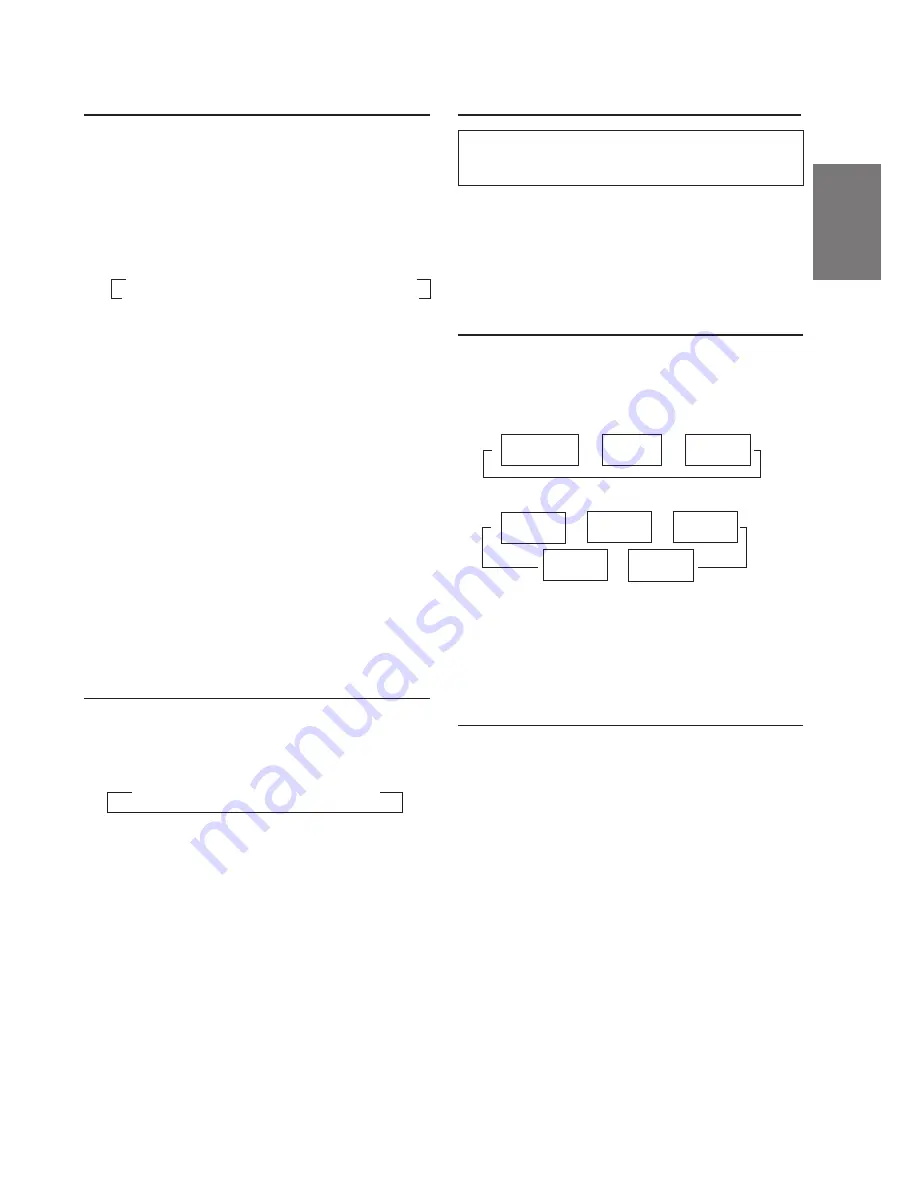
Adjusting Volume/Balance
(Between Left and Right)/Fader
(Between Front and Rear)

1

Press the MODE button repeatedly to choose the
desired mode.
Each press changes the modes as follows:

NOTES

If the MODE button is not pressed in 5 seconds after
selecting the BALANCE or FADER mode, the unit
automatically returns to the VOLUME mode.

When the subwoofer mode is ON, its level may also be
adjusted.

2

Rotate the Audio Control knob until the desired
sound is obtained in each mode.

NOTE

Depending on the connected devices, some functions and
display indications do not work.

Audio Mute Function

Activating this function will instantly lower the
volume level by 20 dB.

1

Press the MUTE button to activate the MUTE
mode. The audio level will decrease by about
20 dB.
Pressing the MUTE button again will bring the
audio back to its previous level

Displaying Time

1

Press the CLK (clock) button repeatedly until the
time is displayed.
Each press changes the modes as follows:

Radio mode

CD Player/Changer modes

NOTE

Selecting any tuner or CD function while in the clock
priority mode will interrupt the time display
momentarily. The function selected will be displayed for
about 5 seconds before the time returns to the display.

Setting Time

1

While the clock time is displayed, press and hold
the CLK (clock) button for at least 3 seconds.
The time indication will begin to blink.

2

Press the F4 button while the time indication is
blinking to set seconds to "0".

3

Press the F5 button to adjust the hours while the
time indication is blinking.

4

Press the F6 button to adjust the minutes while
the time indication is blinking.
The time indication will stop blinking 5 seconds
after the last adjustment. The time will
automatically be set.

Radio frequency

DISC TEXT
mode

Playing time
mode

Clock priority
mode

TITLE mode

Clock priority
mode

TRACK
TEXT mode

TITLE mode


    →

 VOLUME  

 BALANCE  

 FADER


 AMBER 

 DIM 

→ 

SUB-W 

→ 

BEEP 

→ 

MUTE

      D-OUT


 CLOSE 

 DEMO 

 AUX 

 SCR

 ←

Содержание CDA-7867

Страница 1: ...Tanners Drive Blakelands Milton Keynes MK14 5BU U K Tel 01908 61 15 56 ALPINE ELECTRONICS DE ESPA A S A Portal De Gamarra 36 Pabell n 32 01013 Vitoria Alava Apdo 133 Spain Tel 34 45 283588 ALPINE ELEC...

Страница 2: ...lage des s lections musicales de votre syst me embarqu Tous les mod les peuvent tre contr l s partir des autoradios Alpine et offrent une excellente qualit audio Le mod le CHA S624 est un changeur 6 d...

Страница 3: ...Erasing Disc Title CD CD Changer only 11 Selecting DHE Mode 12 Equalizer Presets 12 Adjusting the Equalizer Settings 13 Memorizing the Equalizer Settings 13 Recalling the Memorized Equalizer 13 Memori...

Страница 4: ...fire USE THIS PRODUCT FOR MOBILE 12V APPLICATIONS Use for other than its designed application may result in fire electric shock or other injury DO NOT PLACE HANDS FINGERS OR FOREIGN OBJECTS IN INSERT...

Страница 5: ...her such instrument then insert the disc again Irregular Shaped Discs Be sure to use round shape discs only for this unit and never use any special shape discs Use of special shape discs may cause dam...

Страница 6: ...rn on the unit NOTE The unit can be turned on by pressing any other button except the eject c button The volume level gradually increases to the previous level you were listening to before the unit wa...

Страница 7: ...ot work Audio Mute Function Activating this function will instantly lower the volume level by 20 dB 1 Press the MUTE button to activate the MUTE mode The audio level will decrease by about 20 dB Press...

Страница 8: ...eatedly to select AMBER Each press of the f UP button changes the modes as shown NOTE If you press the DN g button the display scrolls in reverse sequence CDA 7969 Only 3 Press the TUNE button to togg...

Страница 9: ...in reverse sequence 3 Press the TUNE button to select the D OUT mode Each press toggles between the D OUT ON and D OUT OFF 4 Press and hold the INTLZ button for at least 2 seconds to activate the norm...

Страница 10: ...al Ai NET RCA Interface cable KCA 121B to this component 1 Press and hold the INTLZ button for at least 2 seconds 2 Press the f UP button repeatedly to select AUX Each press of the f UP button changes...

Страница 11: ...g the built in Audio Processor You can change High Pass Filter Low Pass Filter and Sub Woofer Phase on this unit so that you can create your favorite sound effects 1 Press and hold the A PROC button f...

Страница 12: ...such as the disc name and track name Such text information is referred to as text Radio mode Basic Operation TITLE f UP DN g J T S M FREQUENCY DISPLAY TITLE DISPLAY 2 CLOCK DISPLAY CD Changer mode EL...

Страница 13: ...eleted When you want to erase a title enter the symbol into all spaces The operations described in steps 3 to 5 must be made within 10 seconds The input mode will be cancelled if no action is taken fo...

Страница 14: ...ens any genre 3 Press the F button within 10 seconds to select the desired mode Digital Time Correction Preset buttons F1 through F6 F1 F2 F DHE POWER mode Any of the DHE effects can be modified using...

Страница 15: ...s of step 1 3 Press either the F1 or F2 button within 10 seconds of step 2 to select the frequency band to adjust 63Hz 160Hz 400Hz 1kHz 16kHz 6 3kHz 2 5kHz 4 While the FUNC Function indicators is flas...

Страница 16: ...the distance between the listening position and the various speakers is different The difference in distance between the front right speaker and the rear left speaker is 1 75 m 68 7 8 F f UP DN g Time...

Страница 17: ...the DN g or f UP button to automatically seek for a station downward or upward respectively The unit will stop at the next station it finds Press the same button again to seek the next station Manual...

Страница 18: ...e preset memory 6 stations for each band FM1 FM2 AM and D A P NOTE If you store a station in a preset memory which already has a station the current station will be cleared and replaced with the new s...

Страница 19: ...F button Tuning to Preset Stations 1 Press the SOURCE button to select the radio mode 2 Press the BAND button repeatedly until the desired band is displayed 3 Press the station Preset button that has...

Страница 20: ...vable display will open 2 Insert a disc with the label side facing up The disc will be pulled into the unit automatically The movable display will close and playback will begin When a disc is already...

Страница 21: ...nsor feature is functional in the play or pause mode M I X Random Play 1 Press the F3 MIX button in the play or pause mode The tracks on the disc will be played back in a random sequence After all the...

Страница 22: ...sc number and track number NOTE The source indicator varies depending on the connected source 2 Press the Disc Select buttons F1 through F6 corresponding to one of the discs loaded in the CD Changer T...

Страница 23: ...hanger mode Proceed to step 3 below to select the desired CD Changer 2 Press the BAND button on the CDA 7969 CDA 7867 or the RUE 4185 to activate the CD Changer Selection mode 3 The CD Changer Selecti...

Страница 24: ...r refer to the Owner s Manual of the external audio processor you purchased This button is used in conjunction with an optional Ai NET processor Controls on Remote Control 1 Mute Button Press the butt...

Страница 25: ...or equivalent 1 Opening the battery cover Slide out the battery cover while firmly pressing outward 2 Replacing the battery Put the batteries in the case observing the polarities as illustrated 3 Clo...

Страница 26: ...s in the following checklist This guide will help you isolate the problem if the unit is at fault Otherwise make sure the rest of your system is properly connected or consult your authorized Alpine de...

Страница 27: ...Range 87 7 107 9 MHz Mono Usable Sensitivity 9 3 dBf 0 8 V 75 ohms 50 dB Quieting Sensitivity 13 5 dBf 1 3 V 75 ohms Alternate Channel Selectivity 80 dB Signal to Noise Ratio 80 dB Stereo Separation...

Страница 28: ...ler for assistance Be sure to connect the speaker leads to the speaker terminal Never connect left and right channel speaker cables to each other or to the vehicle body IMPORTANT Please record the ser...

Страница 29: ...cking pins are fully seated in the down position This can be done by pressing firmly in on the unit while pushing the locking pin down with a small screwdriver This ensures that the unit is properly l...

Страница 30: ...Right Subwoofers Amplifier Amplifier CD Changer Ai NET Sold Separately Antenna To power antenna To amplifier or equalizer To the instrument cluster illumination lead To vehicle phone CDA 7969 only AU...

Страница 31: ...t remove the coating if necessary of the car chassis If you add an optional noise suppressor connect it as far away from the unit as possible Your Alpine dealer carries various Alpine noise suppressor...

Страница 32: ...30 EN...

Отзывы: