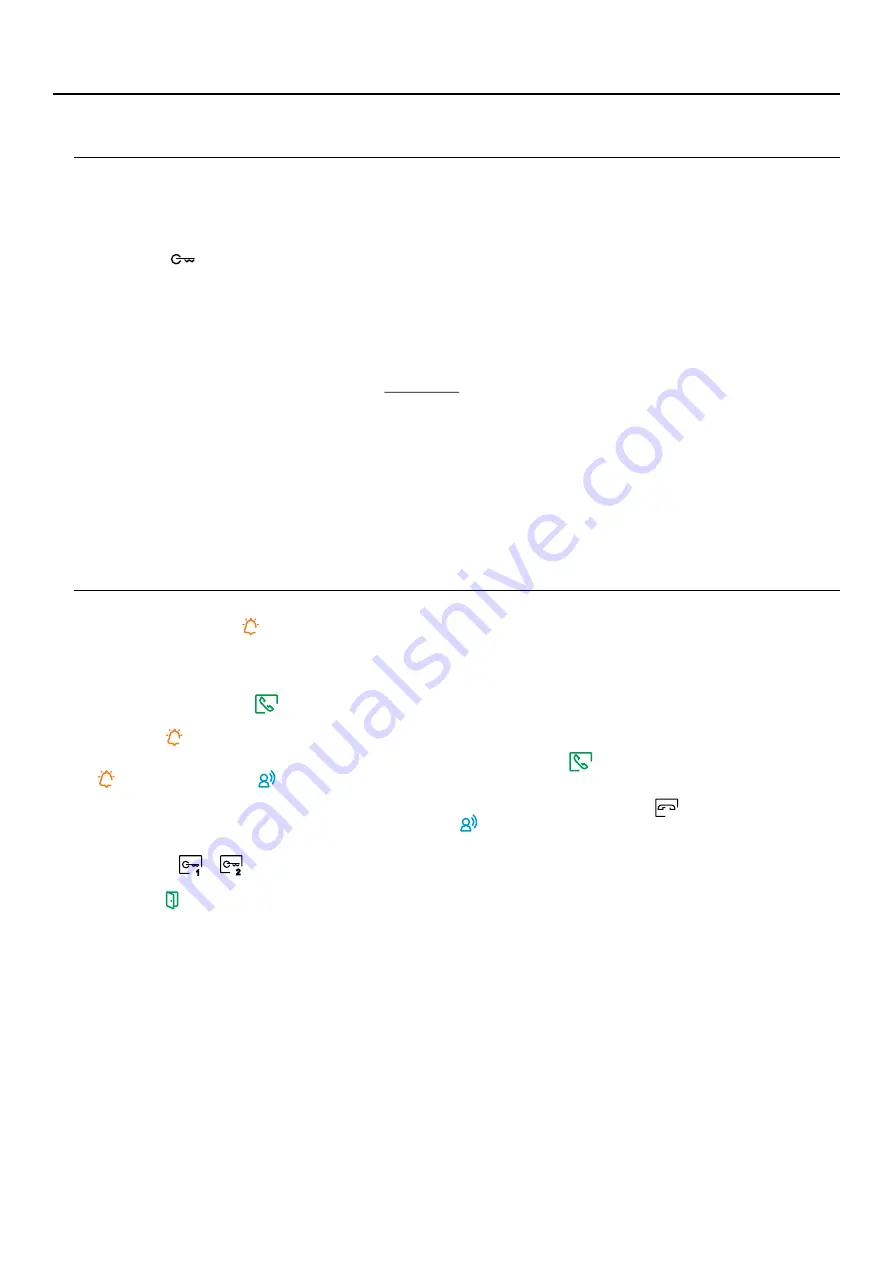
background image

3

SYSTEM OPERATION

-

To make a call, the visitor must press the button of the apartment; an audible sound indicates that the call is being made

and

LED

will turn on. If vocal synthesis is enabled, a 'Call is in progress' message appears indicating that

the door panel

a call is being made. At this moment, the apartment's monitors receive the call. If another apartment is called by mistake,
press the button for the correct apartment and the first call will be cancelled.

- Upon receiving the call, the image will appear on the screen of the master monitor (and slave 1, if it exists) without the

visitor knowing and icon

displayed on the screen will blink green. To view the image from slave monitors 2 or 3,

press

the image. If the call is not answered within 45 seconds,

one of the buttons of the monitor to display

the door

panel LED

will turn off and the system will become free.

-

the push button below

shown

To establish communication, press

off-the-hook icon

on the screen. Door panel LED

will


turn


off


and


the


led


-

the push button below

shown on the

is

Connection will last for 90 seconds or until

on-the-hook icon

screen

pressed

door panel

. When communication ends,

LED

will turn off and the system will become free. If vocal

synthesis is enabled, a 'Communication is finished' message will indicate that the call is over.

-

or

,

push button below of

displayed on the screen

To open door

of the door panel press the

corresponding icon

during the call or communication processes: one press will activate the lock release for

seconds and

3

the door

panel LED

will also turn on for

seconds. If vocal synthesis is enabled, a 'Door

open' message will be indicated

3

is

CHARACTERISTICS

-

Hands-free


monitor.

- 4

.

3"


TFT


color


screen

- Monitor


with


simple


installation


(non-polari

z

ed


2


wires


bus).

- Push button

for access and selection of menu function.

- User menu.

- Installer menu.

- Image


and


communication


settings


menu.

- Output


to


auxiliary


call


repeater


(maximum


50mA/12Vdc).

- "HZ"


input


for


calls


from


apartment


front


door.


Important:


Up


to


6


monitors/


apartments


with


push


button


"HZ"


activated


at


the


same


time


(with


system


and


monitors


in


standby).

- Push


buttons


for


Door


release


1


and


2.

- Notification


leds.

- Configuration


switches.

1

2

ART4LITE/G2 MONITOR

on


the


door


panel.

-


Detailed


operation


of


the


monitor


is


described


on


pp.


6


to


20.

Содержание ART4LITE/G2

Страница 1: ...USER MANUAL TECHNOLOGY 2 wire installation Rev Feb 2021 Art 4 LITE G2 monitor Hands free AWD289...

Страница 2: ...25 Compliance 26 Always disconnect the power supply before installing or marking modifications to the devices The fitting and handling of these devices must be carried out by authorized personnel The...

Страница 3: ...is Connection will last for 90 seconds or until on the hook icon screen pressed door panel When communication ends LED will turn off and the system will become free If vocal synthesis is enabled a Com...

Страница 4: ...c D 4 3 TFTcolour screen E Golmar use F Microphone G Raised dots for the visually impaired people In call communication Above this raised dot is the Start nd communication E button Above these raised...

Страница 5: ...monitors apartments with push button HZ activated at the same time with system and monitors in standby 1 2 3 Example 0 0 4 0 16 20 Switch number 1 2 3 4 5 Val ON 1 2 4 8 16 ue when 4 5 6 7 8 Important...

Страница 6: ...d and the door to be opened see p 11 Press the button below icon to access the menu of the intercom between other monitors in the same apartment or other apartments see p 18 to 20 Press the button bel...

Страница 7: ...restored to factory settings such as melodies call volume etc Press the button below icon to return to the settings menu Settings menu About screen To restore the monitor to factory settings press th...

Страница 8: ...ns below corresponding icons then press the buttons below corresponding icons to select the melodies and desired call volume Press the button below icon to return to the settings menu Option selection...

Страница 9: ...ton below icon to return to the settings menu This function is disabled by default To enable it see pp 21 to 24 To set a period of time for automatic door opening after 3 seconds of receiving a call f...

Страница 10: ...low icon to return to the main menu If the mode is automatic door opening enable see pages 8 to 9 the icon will be displayed in the top left of the screen in the main menu and the button led will blin...

Страница 11: ...is possible to make the change during display call and communication processes 21 to 4 1 2 DOOR PANEL CALL SCREEN Press the button below icon for 3 seconds to access the image and monitor volume in ca...

Страница 12: ...o be opened Press the button below icon for 3 seconds to access the image and monitor in communication volume settings menu Select the option to be modified by pressing the buttons below corresponding...

Страница 13: ...MMUNICATION SETTINGS The following brightness control menu will then be displayed Adjust to the desired level by pressing the buttons below icons To access the contrast control press the button below...

Страница 14: ...tton below icon To exit the image and communication settings menu press the button below icon The following colour control menu will then be displayed Adjust to the desired level by pressing the butto...

Страница 15: ...splayed Adjust to the desired level by pressing the buttons Screen B below icons To return to the brightness control carousel mode press the button below icon Communication screen To exit the image an...

Страница 16: ...n below icon to return to the main menu If you wish disable the Do not disturb mode go to the option with icon by pressing the button below icon deselect the option by pressing the button below icon P...

Страница 17: ...en 01h Time period setting screen 01h Main menu Press the button below icon to return to the main menu If the Do not disturb mode is enable see pages 16 to 17 will be shown the icon in the main menu a...

Страница 18: ...n by pressing the buttons below corresponding icons and press the button below icon to access the monitor selection menu in the same apartment Note You will find information about the monitor itself w...

Страница 19: ...l intercom the monitor s of the apartment that makes the call of the apartment and the monitor s that receives the call must have the intercom function enabled To enable disable the intercom function...

Страница 20: ...indicate with a blink the code of the apartment called To cancel the call press the button below icon Press the button below icon to return to the intercom menu The apartment receiving the call will p...

Страница 21: ...button of the monitor 7 The special codes screen will then be displayed Press the button below icon to select the field to be modified and press the buttons below icons to enter the desired code Once...

Страница 22: ...show image Enable disable the icon of the main menu in all monitors building Enable Disable Factory setting 0541 0540 0541 enable LED lights for night viewing Door panel 1 during a call or communicati...

Страница 23: ...ation button Door panel Configure only on the master monitor Relay2 3 Factory setting Delay 5 From 2500 0 5s to 2519 10s 2 03 2s LED lights for night viewing Door panel during a call or communication...

Страница 24: ...y setting General door panel 1 1111 1110 1111 General door panel 2 1121 1120 1120 General door panel 3 1131 1130 1130 General door panel 4 1151 1150 1150 General camera 1 1141 1140 1140 General camera...

Страница 25: ...tergents or cleaning products that contain acids vinegar or abrasive components Use a soft damp lint free cloth with water Always wipe the monitor in the same direction from top to bottom After cleani...

Страница 26: ...ation without prior notice 26 COMPLIANCE ART4LITE G2 MONITOR This product meets the essentials requirements of applicable European Directives regarding Electromagnetic Compatibility 2014 30 ECC NOTE O...

Отзывы: