background image

Intended use and safety

10

S-Mount Lenses User Guide V1.1.0

Sensor

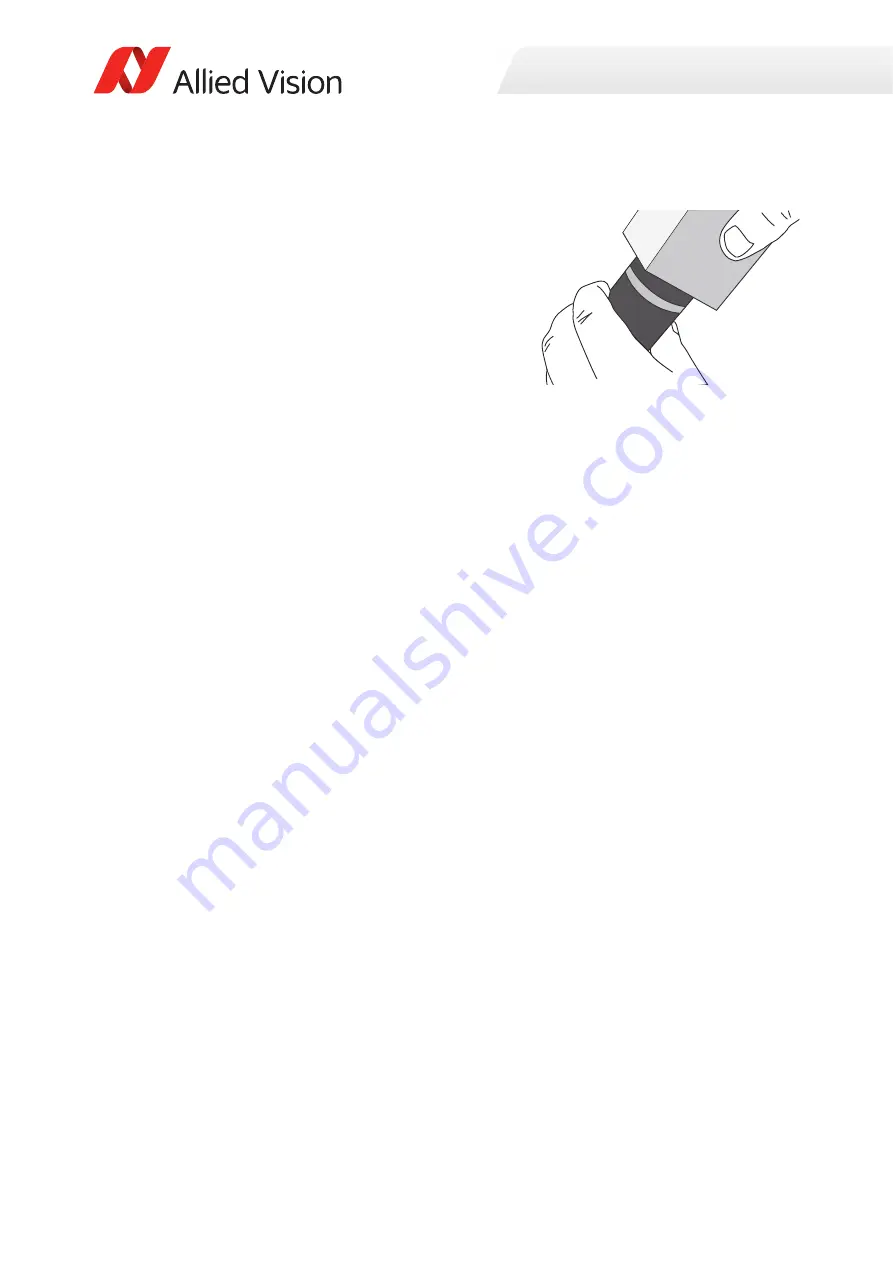
Fixing nuts

If fixing nuts are screwed with too much force, threads are worn out and lenses 
cannot be locked anymore. Using pinch nose pliers, screw fixing nuts only with 
enough force to keep the lens in a fixed position.

Copyright and trademarks

All text, pictures, and graphics are protected by copyright and other laws 
protecting intellectual property. All content is subject to change without notice.
All trademarks, logos, and brands cited in this document are property and/or 
copyright material of their respective owners. Use of these trademarks, logos, and 
brands does not imply endorsement. 

Copyright © 2020 Allied Vision Technologies GmbH. All rights reserved.

Sensors are sensitive to excessive 
radiation: focused sunlight, lasers, and 
X-rays can damage the sensor. Dirt and 
scratches can damage the sensor, too. 
Alvium cameras with S-Mount lenses 
are delivered without a filter to 
protect the sensor.
Alvium cameras do not need 
additional cleaning. Cameras are 
cleaned before shipping. Incorrect 
cleaning can damage the sensor. 
Therefore, never clean the sensor. 
Protect the sensor from dirt, because 
dirt becomes more visible the closer it 
gets to the sensor. In addition, keep 
the back lens clean. Hold the camera 
with the lens mount facing the ground 
to keep dirt out of the lens mount

 Figure 2: Protecting the sensor from dirt

Содержание 12338

Страница 1: ...V1 1 0 Allied Vision Technologies GmbH Taschenweg 2a 07646 Stadtroda Germany 2020 Jan 07 ALVIUM CAMERAS S Mount Lenses User Guide ...

Страница 2: ...ation and ordering For all information about Alvium cameras and accessories see for MIPI CSI 2 cameras www alliedvision com en support technical documentation alvium csi 2 documentation for USB3 Vision cameras www alliedvision com en support technical documentation alvium usb documentation Please contact your Allied Vision Sales representative for ordering and for additional information on hardwar...

Страница 3: ...eral info alliedvision com Support support alliedvision com Headquarters Allied Vision Technologies GmbH Taschenweg 2a 07646 Stadtroda Germany T 49 36428 677 0 F 49 36428 677 28 Sales offices Europe Middle East and Africa North and South America Asia Pacific China T 49 36428 677 230 Toll free 1 877 USA 1394 T 1 978 225 2030 California 1 408 721 1965 T 65 6634 9027 T 86 21 64861133 ...

Страница 4: ...xing nuts 10 Copyright and trademarks 10 Specifications 11 IR types and lens position 12 IR types 12 IR cut filter spectral transmission 12 Lens position in tables 12 S 2 97 F4 5MP T1 2 5 13 Lens position at infinity approximately 13 S 4 1 F3 5MP T1 2 5 14 Lens position at infinity approximately 14 S 6 F1 8 5MP T1 2 5 15 Lens position at infinity approximately 15 S 8 F1 8 5MP T1 2 5 16 Lens positi...

Страница 5: ...S Mount Lenses User Guide V1 1 0 5 Document history and conventions This chapter includes Document history 6 Conventions used in this user guide 6 ...

Страница 6: ...dded IR cut filter spectral transmission on page 12 Added convention for Lenses naming on page 7 Applied minor editorial changes V1 0 0 2019 May 23 Release version Table 1 Document history Style Function Emphasis Highlighting important things Web links and references Links to webpages and internal cross references Table 2 Typographical styles CAUTION Personal injuries Precautions are described NOT...

Страница 7: ...RC Content element Lens mount Focal length Aperture f Supported pixel resolution Sensor size IR type Content meaning S Mount 2 97 mm F 4 5 MP Type 1 2 5 IR cut filter Megapixels Table 3 Naming for lenses with an IR cut filter S 2 97 F4 5MP T1 2 5 Content element Lens mount Focal length Aperture f Supported pixel resolution Sensor size IR type Content meaning S Mount 2 97 mm F 4 5 MP Type 1 2 5 IP ...

Страница 8: ...S Mount Lenses User Guide V1 1 0 8 Intended use and safety This chapter includes Intended use 9 Your safety 9 Product safety 9 Copyright and trademarks 10 ...

Страница 9: ...fined by ISO 13485 clause 7 2 customer related processes equivalent to ISO 9001 clause 8 2 Your safety Threads of the lens and the camera lens mount have sharp edges Be careful these edges do not cut your skin when handling lenses and lens mounts Product safety To prevent material damage read the following to understand risks in using S Mount lenses Maximum protrusion If the lens exceeds maximum p...

Страница 10: ...se of these trademarks logos and brands does not imply endorsement Copyright 2020 Allied Vision Technologies GmbH All rights reserved Sensors are sensitive to excessive radiation focused sunlight lasers and X rays can damage the sensor Dirt and scratches can damage the sensor too Alvium cameras with S Mount lenses are delivered without a filter to protect the sensor Alvium cameras do not need addi...

Страница 11: ...enses User Guide V1 1 0 11 Specifications This chapter includes IR types and lens position 12 S 2 97 F4 5MP T1 2 5 13 S 4 1 F3 5MP T1 2 5 14 S 6 F1 8 5MP T1 2 5 15 S 8 F1 8 5MP T1 2 5 16 S 12 F2 8 5MP T1 2 5 17 ...

Страница 12: ...distance optical is 12 63 mm In tables for Lens position at infinity approximately the value is rounded to 12 6 mm IR type IR correction effect IR optimized Some optical elements have an optical coating for use in the visible and NIR spectrum IR cut An IR cut filter improves color reproduction and focus visible with monochrome cameras as well Table 5 IR types Figure 3 IR cut filter spectral transm...

Страница 13: ...with Type 1 2 5 Back focus 3 5 mm IR correction type IR optimized IR cut Relative illumination 66 Distortion 1 Dimensions diameter length Ø 14 mm 18 5 mm Ø 14 mm 18 1 mm Mass 10 g Table 6 S 2 97 F4 5MP T1 2 5 specifications ID Component or distance type IR optimized IR cut 1 Electronics component 2 Sensor with cover glass a Lens front to sensor1 distance 20 6 mm b Lens front to front flange distan...

Страница 14: ...ype 1 2 5 Back focus 5 3 mm IR correction type IR optimized IR cut Relative illumination 70 Distortion 0 4 Dimensions diameter length Ø 14 mm 17 9 mm Ø 14 mm 17 8 mm Mass 10 g Table 8 S 4 1 F3 5MP T1 2 5 specifications ID Component or distance type IR optimized IR cut 1 Electronics component 2 Sensor with cover glass a Lens front to sensor1 distance 21 8 mm b Lens front to front flange distance 9 ...

Страница 15: ...pe 1 2 5 Back focus 9 6 mm IR correction type IR optimized IR cut Relative illumination 64 Distortion 12 Dimensions diameter length Ø 14 mm 18 8 mm Ø 14 mm 18 6 mm Mass 10 g Table 10 S 6 F1 8 5MP T1 2 5 specifications ID Component or distance type IR optimized IR cut 1 Electronics component 2 Sensor with cover glass a Lens front to sensor1 distance 26 2 mm b Lens front to front flange distance 13 ...

Страница 16: ...ck focus 7 8 mm IR correction type S 8 F1 8 5MP T1 2 5 IR optimized IR cut Relative illumination 68 Distortion 7 Dimensions diameter length Ø 14 mm 19 5 mm Ø 14 mm 21 2 mm Mass 10 g Table 12 S 8 F1 8 5MP T1 2 5 specifications ID Component or distance type IR optimized IR cut 1 Electronics component 2 Sensor with cover glass a Lens front to sensor1 distance 26 2 mm b Lens front to front flange dist...

Страница 17: ... 1 2 5 Back focus 8 57 mm IR correction type IR optimized IR cut Relative illumination 82 5 Distortion 1 75 Dimensions diameter length Ø 14 mm 10 2 mm Ø 14 mm 11 4 mm Mass 10 g Table 14 S 12 F2 8 5MP T1 2 5 specifications ID Component or distance type IR optimized IR cut 1 Electronics component 2 Sensor with cover glass a Lens front to sensor1 distance 17 5 mm b Lens front to front flange distance...

Страница 18: ...S Mount Lenses User Guide V1 1 0 18 Using S Mount lenses Learn how to use S Mount lenses ...

Страница 19: ...careful when mounting or unmounting lenses NOTICE Damage to sensor optics or electronics by improper handling If an S Mount lens is screwed against the sensor or electronics sensor lens or electronics can be damaged Follow the instructions carefully Mounting the fixing nut to the lens 1 Screw the fixing nut clockwise onto the lens until you can hold the front part a of the lens with your finger ti...

Страница 20: ... mount until you feel the lens is locked Figure 7 Locking the fixing nut Checking focus is set and locked properly 5 Check No 1 Try to rotate the lens with little force in both directions to ensure the lens is safely locked in position Figure 8 Checking lens is safely locked 6 Check No 2 The S Mount thread allows a slightly tilted lens position In this case the focus for a common object plane vari...

Отзывы: