18
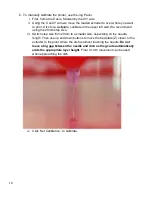
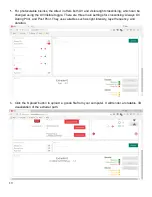
b. To manually calibrate the printer, use the Jog Panel.
i. First, home the Z axis, followed by the X/Y axis.
ii. Using the X and Y arrows, move the loaded extruder to over where you want
to print. If it’s for a wellplate, calibrate in the upper left well. We recommend
using the 20mm step size.
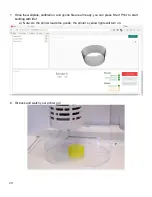
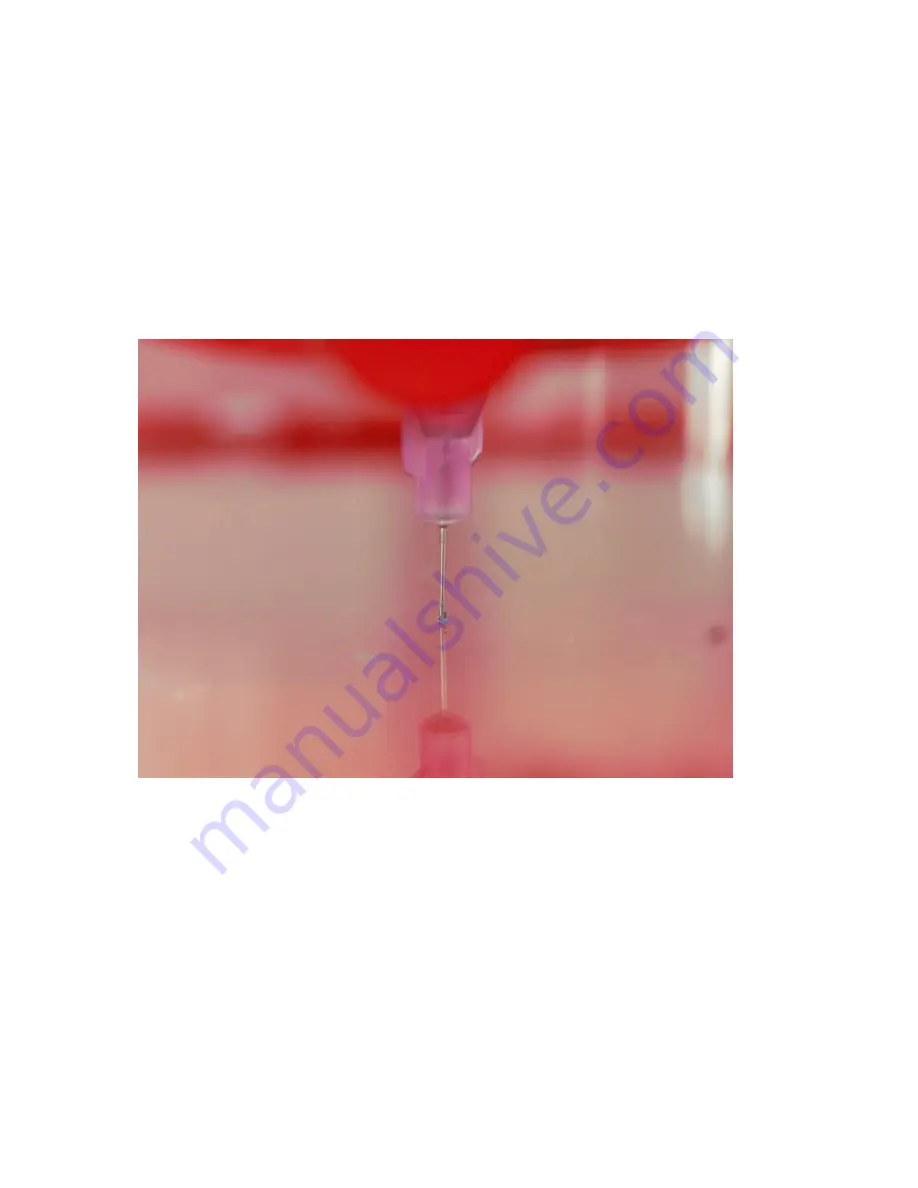
iii. Switch step size from 20mm to a smaller size, depending on the needle
length. Then use up and down buttons to move the bed plate (Z) closer to the
extruder to the point where the dish is almost touching the needle.
Do not
leave a big gap between the needle and dish as the gcode automatically
adds the appropriate layer height.
Finer 0.1mm movement can be used
when approaching the dish.
iv.
Click ‘Set Calibration.’ to calibrate.
Содержание 3
Страница 1: ...1 Allevi 3 User Guide 1 0 3 ...
Страница 2: ...2 BUILD W ITH LIF E ...
Страница 6: ...6 Let s Get Started ...
Страница 13: ...13 Let s Start Printing ...
Страница 22: ...22 Allevi Inc 3401 Grays Ferry Ave Building 176 Philadelphia PA 19146 Copyright Allevi Inc 2018 ...
Страница 23: ...23 ...

