16
Printing your STL in the Device tab
In the Allevi software, there are 3 workflows for printing: Project workflow, the Devices tab, and the
Offline Interface
. In this section, we’ll look at printing via the Devices tab.
1.
Turn on your printer. Yellow lights will stay on while the printer loads its firmware and connects to
the Internet. You can connect to your printer once they are off and it
’s connected.
2.
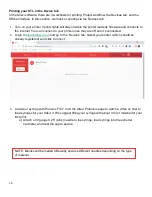
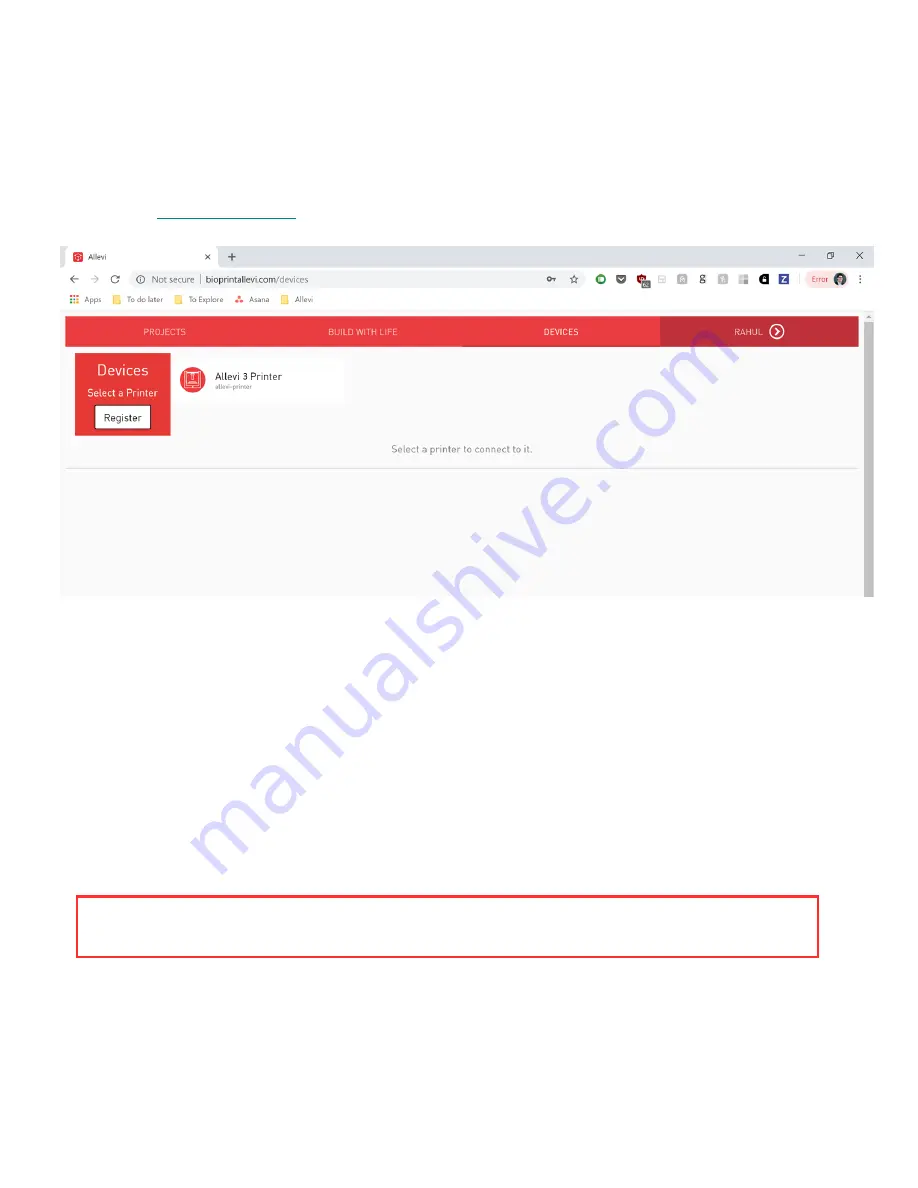
Login to
bioprintallevi.com
and go to th
e ‘Devices’ tab. Select your printer (which should be
already registered) and click ‘Connect.’
3.
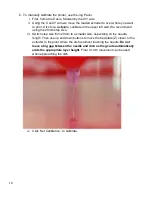
Load your syringe with Pluronic F127. Visit the Allevi Protocols page to watch a video on how to
load syringes for your Allevi 3. We suggest filling your syringe with about 3 ml of material for your
first print:
a) Attach a 30 gauge 0.25
” (pink) needle to the syringe, load syringe into the extruder
cannister, and twist the cap to secure.
NOTE: Bioinks will be loaded differently and use different needles depending on the type
of material.
Содержание 3
Страница 1: ...1 Allevi 3 User Guide 1 0 3 ...
Страница 2: ...2 BUILD W ITH LIF E ...
Страница 6: ...6 Let s Get Started ...
Страница 13: ...13 Let s Start Printing ...
Страница 22: ...22 Allevi Inc 3401 Grays Ferry Ave Building 176 Philadelphia PA 19146 Copyright Allevi Inc 2018 ...
Страница 23: ...23 ...

