5
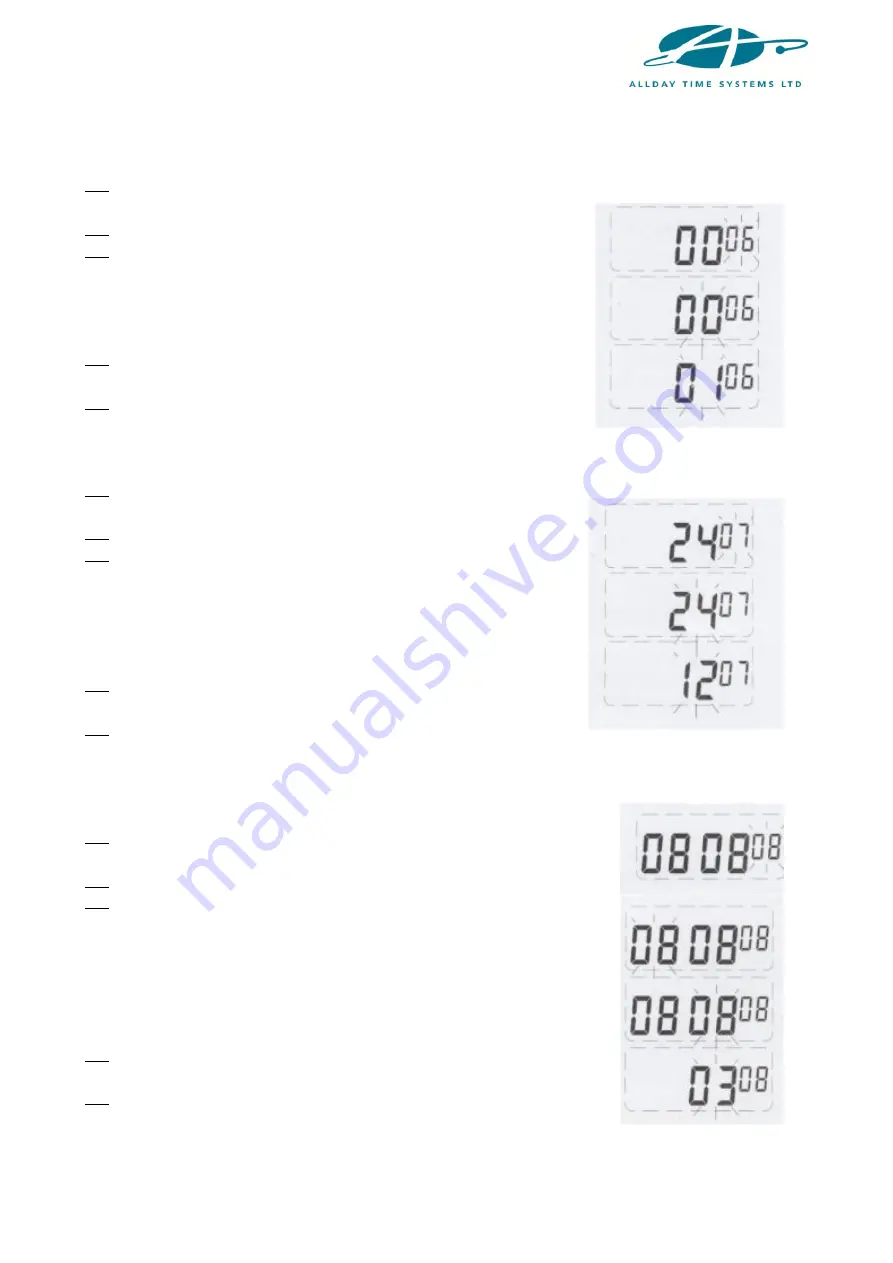
6. SETTING THE AUTO DETECT FEATURE FOR MONTHLY TIME CARDS
(1) Move the setting button to the left to enter the setting mode. Press the
+/-
buttons
to choose setting number
06
.
(2) Press the
ENTER
button to enter the setting.
(3) Press the
+/-
buttons to select
00
or
01
.
NOTE:
00
sets the machine to auto-detect the card side.
01
turns auto card side detection off.
(4) Press the
ENTER
button to confirm the setting and the
setting number will change to setting
07
.
(5) Slide the setting button to the right to complete the setting.
7. SETTING THE HOUR MODE (12/24HR)
(1) Move the setting button to the left to enter the setting mode. Press the
+/-
buttons
to choose setting number
07
.
(2) Press the
ENTER
button to enter the setting.
(3) Press the
+/-
buttons to select either the
12
or
24
hour
time format.
NOTE:
12
hour would display 3.30pm as 3.30.
24
hour would display 3.30pm as 15.30.
(4) Press the
ENTER
button to confirm the setting and the
setting number will change to setting
08
.
(5) Slide the setting button to the right to complete the
setting.
8. SETTING THE CARD FORMAT
(1) Move the setting button to the left to enter the setting mode.
Press the
+/-
buttons to choose setting number
08
.
(2) Press the
ENTER
button to enter the setting.
(3) Press the
+/-
buttons to select
00
or
01
.
HINT:
00
is when the 1
st
row is blank/empty on the time
card (standard).
01
is when the 16
th
row is blank/empty on the time
card.
(4) Press the
ENTER
button to confirm the setting and the setting
number will change to setting
09
.
(5) Slide the setting button to the right to complete the setting.


