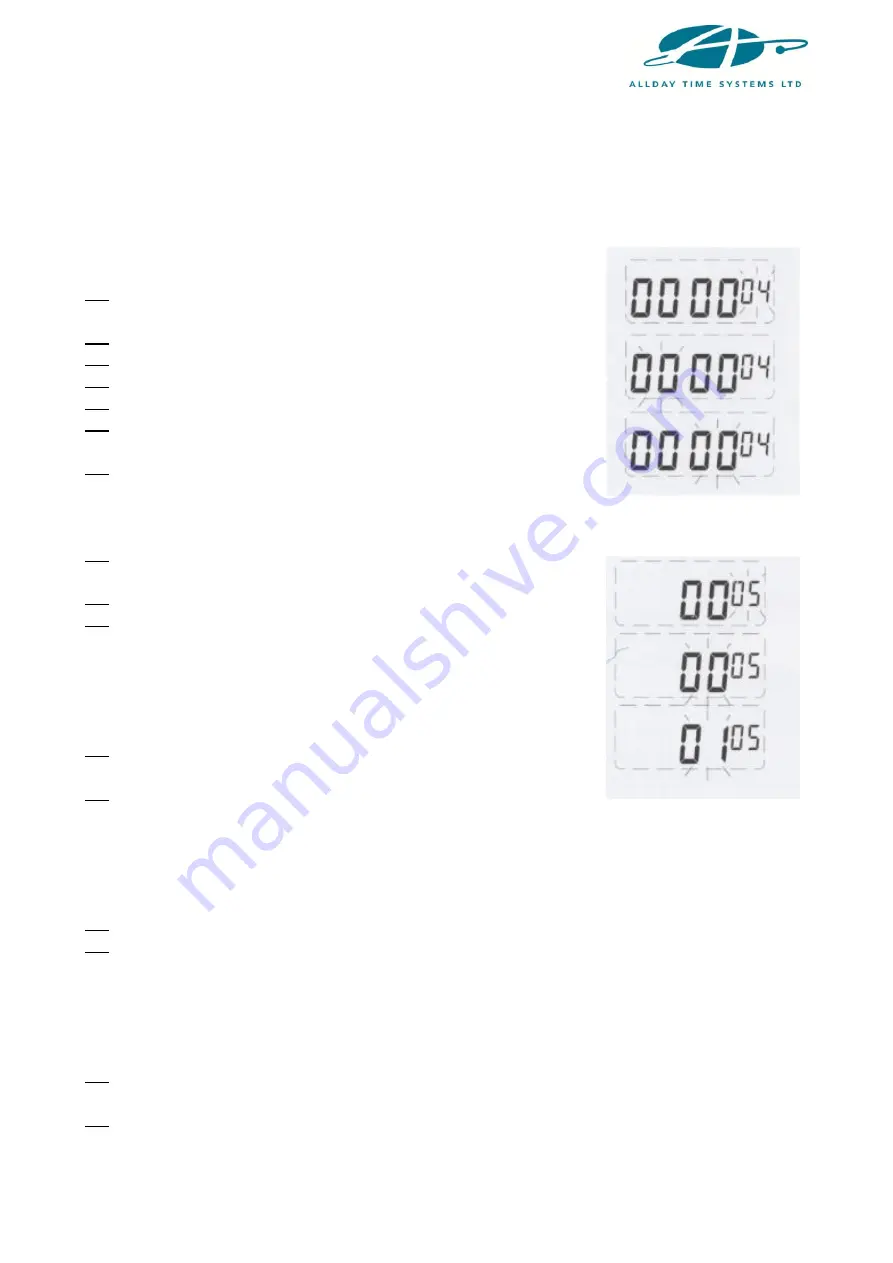
4
4. SETTING THE DAY CHANGE TIME
*This is the time the clock will change to the next day and hence print on the next line of
the card.
(1) Move the setting button to the left to enter the setting mode.
Press the
+/-
buttons to choose setting number
04
.
(2) Press the
ENTER
button to enter the setting.
(3) Press the
+/-
buttons to select the correct hour.
(4) Press the
ENTER
button to confirm the setting.
(5) Press the
+/-
buttons to select the correct minute.
(6) Press the
ENTER
button to confirm the setting and the
setting number will change to setting
05
.
(7) Slide the setting button to the right to complete the setting.
5. SETTING THE PRINT POSITION
(1) Move the setting button to the left to enter the setting mode.
Press the
+/-
buttons to choose setting number
05
.
(2) Press the
ENTER
button to enter the setting.
(3) Press the
+/-
buttons to select the desired vertical print
position. The number range is between
00
and
15
.
NOTE:
00
will print at the highest position.
15
will print at the lowest position.
(4) Press the
ENTER
button to confirm the setting.
(5) Press the
+/-
buttons to select the desired horizontal print
position. The number range is between
00
and
30
.
NOTE:
00
will print at the leftmost position.
30
will print at the rightmost position.
(6) Press the
ENTER
button to enter the setting.
(7) Press the
+/-
buttons to select the desired print size.
The number range is between
00
and
07
. The default setting is
03
.
NOTE:
00
will print at the smallest size.
07
will print at the largest size.
(8) Press the
ENTER
button to confirm the setting and the setting number
will change to setting
06
.
(9) Slide the setting button to the right to complete the setting.


