3
www.Observint.com
© 2014 Observint Technologies. All rights reserved.
3.
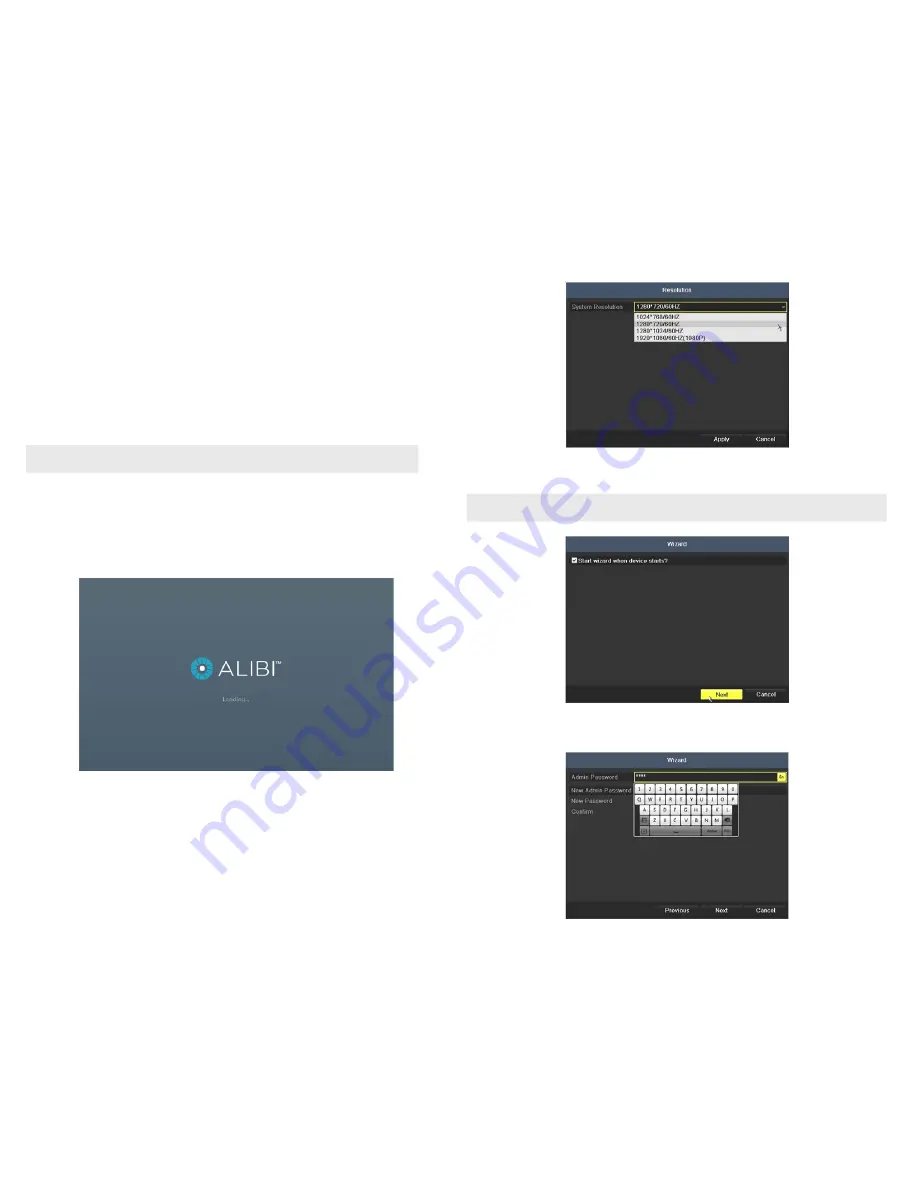
The Setup Wizard can assist you in making important configuration settings in DVR. Click
Next
button on the Wizard window to open
the
Login
window.
NOTE
The configuration settings presented in the setup Wizard can also be made and changed using the Menu system. See the
ALI-DVR3000H Series 960H Digital Video Recorder User Manual
provided on CD with your system for more information.
4.
Enter the admin password in the appropriate field. To do that, click inside the
Admin Password
field to open the virtual keyboard.
Click the appropriate icons to enter the password, then click the
Enter
icon. The default
admin
password is
1111
.
Step 2. Install cameras
Install your security cameras as needed to support your security requirements. Always refer to the documentation provided with the camera
for installation instructions.
Step 3. Connecting it together – initial system setup
1.
Plug the coaxial cables from the cameras into the BNC camera input connectors on the back of the DVR.
2.
Power on the DVR using the power on / off (I / O) switch on the back panel.
3.
Power on the monitor.
NOTE
Some monitors have multiple inputs such including VGA ,HDMI, BNC, etc. If you are using this kind of monitor, configure your
monitor to display the input connected to your DVR (HDMI or VGA).
4.
Power on your cameras.
1.1.1 Using the Wizard for basic configuration setup
1.
Power on your DVR. When the DVR is powered on, an Alibi logo splash screen appears within 2 minutes.
2.
After the initial Alibi loading window (see above), a monitor resolution selection screen appears. The DVR will offer the optimal
resolution for your monitor, but you can select another resolution if you prefer. At this screen, select the preferred resolution, then click
Next
, or allow the setup Wizard to open.


