Alfano Tyrecontrol2 A-1910 Скачать руководство пользователя страница 11


Copyright 

©

 2005 Alfano, S.A. Tous droits réservés. 

11 

SETUP 


These menus consist in configuring various parameters of the Tyrecontrol : 


01) 

Assignment of the numbers of the vehicles 

« menu 01 » 

(page 12)


02) 

Regulating of the clock and the calendar 

« menu 02 » 

(page 13)


03) 

Choice of the unit Bar/PSI 

« menu 03 » 

(page 14)


04) 

Choice of the unit C°/F° 

« menu 04 » 

(page 14)


05) 

Choice of the vehicle 

« menu 05 » 

(page 15)


06) 

Configuration of the sequence of the captures 

« menu 06 » 

(page 15)


07) 

Calibration of the Pressure sensor 

« menu 07 » 

(page 18)


08) 

Calibration of the Temperature sensor 

« menu 08 » 

(page 19) 

09) 

Information Menu : Serial number and Firmware number of the device


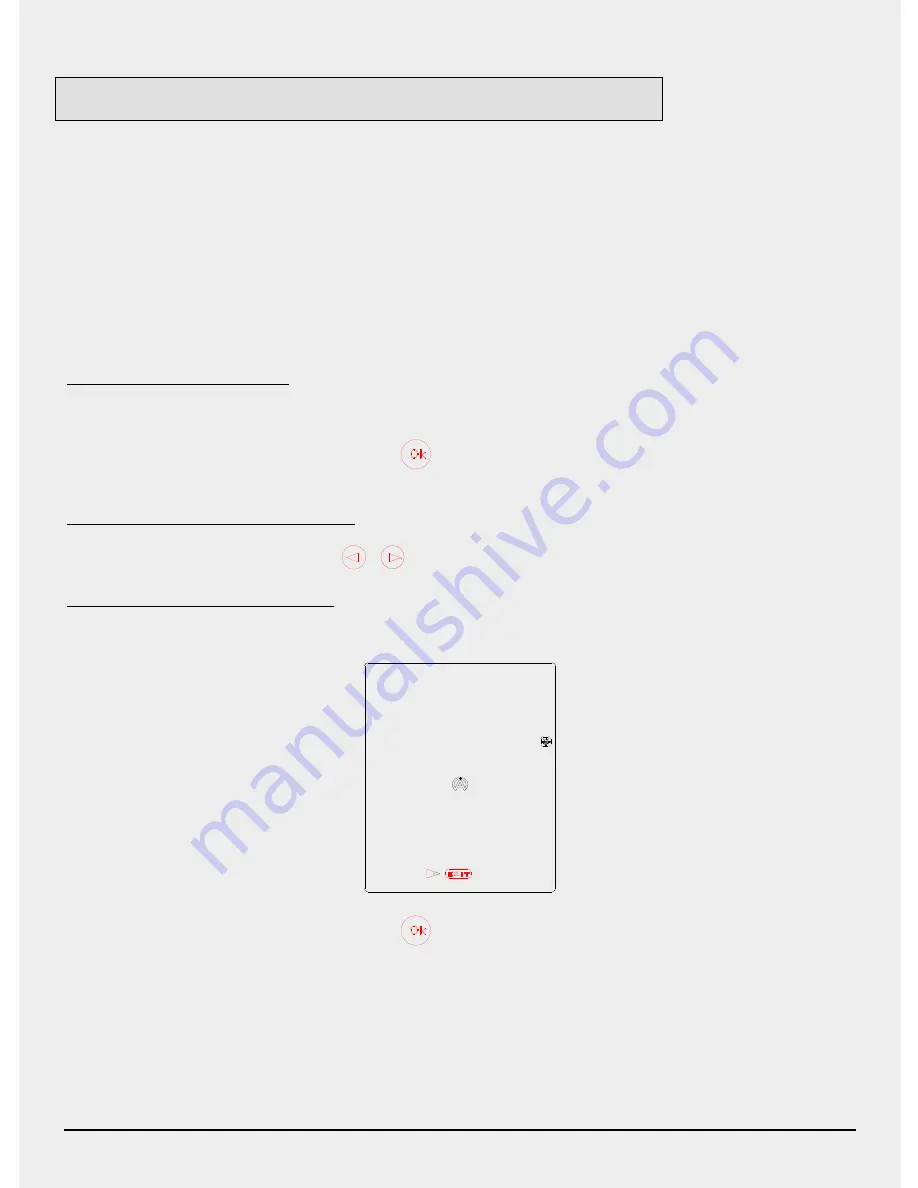
Procedure to reach the SETUP :  
 

1) 

The Tyrecontrol must be stopped.   


2) 

Press the central button 

 during minimum 5 seconds, the Tyrecontrol starts in 

the first menu SETUP :

 « Assignment of the numbers of the vehicles ». 


Procedure to browse the menus SETUP :  


Press the button

or


Procedure to leave the mode SETUP :  

 
1)


After the menu 

« Calibration of the Temperature sensor »


2)


Press the central button 

 on « EXIT », the Tyrecontrol starts in its normal 

working  on mode « RECORD ». 


Содержание Tyrecontrol2 A-1910

Страница 1: ...Tyrecontrol2 A 1910 User Manual EN...

Страница 2: ...batteries Switch off the device before removing the used batteries to avoid all loss of data recorded Insert the two new batteries into the device properly and make sure the terminals and are aligned...

Страница 3: ...conds the same button the TYRECONTROL starts WITH the backlight Switching off the TYRECONTROL When the Tyrecontrol is not in the menu OFF it dies out automatically after 10 minutes of non use Weak bat...

Страница 4: ...buttons select the icon RECORD figure 1 In the position RECORD the Tyrecontrol displays The hour and the date in real time The pressure in real time allows a fast measure The pressures of the last Set...

Страница 5: ...s in the Set 03 before race Set free of the vehicle 3 while starting with a capture of pressure on the right rear tyre Figure 4 Figure 5 Figure 6 5 Apply the mouthpiece of the Tyrecontrol on the valve...

Страница 6: ...the menu RECORD Note it is possible to program a sequence of capture temperatures and pressures in the order desired See Menu SETUP page 15 configuration of the captures sequence This menu consists i...

Страница 7: ...9 Figure 10 On the example Figure 10 the Tyrecontrol displays for the vehicle 1 the first phase of data of the last Set recorded that is to say the tires pressures before and after race the gaps Figu...

Страница 8: ...ol displays the first phase of data of first Set 9 Press systematically the button or to browse all data recorded correspondent in the selected vehicle 10 Use the button to browse the data recorded in...

Страница 9: ...icon T 2 Apply the temperature sensor A481 on the tire This menu consists in erasing the recorded data Procedure 1 With the help of the buttons select the icon RST figure 14 2 With the button or sele...

Страница 10: ...aide des boutons s lectionnez l ic ne This menu consists in switching off the Tyrecontrol Procedure 1 With the help of the buttons select the icon 2 Wait for 3 seconds Note when the Tyrecontrol is not...

Страница 11: ...06 page 15 07 Calibration of the Pressure sensor menu 07 page 18 08 Calibration of the Temperature sensor menu 08 page 19 09 Information Menu Serial number and Firmware number of the device Procedure...

Страница 12: ...the number of the vehicle To activate the fast scrolling of the numbers maintain the pressed button more than 1 second To assign a number to another vehicle 5 Press the button to come back behind you...

Страница 13: ...the buttons modify the minutes To activate the fast scrolling of the numbers maintain pressed more than 1 second 5 Press the button to be able to modify the day calendar 6 With the buttons modify the...

Страница 14: ...utton to enter in the menu Ent disappears 2 With the button or modify the unit 3 Press the central button to come out of the menu 04 Choice of the unit C F Procedure OU 1 In one these two windows pres...

Страница 15: ...disappears 2 With the button or modify the type of vehicle Car or Motorbike 3 Press the central button to come out of the menu 06 Configuration of the sequence of the captures Procedure ou 1 In one o...

Страница 16: ...your choice figure 18 After confirmation the icon P selected freezes the number 1 show off in the CADRAN Then another icon appears automatically blinking red arrow figure 18 If the place of the second...

Страница 17: ...ave been programmed with the wanted priorities the capture point of asphalt temperature Note In RECORD mode the point of capture of the asphalt s temperature will be chosen automatically at the end of...

Страница 18: ...ress the central button to calibrate the sensor of pressure and to leave the menu figure 23 Figure 21 Figure 22 Note It is useful to calibrate the sensor when the FACE indicates a value of pressure wh...

Страница 19: ...gure 23 3 With the buttons adjust the temperature in the FRAME so that the displayed temperature corresponds to a temperature of reference figure 24 Figure 23 Figure 24 Note The temperature of referen...

Страница 20: ...serv s 20 09 Information Menu Serial number and Firmware number of the device The screen displays the Firmware number in the middle at the bottom 2 digits and the serial number of the device 6 digits...

Страница 21: ...r warranty extension Intervention under warranty is carried out at one of our approved after sales service centres or at our head office In the latter case the item must reach our establishment postag...

Страница 22: ...Copyright 2005 Alfano S A Tous droits r serv s 22 alfano com 10 03 2019...

Отзывы: