13
Minigraf M3
4.8.2 Vertical clamp adjustment
The vertical clamp can be adjusted in height and position.
Proceed as follows to adjust them:
4.8.2a Vertical clamp position adjustment
•
Position the mouldings to be assembled on the working
bench
•
Select the pressure pad suitable with the profile of the
moulding to be assembled and put it on the vertical bar
•
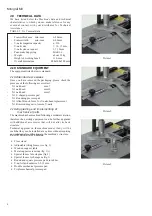
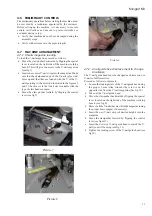
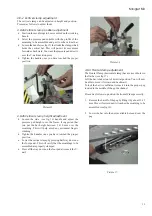
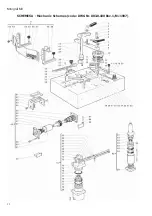
Loosen the handle (see fig.15) that locks the clamp,which
holds the vertical bar. This will permit its movement
forward or backward. You want the pressure pad directly
over the V-nail insertion point.
•
Tighten the handle once you have reached the proper
position
Picture 16
4.8.3 Frontal clamp adjustment
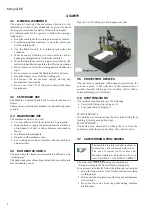
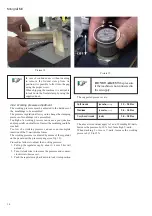
The Frontal Clamp (horizontal clamp) has a series of holes in
the flat bar (see fig.17).
Lift the bar, to take it out of its initial position. You will now
be able to move it forward and backward.
To lock the bar it is sufficient to insert it into the proper peg
located in the middle of the guide channel.
Proceed as follows to position the frontal Clamp correctly:
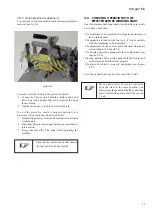
1. Remove the bar off of the peg by lifting it by about 10-15
mm. Move it forward until it touches the moulding to be
assembled (see fig.18);
2. Lower the bar into the next available hole and over the
peg.
Picture 17
4.8.2b Vertical clamp height adjustment
•
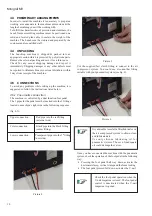
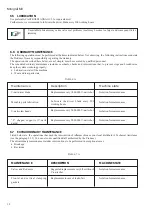
Loosen the side (see fig. 16) handle and adjust the
pressure pad height over the frame. It suggested that
you put the bar height between 5 & 8 mm over the
moulding. This will help avoid any accidental fingers
crushing.
•
Tighten the handles once you have reached the proper
position
•
Lower the vertical clamp by pressing half way down on
the foot pedal. This will verify that the mouldings to be
assembled are properly clamped
•
Press all the way down on the foot pedal to insert the V-
nail.
Picture 15


