Jawzilla Portable Clamping Jaws
AFTER SALES SUPPORT
e-mail: [email protected]
1800 909 909
MODEL: №. JH1000-01 • 03/2016 • 52539
(toll free)
10
AFTER SALES SUPPORT
(toll free)
Jawzilla Portable Clamping Jaws
e-mail: [email protected]
1800 909 909
MODEL: №. JH1000-01 • 03/2016 • 52539
Clamping your work piece
WARNING:
Do not overload the clamping jaws beyond its rated capacity.
Prior to using the portable clamping jaws ensure it is located on a flat and
level surface where all three legs are touching the ground.
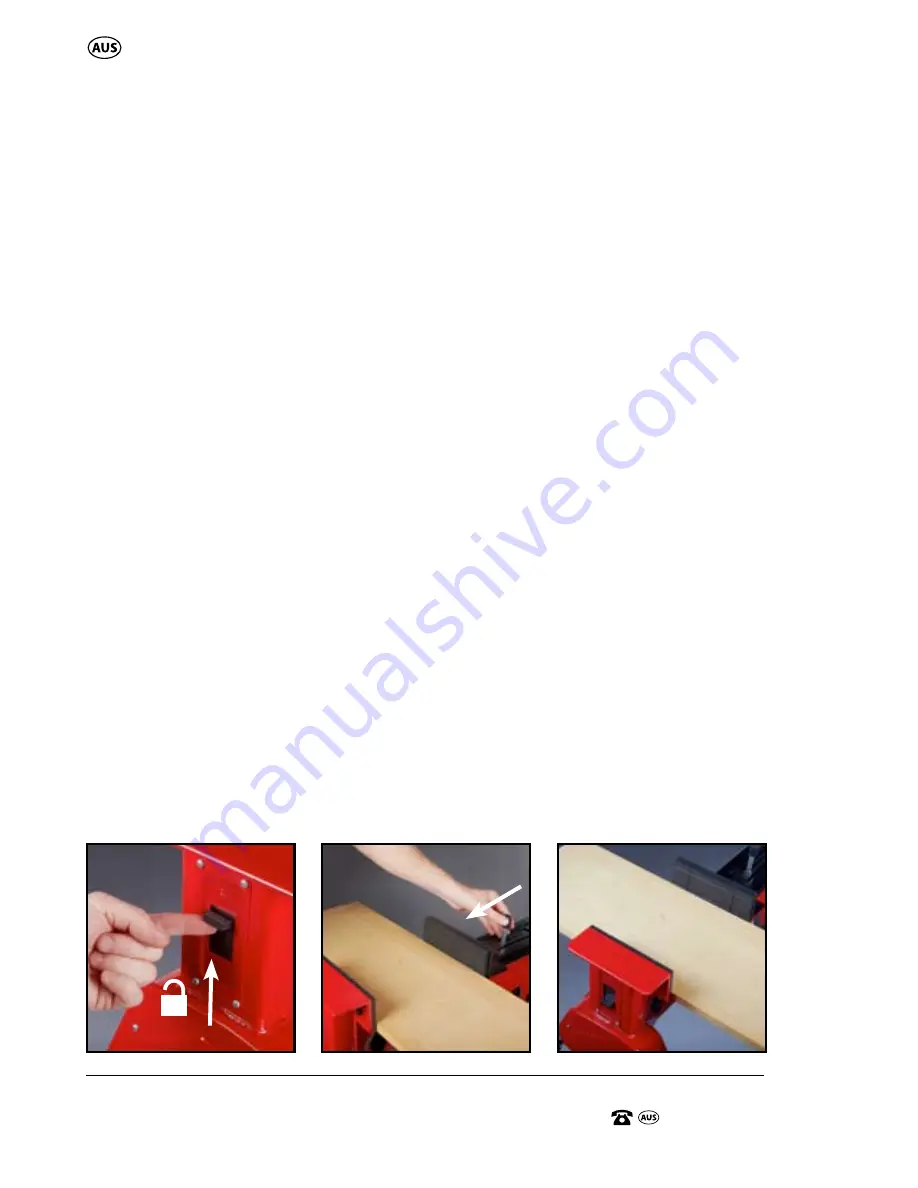
1. Ensure that the clamp locking lever (11) is in the unlock position (Fig J).
2. Using the rail push handle (1) extend the sliding clamp rail (2) away
from the fixed clamping jaw (12) allowing you to fit the material you are
clamping within the fixed clamping jaw (12) and the moving clamping jaw
(13) (Fig K), then place your clamping material in between the 2 jaws (Fig L).
3. To lock the clamping material in between the fixed clamping jaw (12) and
the moving clamping jaw (13), push down the clamp locking lever (11) to
the locking position (Fig M), then using your foot, push down the clamp
foot pedal (8) to fully secure the clamping material in place (Fig N)
NOTE:
Ensure your clamping material / work piece is secured in the
clamping stand before commencing any work.
WARNING:
Stop immediately if the clamping material /work piece or the
clamping jaws move when operating.
WARNING:
Be aware of overbalancing.
When a large piece is cut from one end of job, always ensure the work piece
is well supported to avoid dropping and tilting danger.
Un-Clamping your work piece
1. Push up the clamp locking lever (11) to the unlock position (Fig J).
2. Using your foot, push down on the clamp foot pedal (8) to release the
clamping material being locked in place (Fig N). The clamping material /
work piece can now be removed from the clamping jaws.
L.
K.
J.
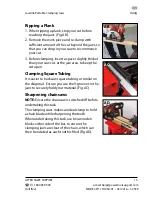
Clamping


