page
16
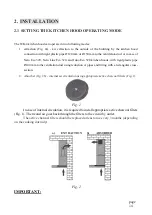
the kitchen hob Fig. 3,
•
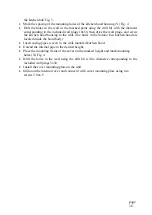
Mark the spacing of the mounting holes of the kitchen hood housing (Y) Fig. 4
•
Drill the holes in the wall in the marked point using the drill bit with the diameter
corresponding to the included wall plugs 10x50, then drive the wall plugs, and screw
the kitchen hood housing to the wall. (the holes in the Solano Eco kitchen hood are
located inside the hood body).
•
Insert casing pipes (cover) in the wall-mounted kitchen hood.
•
Extend the internal pipe to the desired height,
•
Place the mounting frame of the cover on the marked height and mark mounting
holes (X) Fig. 4
•
Drill the holes in the wall using the drill bit with a diameter corresponding to the
included wall plugs 5x30.
•
Install the cover mounting plate on the wall.
•
Slide-out the internal cover and connect it with cover mounting plate using two
screws 3.9x6.5
Содержание WK-4 ANDROS ECO
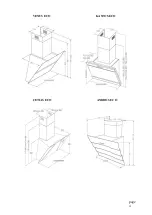
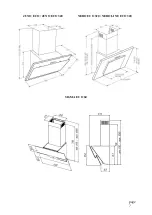
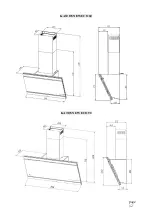
Страница 4: ...page 4 VENUS ECO KASTOS ECO CETIAS ECO ANDROS ECO ...
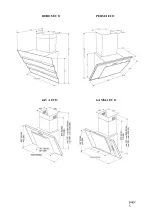
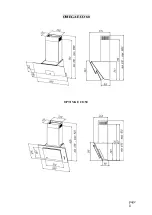
Страница 5: ...page 5 RODOS ECO PERSEI ECO JAVA ECO GAMMA ECO ...
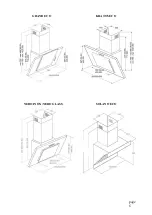
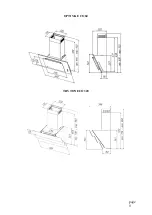
Страница 6: ...page 6 GRAND ECO KRATOS ECO NERO INOX NERO GLASS SOLANO ECO ...
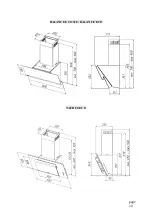
Страница 7: ...page 7 JUNO ECO JUNO ECO 320 NERO ECO 320 NERO LINE ECO 320 SIGMA ECO 60 ...
Страница 8: ...page 8 OMEGA ECO 60 OPTIMA ECO 50 ...
Страница 9: ...page 9 OPTIMA ECO 60 TRYTON ECO 320 ...
Страница 10: ...page 10 BALANCE ECO 320 BALANCE ECO TAURUS ECO ...
Страница 11: ...page 11 SELENE ECO 320 CLARUS ECO 320 CLARUS 60 T300 ...
Страница 12: ...page 12 KASTOS NEW ECO 60 KATOS NEW ECO 90 ...

