Mini-Connect v1.0
www.aja.com
9
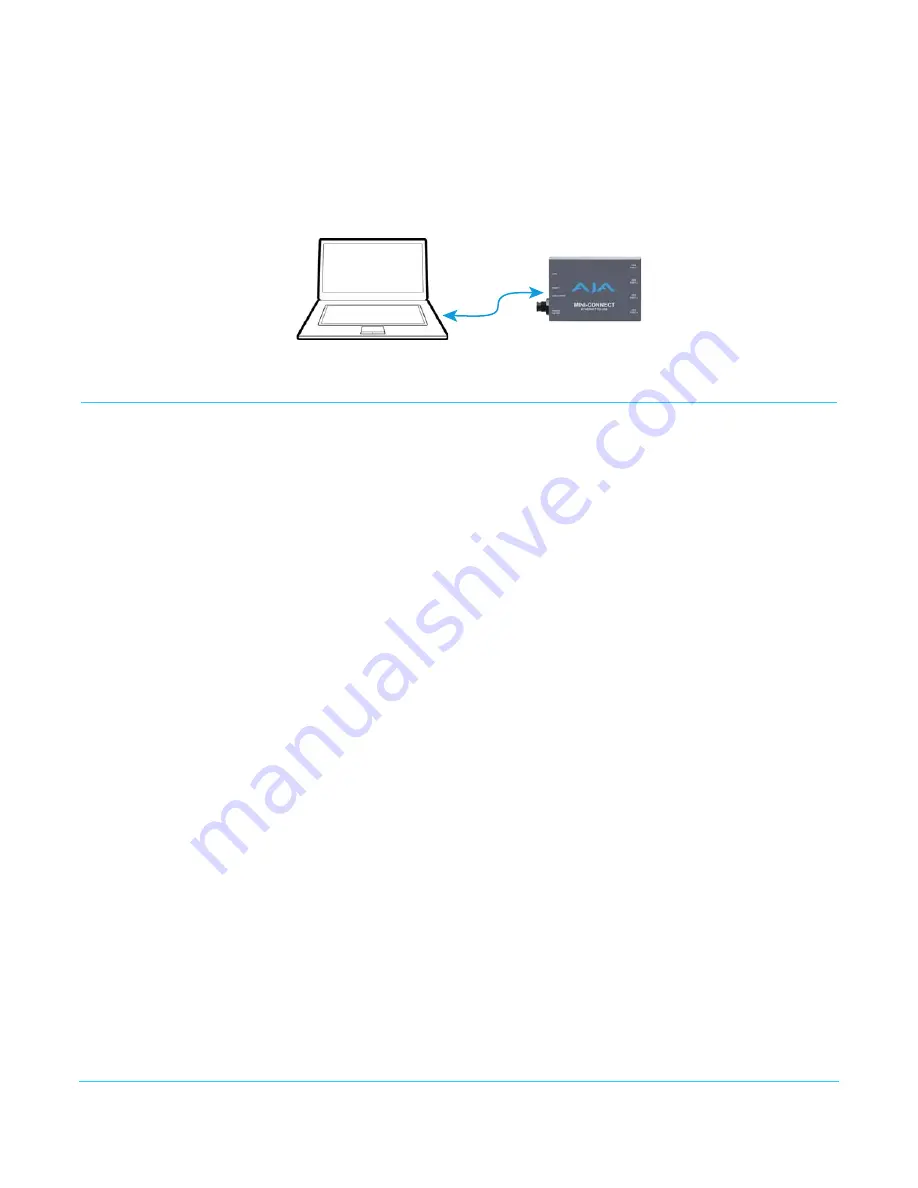
A third configuration is connecting Mini-Connect to a computer with only a USB cable.
Running the eMini-Setup application on the computer permits setting up Mini-Connect,
which can be useful for initial network configuration settings (
Figure 5
).
Figure 5. Mini-Connect Example, USB Only
USB
(Mini-Connect
Setup Only)
Computer Running
eMini-Setup
Application
Mini-Connect Installation Overview
Default Operational
Settings
Mini-Connect ships from the factory with the following configuration:
• DHCP
• UPnP Enabled
• Bonjour Enabled
This allows easy initial configuration, using DHCP, Universal Plug and Play, or Bonjour.
Network
Configuration
DHCP Setup
Mini-Connect ships with DHCP configured. If your facility uses DHCP, you can simply
connect a network Ethernet cable to Mini-Connect, power it up, and the DHCP server will
assign it an IP address. If you or your IT staff can interrogate the network and determine
that assigned IP address, simply typing that address into a browser on a network
connected computer will give you access to Mini-Connect.
Connecting with
Network Plug and Play
on a PC
On a PC running Windows, you can use UPnP to easily access Mini-Connect. For example,
in Windows 7 click on Computer, click on Network to open a window, and under Other
Devices double-click on aja-miniconnect (default), or the currently assigned name for
that specific Mini-Connect.
On Windows 7, UPnP is activated via Control Panel/Network and Internet/Network and
Sharing Center/Change advanced sharing settings/Turn On network discovery.
Connecting with
Bonjour on Mac
If Bonjour is enabled on your Mac web browser, you can easily access Mini-Connect from
that web browser. For Safari, the procedure to use Bonjour is:
1. Choose Safari/Preferences, click Advanced, and then select where you want Bonjour
to appear.
2. Click Bonjour in the Favorites bar or Bookmarks menu, and navigate to Mini-
Connect’s webpage.


