


KiPro Mini v4.2
www.aja.com
32
TCP/IP Information
You’ll Need
If your LAN has a DHCP server that assigns IP addresses dynamically, then you don’t have
to configure anything (Ki Pro Mini defaults to DHCP). If for some reason your IT
administrator prefers an assigned IP address that is fixed (called a “static IP”), then get the
IP address—you’ll be entering it in the “IP CONFIG parameter.” If your LAN requires static
IP addresses, then also ask your IT administrator for the
Subnet Mask
and
default gateway
IP address (your LAN’s internet router). The following two topics discuss two different
ways to set up Ki Pro Mini: via DHCP or via a static IP address.
Networking via
DHCP
The default configuration (from the factory) automatically looks for a DHCP server to
issue an IP address. So, as long as your network has a DHCP server (usually part of your
router), then you need to do nothing other than plugging the Ki Pro Mini into the net. To
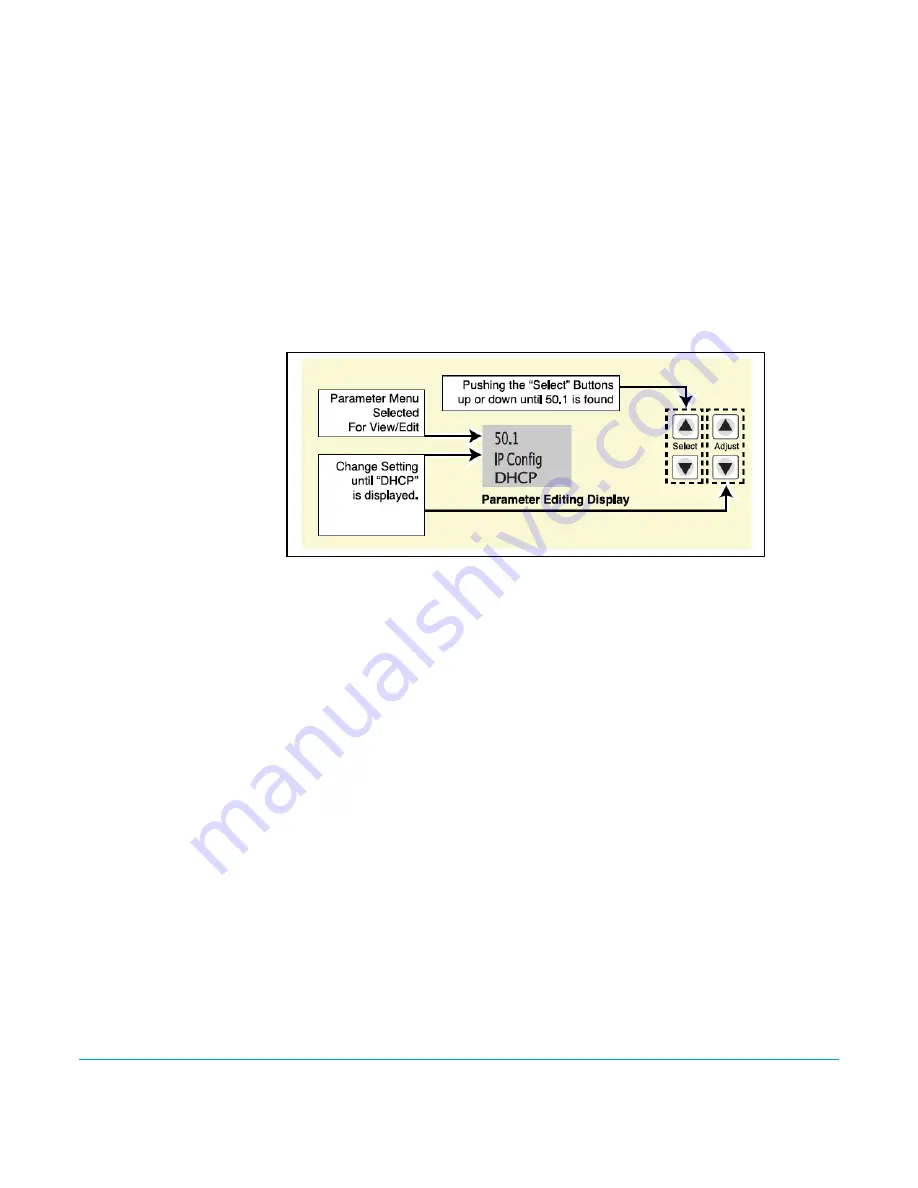
manually select DHCP: use the Select buttons to navigate to the parameter “50.1 IP
CONFIG”, and then use the Adjust buttons to select “DHCP”. That’s it!
Here are the steps to communicate with Ki Pro Mini after choosing the DHCP selection:
1.
Use the Select buttons to navigate to parameter 50.2. Note on a piece of paper the
DHCP supplied IP address shown.
2.
With your laptop or desktop computer connected to the same LAN and DHCP
enabled, type the IP address you noted in step 1 into the browser address bar. You
should now see Ki Pro Mini’s browser status screen.
USO
RESTRITO


