Page 7
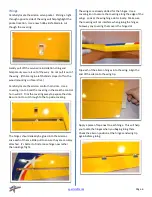
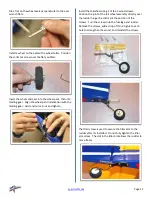
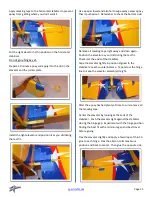
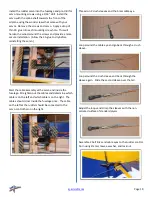
Push the aileron tight against the wing closing the gap
between the two of them. Move the aileron to its
maximum desired deflection. Notice how the hinges pull
out slightly. If you close the hinge gap tightly you may
have trouble reaching maximum deflection of the aileron.
Experiment with the hinge position finding the best fit
before gluing.
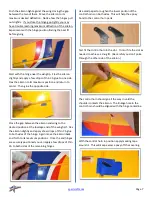
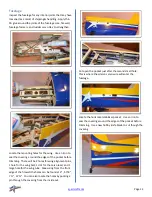
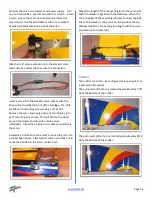
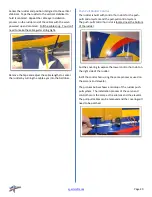
Start with the hinge near the wing tip. Flex the aileron
slightly and apply a few drops of thin CA glue to one side.
Flex the aileron to its maximum position and return to
center. Then glue the opposite side.
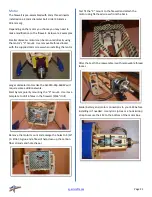
Close the gap between the aileron and wing to the
desired position at the fuselage end of the wing half. Flex
the aileron slightly and apply a few drops of thin CA glue
to both sides of the hinge. Again move the aileron back
and forth to its maximum positions. Once the end hinges
are securely positioned you can apply a few drops of thin
CA to both sides of the remaining hinges.
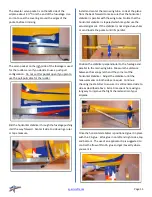
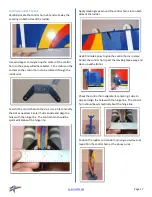
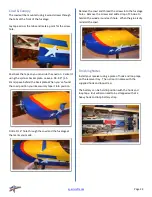
Use sand paper to roughen the lower portion of the
control horns on both sides. This will help the epoxy
bond to the control horn parts.
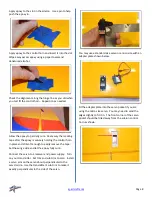
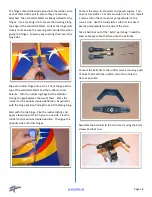
Test fit the control horn in the slot. Trim or file the slot as
needed to achieve a snug fit. (
Be careful you don’t poke
through the other side of the aileron.)
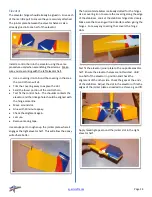
The control horn should go all the way in until the
shoulder contacts the aileron. The linkage hole in the
control horn should be aligned with the hinge centerline.
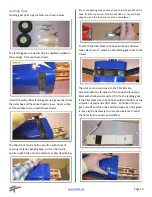
With the control horn in position apply masking tape
around it. This will keep excess epoxy off the covering.


