11
AirTies AP-400 User Manual
First verify that your computer has an IEEE 802.11b or 802.11g compatible Wireless
Access Card installed. If not, first install a Wireless Access Card on your computer.
After making the hardware connections of your AP-400 as explained in the previous
section, power it on.
On the wireless computer(s) that will be connected to the AP-400, start the utility
program for the Wireless Access Card (e.g. "Intel Proset" or "Wireless Network Connection"
for Windows). Look for wireless networks in range in the "View Wireless Networks" window.
Connect to the wireless network with the name (SSID) "AIRTIES_AP-400", the default
SSID of the wireless network set up by the AP-400. If you have assigned a different SSID
to your wireless network during configuration, connect to that one.
4.3.
Setting the Operation Mode
The AP-400 can operate as either an Access Point, a Repeater, or a Bridge : it can
operate as either an access point or a repeater or a bridge.
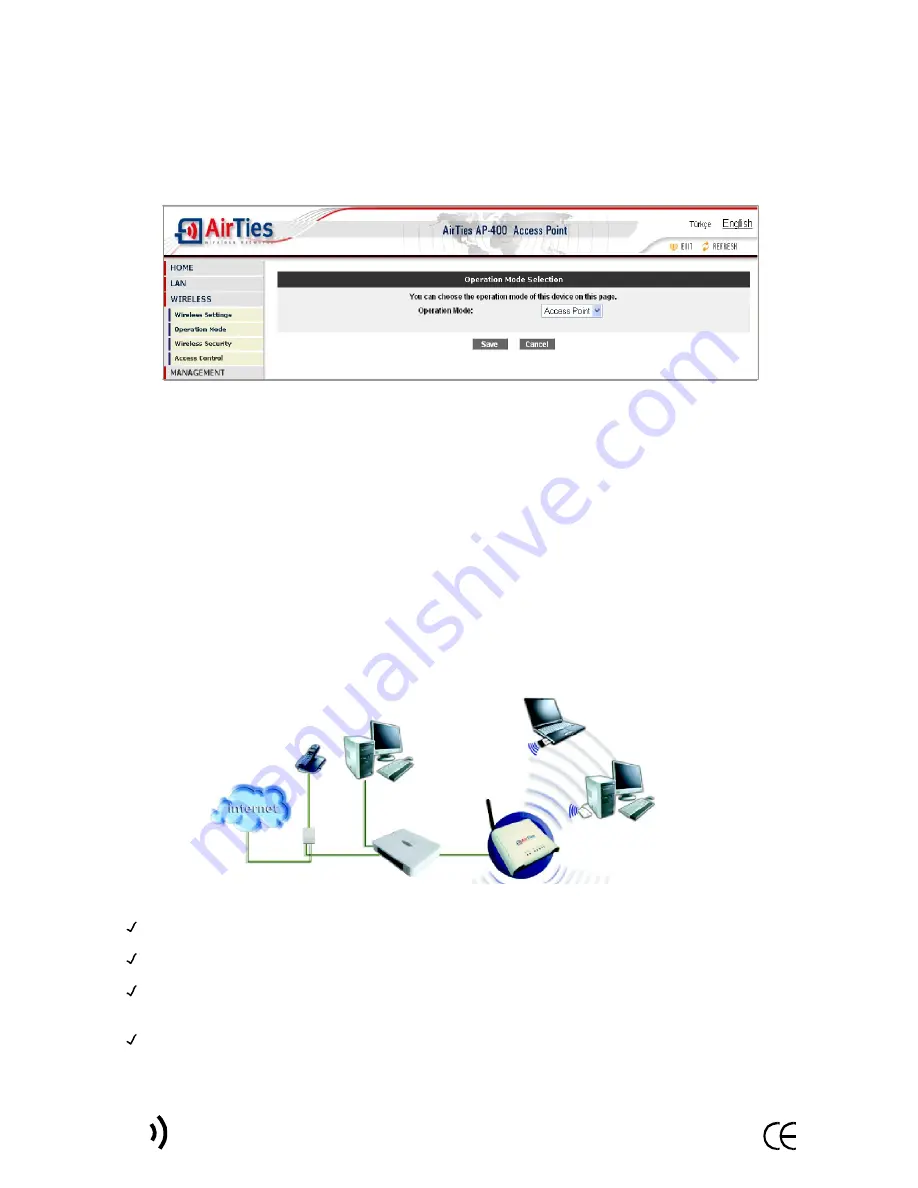
To set the Operation mode, go to the "Operation Mode" submenu under the "WIRELESS"
menu. The "Operation Mode Selection" window will appear.
In this window, select the mode that you want your AP-400 to operate in and click "Save".
4.3.1.
Configuring the AP-400 as an Access Point
The AP-400 operates as an
Access Point
by default unless a different mode is selected.
Connect the AP-400 to an ADSL router, cable modem or local area network via its
Ethernet port.
The diagram below is an example where the AP-400 is being used as an access point
device.
Содержание AP-400
Страница 1: ...USER MANUAL Wireless Access Point...
Страница 2: ...This manual has been prepared by AirTies Wireless Networks Corporation All rights reserved...
Страница 24: ......


