Air Lift 1000
6
A tee air line installation serving both air bags is recommended. If the weight in the
vehicle varies from one side to the other and unequal pressures are needed to level the
load or compensate for axle torque transfer in racing applications, use dual air lines.
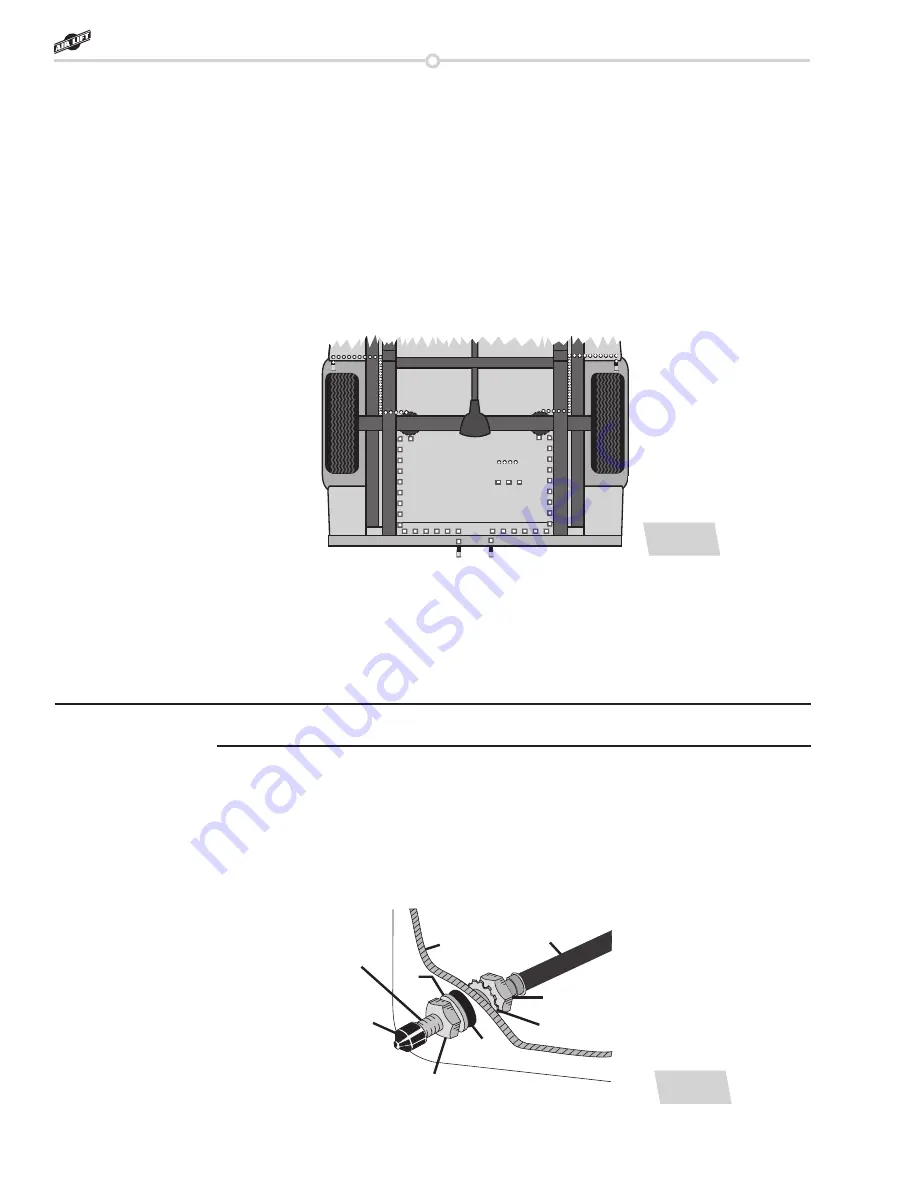
Select a location for the inflation valve for each air line in the gas cap well, the trunk,
rear bumper, fender flange or behind the license plate, ensuring that the valve will be
protected and accessible with an air hose. (Fig. D.1)
1. Choose a convenient location for mounting the inflation valves. Popular locations for
the inflation valve are:
a. The wheel well flanges
b. The license plate recess in bumper
c. Under the gas cap access door
d. Through the license plate
Whatever the chosen location, make sure there is enough clearance around the inflation
valves for an air chuck.
2. Drill 5/16” holes to install the inflation valves.
3. If installing dual air lines, cut the air line assembly in two equal lengths.
4. Place a 5/16” nut and star washer on the air valve. Leave enough of the inflation
valve in front of the nut to extend through the hole and have room for the rubber
washer, flat washer, and 5/16” nut and cap. There should be enough valve exposed
after installation – approximately 1/2” – to easily apply a pressure gauge or an air
chuck. (Fig. D.2)
D. Installing the Air Lines
NOTE
Option 1:
Option 2:
fig. D.1
Air line to
air spring
Star
washer
Vehicle body
or bumper
Hex nut
Hex nut
Rubber
washer
Flat
washer
Valve
Cap
Schrader
valve
fig. D.2


