Usage and Maintenance Instructions
Ver.3 09/2013 (2634)
4
CENTRAL LOCKING MECHANISM AND USE
1.
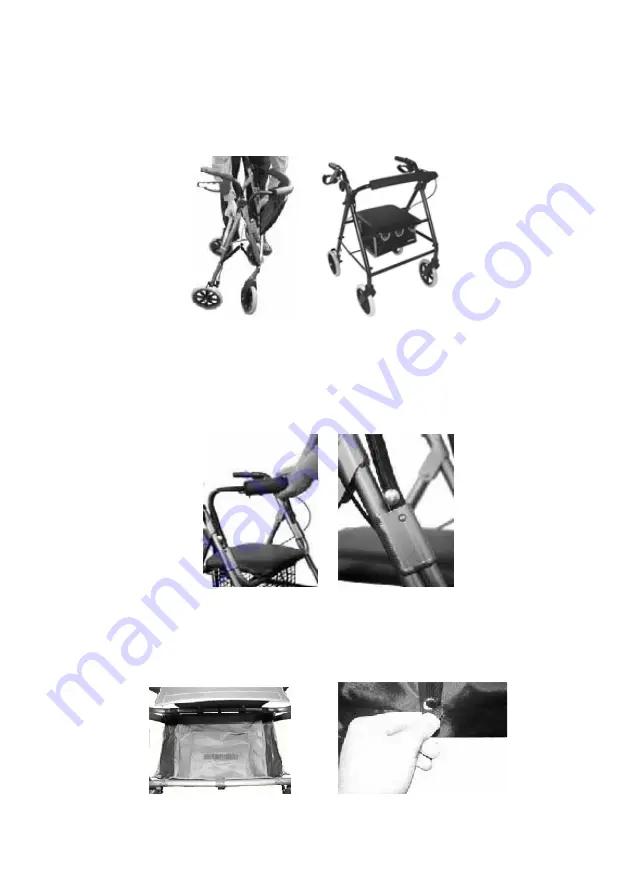
Open out the Rollator frame by pulling the cross bars outwards in opposite
directions forming an inverted ‘V’ with the main frame (Fig. 4).
2.
Ensure that your Rollator is fully extended, and check that the side bars are straight
and level (Fig. 5).
Fig. 4
Fig. 5
PADDED BACK
1.
To install the half round padded back first line up the ends of the tubular back with
the locating points (Fig. 6 and Fig. 7).
2.
Ensure that the back properly clicks and locks into position, test by lifting up onto
the padded section of the half round back seat (Fig. 6).
Fig. 6
Fig. 7
WIRE BASKET OR BAG
1.
Your rollator is supplied with a bag; raise the padded seat, align the bag with the
frame (Fig. 8) and close each of the fabric popper ties around the frame to hold the
bag in place (Fig. 9) and then lower the seat.
Fig. 8
Fig. 9


