


45
1. Select video quality.
2. Select the length of the video loop time.
Choose between 1, 2 or 3 minute loops.
3. Select the sensitivity of the unit’s built-in G-Sensor (shock/impact sensor).
Video Hitting is set to On by default and will automatically save and lock any files if the unit
senses an impact such as a collision.
4. Manual Lock
Press to save and lock the video files currently being recorded.
5. Set to take the photo while recording.
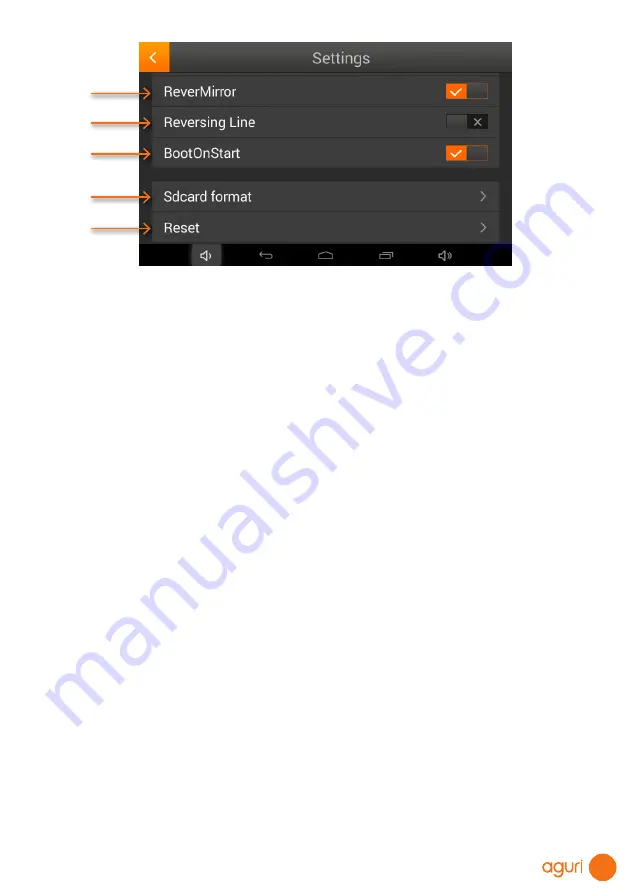
6. Turn on/off reverse camera.
7. Set reversing line.
Set the line in reversing camera
8. Set unit to Automatically record.
Set to automatically record in the background whilst using the navigation software. Set to
On by default.
9. Format the SD card or DVR.
10. Format the SD card or DVR.
Wi-Fi and internet connection
The device incorporates built-in Wi-Fi so that you can wirelessly update the maps on your
device, download useful apps and browse the internet.
Connecting to Wi-Fi
Check you are in a location with an internet enabled Wi-Fi connection and that you know the
login and password details to enable you to access this Wi-Fi service.
Power on your device and press ‘Settings’ from the main menu.
At the top of the list you will see ‘Wi-Fi’. Tap the button to the right hand side of the screen
to switch Wi-Fi on, the button will change to blue in colour. Next tap on the word ‘Wi-Fi’
itself to enter the Wi-Fi settings. The device should automatically display a list of Wi-Fi
services that are in range. If no Wi-Fi services are displayed, press the small drop down
menu displayed in the top right hand corner and select ‘Scan’ to search for any Wi-Fi
services in range of your device.
6
7
8
9
10
Содержание AGR520 SERIES
Страница 56: ...56 www aguriworld co uk...


