background image

26

raISING aND LowerING
•  To raise, push down on the lift handle until the snow 

thrower locks in the raised transport position.

•  To lower, push down slightly on the lift handle and pull 

the trigger. With the trigger pulled, slowly lower the 
snow thrower until it reaches the ground.

CuSToMer reSPoNSIBILITIeS

•  Read and follow the maintenance schedule and the maintenance procedures listed in this section. 

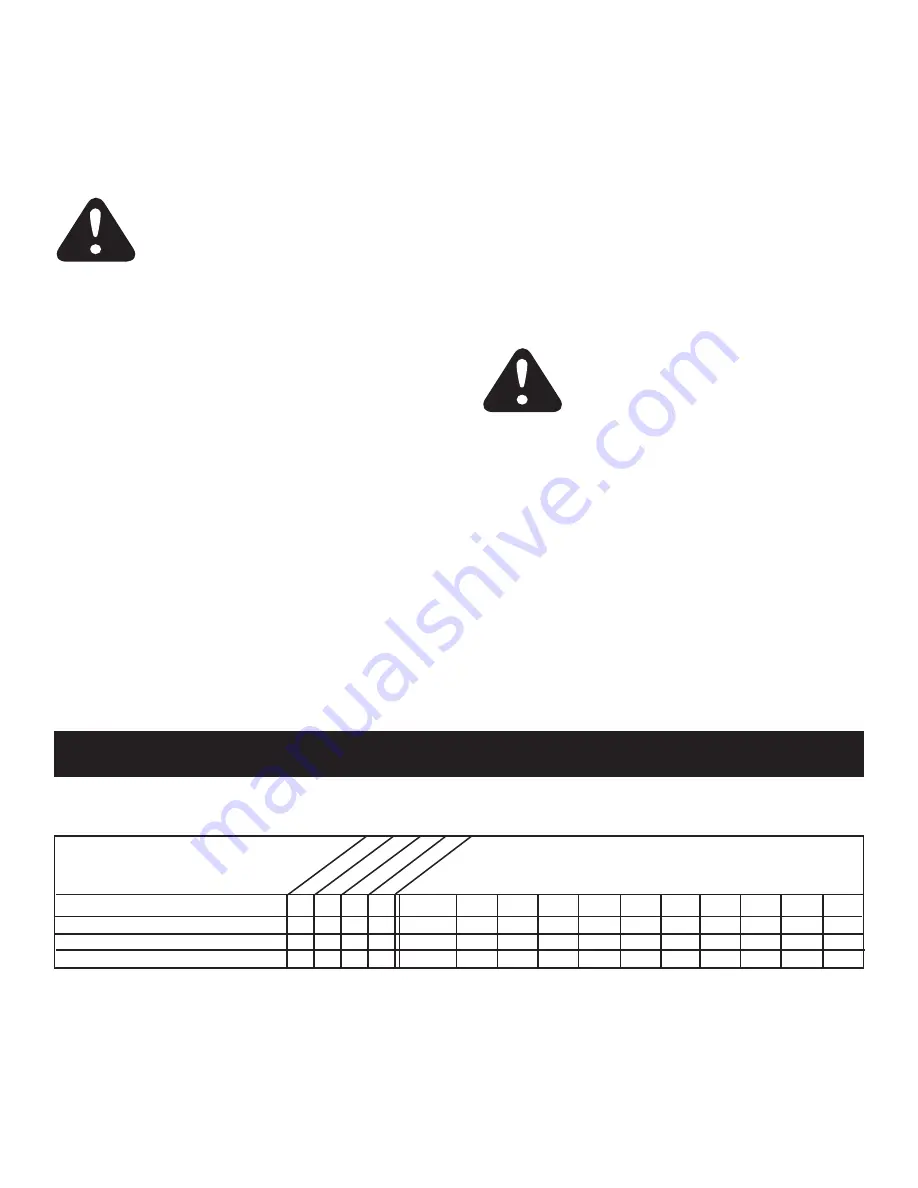
Service Dates


Check for loose fasteners 


  Check scraper and shoes for wear   


X

  Cleaning 


X

  Lubrication Section 


  MAINTENANCE SCHEDULE
 

Fill in dates as you

  complete regular service.

Bef

ore each use

After each use

Ev

ery season

Bef

ore stor

age

LuBrICaTIoN


Oil all pivot points on the snow thrower.

•  Oil the pivot points of the two idler arms on the clutch/

idler assembly.

•  Apply penetrating oil to the control cables of the 

discharge chute.

•  Apply a good grade of spray lubricant to the trigger 

assembly and the chute tilt control assembly.

CauTIoN

:   

Do not operate the snow 

thrower without the rear weight attached 
to the tractor to provide extra traction and 

stability.

MaINTeNaNCe

CHeCK SCraPer aND SHoeS For wear

(Refer to figures 59 and 60 on page 27)

•  The scraper plate and skid shoes on the bottom of the 

snow thrower are subject to wear. To prevent damage 

to the spiral auger housing, replace plate and shoes 

before wear is excessive.

reMoVING SNow 
Snow removal conditions vary greatly from light fluffy 
snowfall to wet heavy snow. Operating instructions must 
be flexible to fit the conditions encountered. The operator 
must adapt the lawn tractor and snow thrower to depth of 
snow, wind direction, temperature and surface conditions.
•  Before beginning operation, thoroughly inspect the 

area of operation and remove all door mats, sleds, 
boards, wires and other foreign objects.

•  The spiral auger speed is directly related to engine 

speed. For maximum snow removal and discharge, 
maintain high engine r.p.m. (full throttle). It is advisable 

to operate the lawn tractor at a slow ground speed 

(1st gear) for safe and efficient snow removal.

•  In deep, drifted or banked snow it will be necessary to 

use full throttle and a slow ground speed (1st gear). 

Drive forward into the snow, depress the tractor's 
clutch-brake pedal and allow the spiral auger to clear 
the snow. Repeat this method until a path is cleared. 
On the second pass, overlap the first enough to allow 

the snow thrower to handle the snow without repeated 

stopping and starting of forward motion.

•  In extremely deep snow, raise the snow thrower from 

the ground to remove the top layer and drive forward 

only until the tractors front tires reach the uncleared 

bottom layer of snow. Depress the tractor's clutch-
brake pedal and allow the spiral auger to clear the 

snow. Reverse the tractor and lower the snow thrower 
to the ground. Drive the tractor forward until the snow 

again becomes too deep. Repeating this process into 

and out of drifts will eventually clear even the deepest 
of snow piles.

•  If the snow thrower becomes clogged with snow or 

jammed with a foreign object, disengage the snow 
thrower immediately and shut off the tractor engine. 
Unclog the snow thrower before resuming operation.

oPeraTING TIPS

•  Discharge snow down wind whenever possible.
•  To help prevent snow from sticking to the snow thrower, 

allow the snow thrower to reach outdoor temperature 
before using it. A light coat of wax may also be applied 

to the inside surface of the snow thrower housing and 
discharge chute.

•  Use tire chains to improve traction.
•  Use rear wheel weights to improve traction.
•  Before the first snowfall, remove all stones, sticks and 

other objects which could become hidden by the snow. 
Permanent obstacles should be marked for visibility.

•  Overlap  each  pass  slightly  to  assure  complete  snow 

removal.

DaNGer

:   

Shut off engine and 

disengage snow thrower before 

unclogging discharge chute. Unclog using 

a wooden stick, not your hands.

Содержание LST42C

Страница 1: ...anual PRINTED IN U S A FORM NO 40243 REV 1 7 08 CAUTION Read Rules for Safe Operation and Instructions Carefully Safety Assembly Operation Maintenance Parts 42 SNOW THROWER the fastest way to purchase parts www speedepart com ...

Страница 2: ...TORAGE 28 TROUBLESHOOTING 28 REPAIR PARTS ILLUSTRATION 30 32 34 REPAIR PARTS LIST 31 33 34 SLOPE GUIDE 35 PARTS ORDERING SERVICE BACK COVER IMPORTANT Rear wheel weights and tire chains are required to provide extra traction and stability when using this snow thrower attachment These items are available where you purchased your tractor WHEEL WEIGHTS TIRE CHAINS ...

Страница 3: ...arts to vibrate abnormally stop the engine immediately and check for the cause Vibration is generally a warning of trouble Stop the engine whenever you leave the operating position before unclogging the snow thrower or making any adjustments or inspections Take all possible precautions when leaving the unit unattended Disengage the attachment clutch lever or switch lower the snow thrower shift int...

Страница 4: ...4 E B D G H I K O F X U Y C W L Q S T R Z KK EE N CC BB AA NOT SHOWN ACTUAL SIZE SHOWN ACTUAL SIZE DD M J JJ FF GG II V P HH A LL NN MM HARDWARE PACKAGE CONTENTS ...

Страница 5: ...nsioning KK 2 Tail Reflector LL 1 Small Spacer MM 1 Large Spacer NN 1 Pulley A 1 Hex Bolt 3 8 x 3 1 4 B 2 Hex Bolt 5 16 x 1 3 4 C 4 Hex Bolt 5 16 x 3 4 D 6 Hex Bolt 1 4 x 1 E 6 Hex Bolt 3 8 x 1 Thread Forming F 2 Hex Bolt 5 16 x 3 4 Thread Forming G 6 Carriage Bolt 3 8 x 1 H 2 Carriage Bolt 5 16 x 1 3 4 I 2 Carriage Bolt 5 16 x 1 1 4 J 4 Carriage Bolt 5 16 x 1 K 2 Carriage Bolt 5 16 x 3 4 L 4 Shou...

Страница 6: ...ndle and Cable 10 Cable Bracket 11 L H Hanger Bracket Outside Mounting 12 R H Hanger Bracket Outside Mounting 13 Clutch Idler Assembly 14 V Belt Drive Short 46989 15 V Belt Drive Long 48138 16 V Belt Auger Attached to Housing Assembly 17 Chute and Control Cable Assembly 18 Housing Assembly 19 L H Hanger Bracket Inside Mounting 20 R H Hanger Bracket Inside Mounting Hardware Package Stored inside Pl...

Страница 7: ...l instructions Mark all loose parts and save for reassembly Remove the tractor hood Refer to your tractor owner s manual for removal instructions CAUTION Beforestartingtoassemblethe snow thrower remove the spark plug wire s set the parking brake and remove the key from the tractor ignition FIGURE 2 RIGHT SIDE VIEW IMPORTANT Right hand R H and left hand L H side of the tractor are determined from t...

Страница 8: ...f the bolt that goes through the plate INSTALL HANGER BRACKETS AND SHOULDER BOLTS TO OUTSIDE OF FRAME STEP 5 SEE FIGURE 5 Remove the bolt if present in the hole directly behind the brake rod on the left side of the tractor frame Attach the L H Hanger Bracket tube facing out to the hole using a 5 16 x 3 4 self threading bolt F Install a round head shoulder bolt M into the hole that is 9 1 2 to the ...

Страница 9: ...ractor Using the wrong length belt may cause premature bearing or belt failure STEP 10 SEE FIGURE 10 Two different length drive belts are included with your snow thrower Tractors with manual attachment clutches and single front deck suspension brackets use the 56 drive belt with 48138 printed on the outside of the belt DO NOT USE the other belt Slightly loosen the hex bolt next to the flat idler p...

Страница 10: ...two shoulder bolts M assembled to the outside of the tractor frame Lift the front of the assembly and attach it to the R H and L H hanger brackets using two pivot lock pins GG and 1 8 hairpin cotters EE Loosely attach the mower clutch cable to the left side of the tractor frame with a nylon tie II Do not pull the nylon tie completely tight The cable may need to be removed from the nylon tie when u...

Страница 11: ...eely Attach a 3 32 hairpin cotter FF to the chain placing it in the fifth link from the spring CHAIN L H SIDE 3 32 HAIR COTTER PIN FF 5TH LINK LEFT SIDE 3 8 HEX LOCK NUT Z SPRING RIGHT SIDE ATTACH SPRING HERE STEP 15 SEE FIGURE 15 Turn the clutch idler assembly upside down and place the second tensioning chain JJ through the left front hole FIGURE 15 TENSIONING CHAIN JJ LEFT FRONT HOLE STEP 17 SEE...

Страница 12: ...as the 3 32 hairpin cotter in the chain will allow Secure the chain in this position by inserting a 1 8 hairpin cotter EE through the chain IMPORTANT Do Not assemble the drive belt around the outside of the keeper bolt beside the large pulley Go to step 48 on page 21 FIGURE 19 VIEWED FROM UNDERNEATH 1 8 HAIRPIN COTTER EE ENGINE PULLEY ENGINE PULLEY KEEPER BOLT IDLER PULLEY CHAIN JJ L H SIDE FIGURE...

Страница 13: ...t J without a nut The bracket fastened to inside of frame must remain in place FRONT SUSPENSION BRACKET REPLACE BOLT IF PRESENT REMOVE BOLTS IF PRESENT FIGURE 20 RIGHT SIDE VIEW INSTRUCTIONS FORTRACTORS WITH DUAL FRONT DECK SUSPENSION BRACKETS FASTEN SIDE PLATES TO TRACTOR If your tractor resembles figure 20 start with step 21 If your tractor resembles figure 22 start with step 23 STEP 25 SEE FIGU...

Страница 14: ...ng a 3 8 x 1 carriage bolt G and a 3 8 flanged nut X Bolt head goes on inside of tractor frame Repeat for the R H side STEP 28 SEE FIGURE 28 Assemble a shoulder bolt L and 3 8 flanged nut X to the R H side of the tractor frame using the first empty hole to the rear of the R H hanger bracket Bolt goes on inside of frame FIGURE 27 LEFT SIDE VIEW INSTALLING SHOULDER BOLTS STEP 27 SEE FIGURE 27 Remove...

Страница 15: ...ARM SUSPENSION ARM TRUNNION CC REMOVE EXTENSION BOLT AND NUT IF PRESENT STEP 30 SEE FIGURE 30 Attach the two suspension arms to the inside of the clutch idler assembly using two 5 16 x 3 4 hex bolts C 5 16 washers Q and 5 16 nylock nuts Y for each arm Place the washers between the arms and the assembly frame Insert a tensioning chain through the hole shown and attach the end link to the spring on ...

Страница 16: ...BOLT 3 8 THIN WASHER S NEW ENGINE PULLEY KEEPER WITH ORIGINAL BOLT NUT AND WASHER STEP 34 SEE FIGURE 34 Assemble the short V belt onto the engine pulley and then onto the large pulley on top of the clutch idler assembly The belt must be placed to the inside of the engine pulley keeper the idler pulley and the keeper bolt located beside the large pulley IMPORTANT Do Not assemble the V belt around t...

Страница 17: ...URE 35 Attach the two suspension arms to the rear of the clutch idler assembly using two 5 16 x 3 4 hex bolts C 5 16 washer Q and 5 16 nylock nuts Y for each arm Place the arms on the outside of the frame with the notches to the rear Insert a tensioning chain through the hole shown and attach the end link to the spring on the lower idler arm FIGURE 35 5 16 x 3 4 HEX BOLT C 5 16 NYLOCK NUT Y TENSIO...

Страница 18: ... nut that secure the keeper Attach the new pulley keeper supplied with the snow thrower reusing the original bolt washer and nut NOTE Some tractors may already be equipped with a pulley keeper that is identical to the new one supplied Attach the clutch idler assembly to the tractor frame as follows Hook the assembly s notched arms onto the two shoulder bolts you assembled to the inside of the trac...

Страница 19: ...e below to select the correct drive belt for your type tractor The part number is printed on the outside of the belt Set aside the belt that is not for your tractor to avoid accidentally using it 55 BELT PART 46989 TRACTOR TYPE DECK SIZE CLUTCH TYPE 56 BELT PART 48138 TRACTOR TYPE DECK SIZE CLUTCH TYPE LT Lawn Tractor 48 Electric LT Lawn Tractor 38 42 46 Electric TABLE 2 STEP 41 SEE FIGURE 41 Atta...

Страница 20: ...ws Hook the assembly s notched arms onto the two shoulder bolts you assembled to the inside of the tractor frame Lift the front of the assembly and attach it to the R H and L H hanger brackets using two pivot lock pins GG and 1 8 hairpin cotters EE FIGURE 45 RIGHT SIDE VIEW PIVOT LOCK PIN GG use second hole 1 8 HAIRPIN COTTER EE CLUTCH IDLER ASSEMBLY HEX BOLTS DRIVE BELT FLAT IDLER PULLEY FIGURE 4...

Страница 21: ... the lift release cable tilt the snow thrower forward onto the spiral auger FIGURE 47 RIGHT SIDE VIEW 5 16 NYLOCK NUT Y 5 16 x 1 3 4 HEX BOLT B ASSEMBLY OF THE SNOW THROWER STEP 50 SEE FIGURE 49 Tilt the snow thrower back down to the ground Remove the nylon tie which fastens the auger drive belt to the discharge housing leaving the belt assembled around the pulleys Remove the nylon tie which faste...

Страница 22: ...he plastic chute keepers Place the plastic cap HH onto the short end of the anti rotation bracket Position the crank rod spiral see figure 51 so that it does not rub against the bottoms of the notches in the chute flange Tighten the nuts Check if the crank rod rotates the chute freely If not loosen by 1 4 turn each of the six hex bolts holding the chute keepers to the chute flange Secure the contr...

Страница 23: ...ion of the attachment pin until you have assembled the belt as instructed in steps 56 and 57 ATTACHING SNOW THROWER TO TRACTOR BEFORE INSTALLING THE AUGER BELT STEP 56 SEE FIGURE 55 The auger belt comes preassembled to the pulleys on the snow thrower housing Make sure the belt passes over the top of the auger pulley and then twists 1 4 turn to pass underneath each side idler pulley The V side of t...

Страница 24: ...8 HAIRPIN COTTER EE LEFT SIDE OF TRACTOR FLAT PULLEY CLUTCH IDLER ASSEMBLY REAR REFLECTORS KK ATTACH REFLECTORS TO REAR FENDER STEP 59 SEE FIGURE 58 If your tractor is not equipped with rear reflectors assemble the supplied rear reflectors KK to the rear fender Place the reflectors as close to the bottom of the fender and as far apart as the shape of the fender will allow FIGURE 58 CHECKLIST Befor...

Страница 25: ...leared Refer to the Service and Adjustments section Make sure the tractor engine has the correct oil for winter operation SAE 5W 30 Refer to tractor owner s manual HOW TO START YOUR SNOW THROWER The tractor should be sitting with the engine running at full throttle Move the attachment clutch to the engaged position starting the snow thrower before the tractor clutch is engaged HOW TO STOP YOUR SNO...

Страница 26: ...d For maximum snow removal and discharge maintain high engine r p m full throttle It is advisable to operate the lawn tractor at a slow ground speed 1st gear for safe and efficient snow removal In deep drifted or banked snow it will be necessary to use full throttle and a slow ground speed 1st gear Drive forward into the snow depress the tractor s clutch brake pedal and allow the spiral auger to c...

Страница 27: ... to keep the housing and the scraper plate level See figure 59 LIFT RELEASE CABLE ADJUSTMENT If the lift rod does not lock the snow thrower securely in the transport position loosen the upper hex nut on the lift bracket a few turns and tighten the lower hex nut Refer to figure 48 on page 21 If the lift rod fails to unlock completely to lower the snow thrower loosen the lower hex nut on the lift br...

Страница 28: ...igure 54 on page 23 Lock the snow thrower s lift handle in the down position to decrease belt tension Release the spring tension from the auger belt idler arm on the bottom of the clutch idler assembly Remove the auger drive belt from the clutch idler assembly See figure 56 on page 23 Pull the spiral auger housing assembly off of the tractor CAUSE PROBLEM CORRECTION Clogged discharge chute Spiral ...

Страница 29: ...29 NOTES ...

Страница 30: ...30 PARTS REPAIR PARTS FOR MODEL LST42C 42 SNOW THROWER ...

Страница 31: ...34 741 0493A 4 Bearing Split 3 4 35 24279 2 Skid Shoe 36 48015 5 Washer Nylon 37 784 5618 2 Housing Bearing REF PART QTY DESCRIPTION NO NO 38 24393 1 Bracket Chute Crank 39 24281 1 Bracket Idler 40 49933 2 Shoulder Bolt Round Head 41 65367 1 Hanger Bracket Assembly L H 42 65450 1 Hanger Bracket Assembly R H 43 41576 2 Hex Bolt 3 8 16 x 1 3 4 44 44377 1 Hex Bolt 3 8 24 x 1 45 784 5594 1 Bracket Cab...

Страница 32: ...32 REPAIR PARTS FOR MODEL LST42C 42 SNOW THROWER 67 36 60 57 61 65 58 62 11 65 58 58 62 63 32 33 ...

Страница 33: ... Plate Side L H 34 49916 1 Tube Lift Handle 35 49912 1 Trigger and Lift Cable Assembly REF PART QTY DESCRIPTION NO NO 36 43070 2 Washer 3 8 37 710 1233 1 Screw Oval 10 24 x 1 38 46446 1 Grip Handle 39 47027 1 Tube Crank Rod Support 40 741 0475 2 Bushing 3 8 Plastic 41 703 2735A 1 Bracket Chute Crank 42 720 0201A 1 Knob Crank 43 44917 1 Palnut 3 8 45 63579 1 Assembly Chute Crank Rod 46 784 5604A 1 ...

Страница 34: ... Washer 25 43063 3 Hex Bolt 5 16 18 x 1 26 46989 1 Belt V Type Drive 55 48138 1 Belt V Type Drive 56 27 47846 1 Belt V Type Auger 28 47044 1 Pulley V Type 4 29 47025 1 Hex Bolt 5 16 18 x 3 1 2 30 43432 1 Hex Bolt 3 8 16 x 2 1 2 31 43054 3 Hex Bolt 3 8 16 x 2 32 24571 1 Spacer 33 24472 1 Spacer Pivot 34 43070 8 Washer 3 8 35 46959 1 Spring 36 46963 2 Chain 37 43055 1 Pin Hair Cotter 3 32 38 23727 1...

Страница 35: ... manual CAUTION DO NOT OPERATE YOUR TRACTOR AND SNOW THROWER ON A SLOPE IN EXCESS OF 10 DEGREES BE SURE OF YOUR TRACTOR S TOWING AND BRAKING CAPABILITIES BEFORE OPERATING ON A SLOPE AVOID ANY SUDDEN TURNS OR MANEUVERS WHILE ON A SLOPE A POWER POLE A CORNER OF A BUILDING OR A FENCE POST F O L D A L O N G D O T T E D L IN E R E P R E S E N T IN G A 1 0 D E G R E E S L O P E SIGHT AND HOLD THIS LEVEL...

Страница 36: ...to the Universal Copyright Convention and the Berne convention No part of this document may be reproduced or transmitted in any form or by any means electronic or mechanical including photocopying or recording or by any information storage or retrieval system without the express written permission of Agri Fab Inc Unauthorized uses and or reproductions of this manual will subject such unauthorized ...

Отзывы: