


9
© 2011 OJ Electronics A/S - EHT Haustechnik GMBH
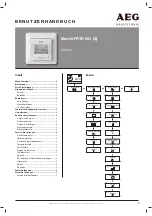
Model FRTD 903 (S)
English
2.
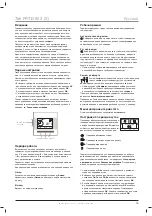
%DFNOLJKW
(&2
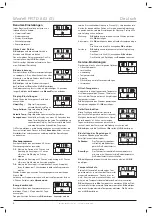
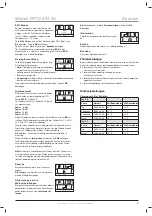
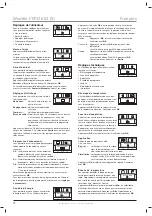
Display illumination
There are three settings for the display back-
lighting:
•
Auto:
Backlighting is activated whenever a
key is pressed and goes out automatically
30 seconds after the last key press.
•
On:
Backlighting continuously on.
•
Heating active:
Backlighting comes on when heat is called for by
the thermostat.
Select the desired backlighting setting and confirm with
OK
.
2.
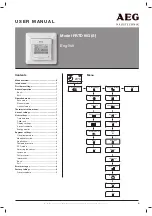
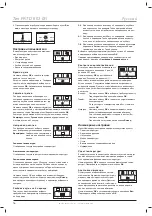
6HQVRU
Selecting the sensor
Floor sensors other than the supplied
FRTD
(12 kΩ/ 25°C) can be selected with this
menu. The thermostat is preprogrammed for
4 other types:
Sensor 2 k
Sensor 10 k
Sensor 15 k
Sensor 33 k
Select the installed sensor with the arrow keys, then confirm with
OK
. The resistance characteristics of the sensor for 15°C, 20°C,
25 C and 30°C are now displayed.
If the installed sensor does not have the same characteristic as
that shown in the thermostat display, change the values at the four
listed temperatures using the arrow keys.
Confirm with
OK
to switch to the next resistance characteristic.
Select
Information
with the arrow keys, then confirm with
OK
.
The display now shows the resistance characteristic of the selected
sensor. Then confirm with
OK
. The new sensor values are now
stored in the thermostat.
NB!
If the incorrect sensor is selected there is a risk that the ther-
mostat will not be able to regulate to the desired temperatures and
therefore damage to the floor construction or covering may occur.
2.
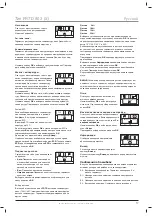
/DQJXDJH
Language
Allows the language used on the display to
be changed.
Press
OK
and select the required language.
Confirm with
OK
.
2.
)DFWRU\UHVHW
Factory reset
Allows factory settings to be restored. Your
personal settings will be lost, see
Factory
settings
.
Press
OK
and choose
Reset
in the menu.
Confirm with
OK
.
2.
,QIRUPDWLRQ
Information
Displays the thermostat software version.
Back
In various parts of the menus and submenus
you will find the
Back
menu item.
Use
Back
to return to the last step.
Exit
Returns to initial dispay.
Error messages
If a fault or error occurs, the thermostat will display an error code as
follows:
E0: Internal failure. The thermostat is defective. Replace thermostat.
E1: Internal sensor defective or short-circuited.
E2: External sensor defective or short-circuited.
E5: Internal overheating. Inspect the installation.
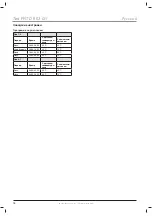
Factory settings
Preset schedule
Day 1-5
Event
Time
With floor sensor With room sensor
Day
06:00-08:00
25°C
20°C
Out
08:00-16:00
18°C
13°C
Home
16:00-23:00
25°C
20°C
Night
23:00-06:00
18°C
13°C
Day 6-7
Event
Time
With floor sensor With room sensor
Day
08:00-23:00
25°C
20°C
Night
23:00-08:00
18°C
13°C