3
12. Nav activation switch: Included with this kit are two pieces of SWC replacement switch covers. These covers will fit some of the
vehicle applications such as the Malibu. Since changes happen quickly at the OEM we suggest you compare the enclosed
switch covers with the vehicle you are installing in. If they are the same size and shape they will work.
We offer several ways to trigger the change between Navigation and the OEM functions:
A:
Touch and press for 3 or more seconds anywhere on the panel that does not have an active switch or icon. You can again do
this to exit navigation.
B:
Install the included Navigation dash switch. Pressing this will toggle you in and out of Nav or the aux inputs if using them.
C:
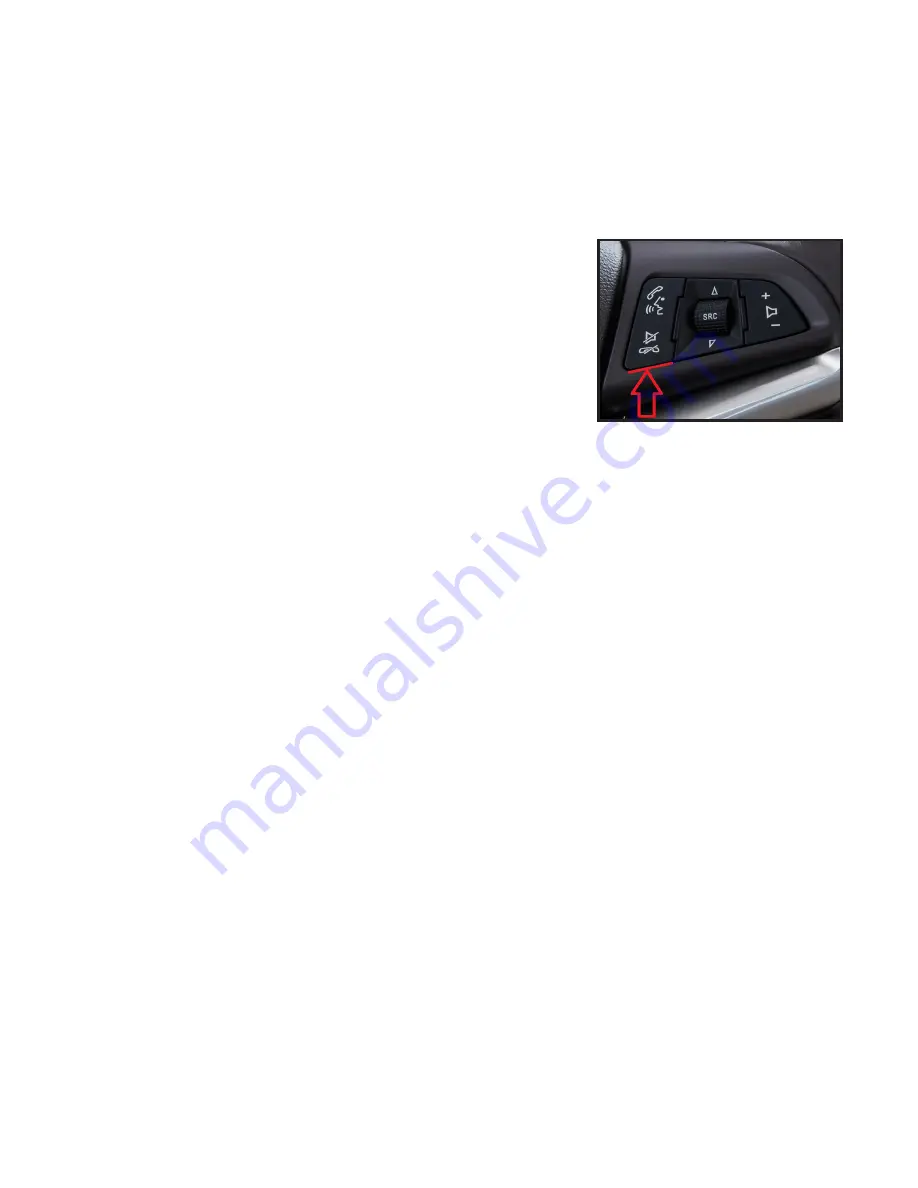
Install the OEM steering wheel switch cover.
NOTE:
Installer assumes all liability for the switch, buttons, and controls. This is a delicate procedure and if not done
correctly damage can occur. Voxx is in no way responsible for damage.
1. Using a nylon pry tool, wrap the tool with masking tape where it will contact
the steering wheel. This will eliminate scratching of the painted surface.
Carefully and gently pry upward from the bottom center. Do not pry from
the side or top as you will damage the retainer clips. You are only removing
the cover.
2. Select the switch cover that best matches the color of the factory switch and
carefully snap the cover in place on the steering wheel.
DIP Switch Settings:
Up is OFF; Down is ON for Dip Switches.
13. Check the DIP Switch settings:
Dip 1: UP
External RGB input. Not Used
Dip 2: UP
Video Input 1 Off
Dip 3: UP
Video Input 2 Off
Dip 4: DOWN
OEM High Resolution Screen On
Dip 5: UP
For OEM Camera UP, After Market Camera Down
Dip 6: UP
This is not used.
Dip 7: UP
New GVIF - Reverses Video Polarity - UP Default
Dip 8: UP
Screen Size Selection - 8” screen UP
14. Check to be sure the Map SD Card is installed in the Navigation unit.
Double check all connections, and then reconnect the vehicle battery.


