


DVR-520 User’s Manual
30
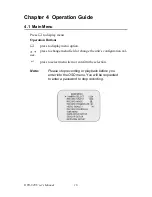
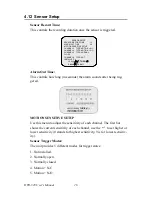
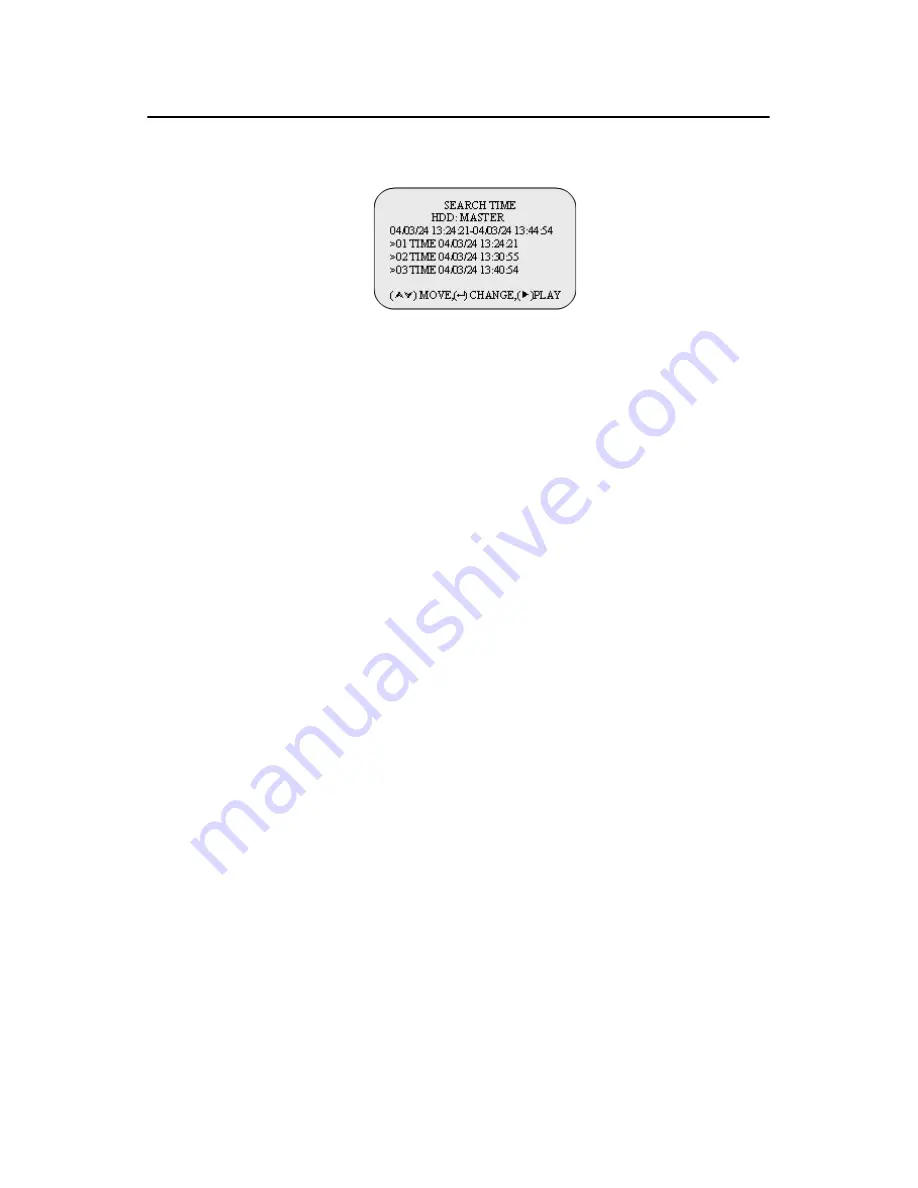
4.15 Playback
Please use the front panel buttons to operate various playback functions.
Press the
button. The playback time/events selection menu then
appears on the screen. You can also press
twice to directly start play-
ing.
You can either enter the specified time/date to playback or select the
event or view the playback over PC.
Control Buttons
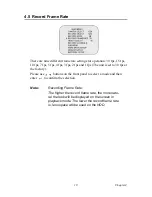
(fast forward button): Press this button to fast forward the recorded
stream.
The unit provides four levels of fast forward playback speeds:
Press the
button to change the playing speed:
Press once for two times faster (x 2) than normal playing speed.
Press twice for four faster (x 4) than normal playing speed.
Press three times for thirty-two times faster (x 32) than normal playing
speed.
Press four times for sixty-four times faster (x 64) than normal playing
speed.
Notes:
1. Please stop recording before playback.
2. Because the events selection is the default
setting, you need to press the
button to switch
to the time selection.
Содержание DVR-520
Страница 1: ...DVR 520 4 Channel Smart DVR Series with Removable HDD Bay User s Manual...
Страница 12: ...DVR 520 User s Manual xii...
Страница 24: ...DVR 520 User s Manual 10...
Страница 28: ...DVR 520 User s Manual 14 OnScreen Display OSD Figure 3 3 Powering on the system...
Страница 46: ...DVR 520 User s Manual 32...
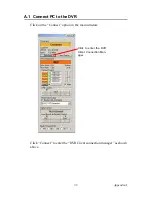
Страница 51: ...37 AppendixA To disconnect simply click Disconnect To close the application click Close Window button...
Страница 62: ...DVR 520 User s Manual 48...
Страница 66: ...DVR 520 User s Manual 52...


