


SmartRG Inc., an Adtran company. Proprietary and Confidential. All Rights Reserved. © 2020
101
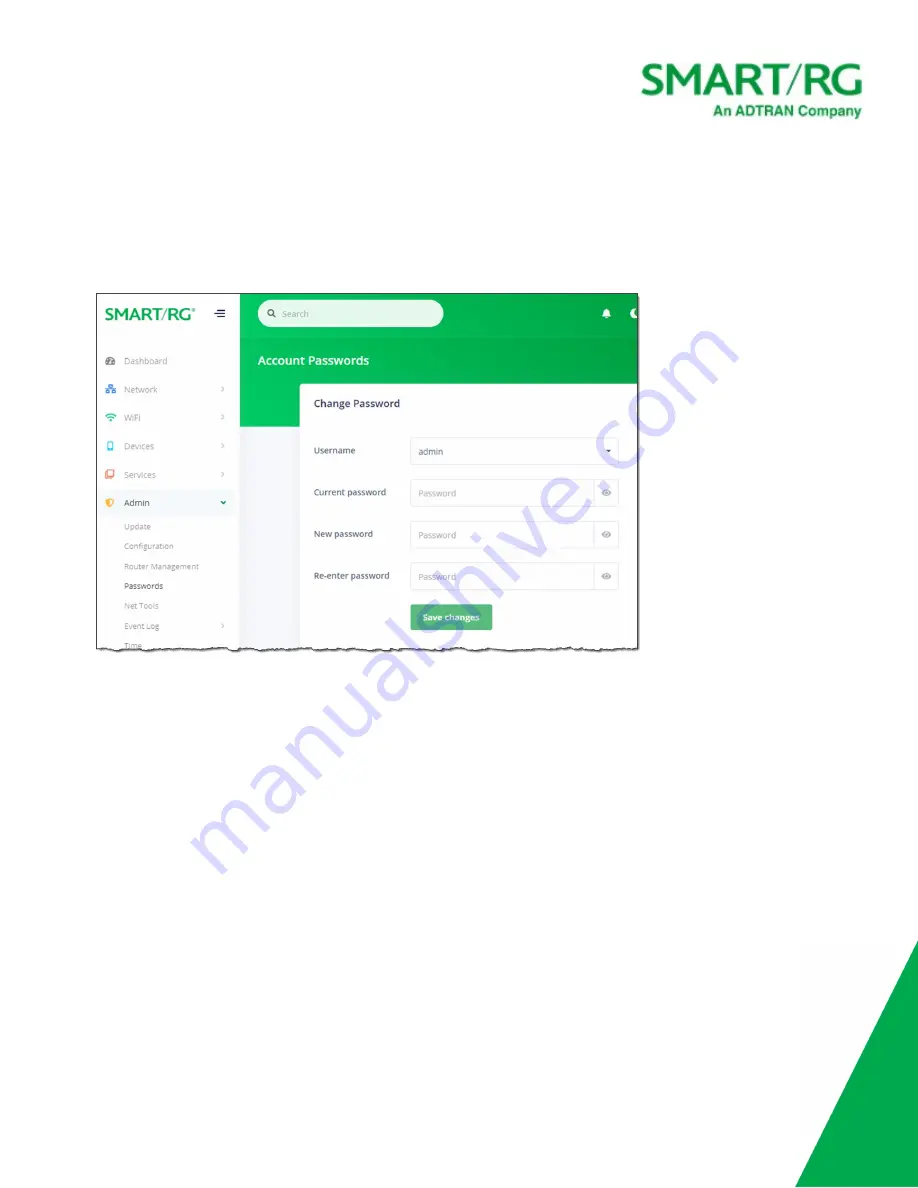
Passwords
On this page, you can change the passwords used to access your device.
1. In the left menu, click
Admin
>
Passwords
. The following page appears.
2. In the
Username
field, select the user password that you want to modify.
3. In the
Current password
field, either enter the current password for the selected user, or click in the field to select a
stored password.
Note:
If you click the
Manage passwords
link in the Sign In dialog box, the Settings window opens for your browser. You can
change passwords there as well.
4. In the
New password
and
Re-enter password
fields, enter the new password.
The password strength rating located below each of these fields refreshes automatically as each character is typed.
Weak password example


