background image

2

61287781F1-13A

L

OGGING


IN


TO


THE

 424RG

Before you can make any changes to your 424RG, you must log in using the 424RG Graphical User Interface (GUI). This interface is a 
user-friendly way to make the desired changes. 

NOTE

: The Logout option on the side menu of the GUI will not log you out of the 424RG GUI. This option is intended for service techni-

cians only. To exit the 424RG GUI, select the “X” at the top, right of your Internet browser to close the Internet window entirely.
To log in to the 424RG, complete the following procedure:

1. Turn on your computer.
2. Access the Internet using the Internet Browser software on your computer.
3. The default IP address (

192.168.1.254

) works with all Internet WEB Browsers. This is an Internet address that is pre-set in the 

424RG.

4. Type the IP address into the WEB Browser field; then, press the 

ENTER

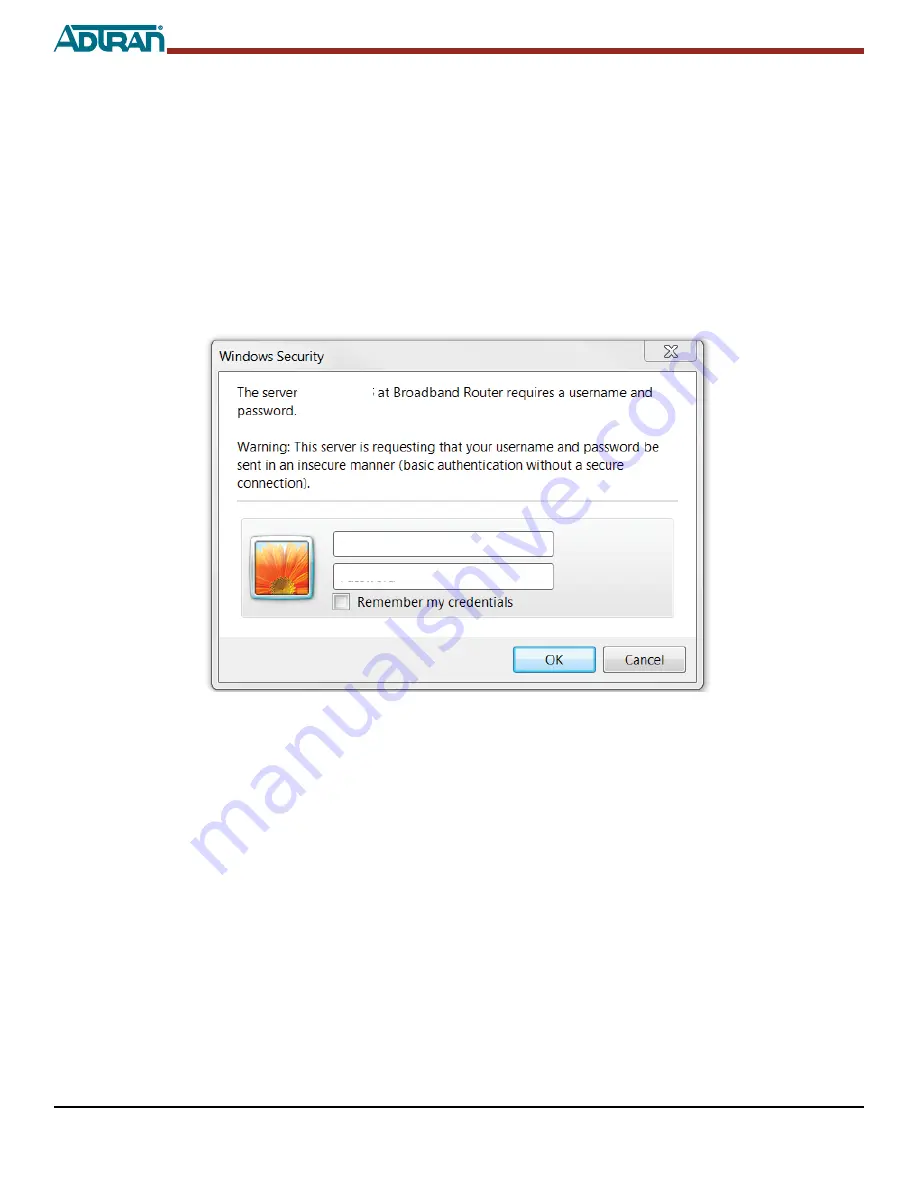
 key. This displays the customer log on (Windows Security) 

screen (

Figure 1

).

Figure 1. Windows Security Log In Screen

5. In the first field, enter


user

 (this is the default User Name that was pre-set in the 424RG).

6. In the second field, enter 

user

 (this is the default Password that was pre-set in the 424RG).

7. Press 

OK

. This displays the Device Info Screen (

Figure 2 

on page 3).

192.168.1.254

user

user

Содержание 424RG ONT

Страница 1: ...he following CAUTION Never set the 424RG on its side while powered up This may cause overheating and damage the unit Always use the stand that was provided during the initial installation The 424RG mu...

Страница 2: ...following procedure 1 Turn on your computer 2 Access the Internet using the Internet Browser software on your computer 3 The default IP address 192 168 1 254 works with all Internet WEB Browsers This...

Страница 3: ...twork connection status The upper box contains information that is stored on the 424RG The lower box contains information retrieved from the DHCP server when the IP address is assigned to the 424RG Fi...

Страница 4: ...rvice Follow the steps below to set up or change your 2 4GHz wireless service 1 Select Wireless and 2 4GHz from the side menu This displays the Wireless 2 4GHz Basic menu Figure 3 2 By default Wireles...

Страница 5: ...tion should not exceed 32 characters in length and is case sensitive 4 If you want to provision a new SSID for Video Service simply highlight the entry in the SSID field and enter a new SSID designati...

Страница 6: ...the following steps 1 With Figure 4 on page 5 displayed select 2 4GHz and then Security Figure 5 will be displayed 2 In the window adjacent to Enable WPS select the check mark so Enable is displayed...

Страница 7: ...should be Enabled set as Factory Default If it is not in the window adjacent to Enable WPS select the check mark so Enable is displayed 3 If you want to change the Network Authentication type for 5 0...

Страница 8: ...you can use the WPS button to set either 2 4 or 5 0GHz wireless service To enable these services perform one of the following 2 4GHz Service If you have devices that support WPS press and hold the WPS...

Страница 9: ...played 2 If you want to provision a new SSID name for a Guest SSID select the Enabled check box adjacent to the first entry in the SSID column in the Wireless Guest Virtual Access Points table For exa...

Страница 10: ...10 61287781F1 13A...

Отзывы: