29
Chapter 5 - mediaControl Tools
Firmware Upgrade
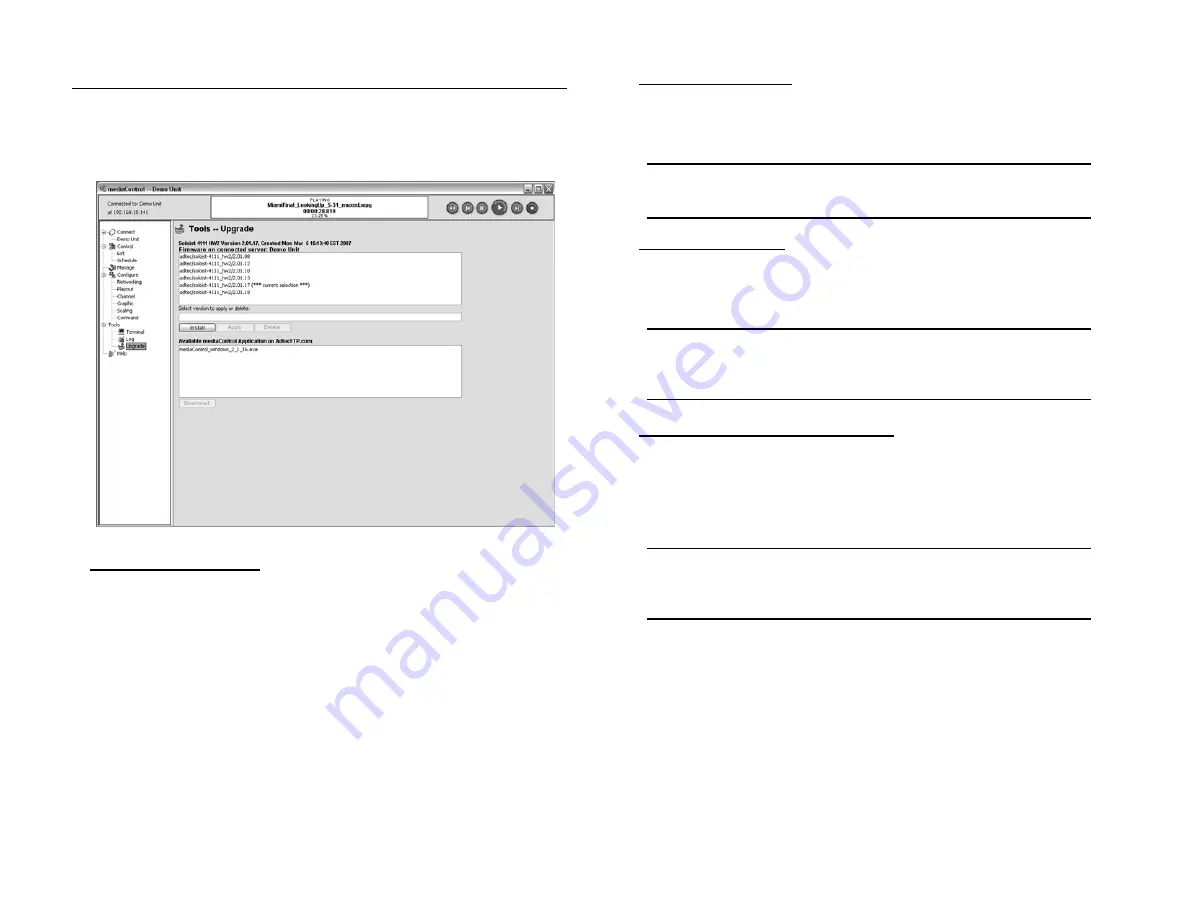
mediaControl has a firmware management tool that enables you
to upload and select which firmware version to activate on the media
server. You can have several versions of firmware available on the media
server, but only one can be active at a time. The firmware management
is done from the Tools Upgrade page.
Figure 5.3
Install New Firmware:
You can install new firmware on the media server with the following steps:
1. Click the Install button.
2. From the select New Firmware dialog, select the desired firmware
available on the AdtecFPT.com site. Optionally you can click Browse to
select a firmware file on your hard drive.
Once the desired version is
selected, click OK.
3. The Installing Firmware dialog will show the progress of installing the
firmware which may take several minutes. One the firmware is installed,
click OK to activate the new firmware and restart the server.
WARNING: IT IS CRITICAL THAT YOU INSTALL THE CORRECT FIRMWARE
FOR YOUR PRODUCT! At this time there is no validation of the firmware
against the hardware. If you have a question, please contact Adtec
Customer Services.
Changing Firmware:
- Select the desired firmware version you want to change to and click
”Apply”.
- At the Update Warning page, click Yes to update your server.
NOTE: The media server will install the new firmware and restart
automatically.
Deleting Firmware:
- Select the desired firmware version you want to delete and click ”Delete”.
- At the Delete Warning page, click Yes to delete for firmware from your
server.
NOTE: You cannot delete firmware that is currently active (*** current
selection ***) on the media server. First you must change to another
firmware revision and then select the non-active firmware to be deleted.
Changing Firmware at Boot Time:
You can change firmware on the server without mediaControl over
an RS232 port if needed using the following steps:
1. Power down the server and connect to the RS232 system terminal port
with the supplied Ethernet cable and RS232 adapter.
Note: The RS-232 terminal monitor for communicating with the internal
host motherboard on the Soloist 4111HD is labeled Terminal and on the
edje 4111HD is labeled COM2.
2. Open a serial RS232 program like Windows HyperTerminal and configure
it to 115,200 baud, 8 Data, 1 Stop and no Parity.
3. Power the server on and watch the boot diagnostics. Press the space bar
immediately after the following is displayed:
Scanning for all possible OEM configurations... they include:
1) adtec/soloist-4111/1.03.08_hw2
2) adtec/soloist-4111/1.03.13_hw2 (*** current selection ***)
The current OEM configuration will be used -UNLESS- you chose an
alternative OEM configuration.
If you wish to use an alternative OEM configuration, START ENTERING
YOUR SELECTION NOW (time out occurs if not started within 2 seconds)
4. Enter the number of the desired firmware and hit Enter. The server will
reboot into the new firmware.
Содержание edje 4111 HD
Страница 2: ...Intentionally Left Blank ...
Страница 5: ...3 ...
Страница 15: ...13 Chapter 2 Player Server Installation ...
Страница 17: ...15 Chapter3 mediaControl Setup Figure 3 1 ...
Страница 41: ...Intentionally Left Blank ...
Страница 42: ......


