ADOBE CONTRIBUTE CS3
User Guide
41
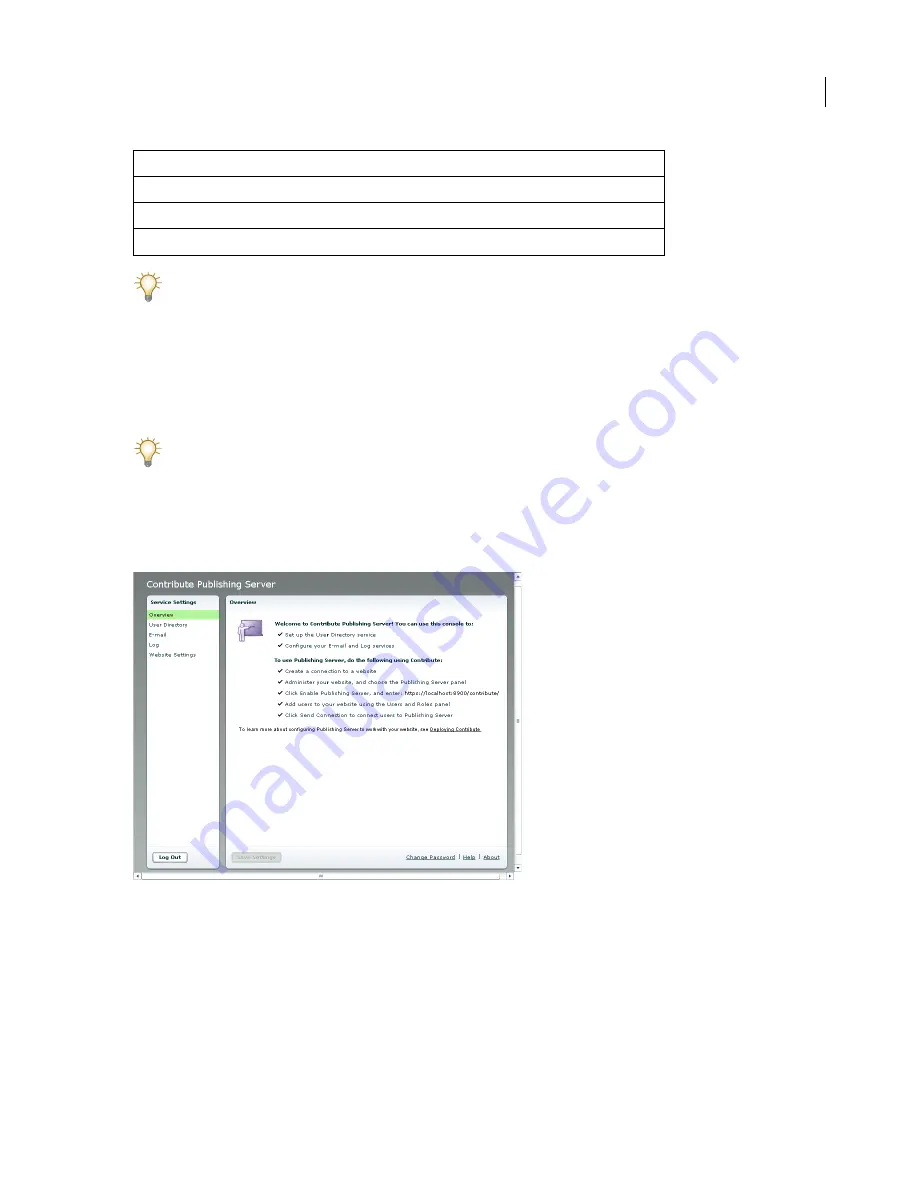
If you select the Simple Installation for installing CPS (see “Installing Contribute Publishing Server (Optional)”
on page 23), the URL for the CPS Console is https://localhost:8900/contribute/admin/server.cfm/.
The CPS Console launches in a browser.
If this is the first time you’re launching the console, the browser probably displays a security warning, because the
CPS installer created a self-signed certificate for the server. The certificate is used to create a secure connection, and
self-signed certificates are not verified by a third-party so you always need to accept them.
2
If your browser displays a security warning, accept the certificate.
You might want to permanently accept the certificate, if you can. Otherwise, you might be prompted to accept
the certificate each time you launch the CPS Console.
3
Enter the CPS administrator password you created during the installation process, and then click Login to log in
to the CPS Console.
The CPS Console appears. Make a note of the CPS Console web address that appears at the top of the Overview
panel; you’ll need this address later when you enable CPS in Contribute.
4
Select User Directory from the Services Settings list on the left.
At this point, you should configure the User Directory. You can also configure the E-mail, and Log services now, or
you can do it later.
Note:
The Website Settings category shows the website-specific settings for websites you’ve enabled CPS for. You’ll
enable CPS for your website next, and then configure Website Settings.
5
Enter all the settings to configure the User Directory service.
For more information about any of the settings, click the Help link to show online help.
IBM Websphere
9080
Adobe JRUN
8900
JBoss 8080
Java Application Server
Port number


