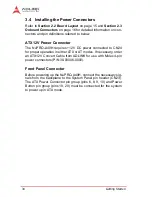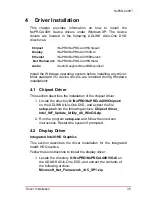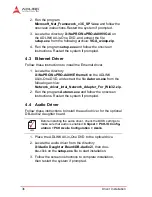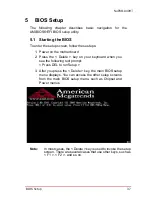
Getting Started
27
NuPRO-A40H
3
Getting Started
This chapter provides information on how to install components on
the NuPRO-A40H SHB.
3.1
Installing the CPU
The NuPRO-A40H supports an Intel® Core™ i7/i5/i3 or Pentium®
processor in an LGA1155 socket.
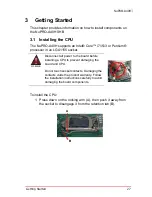
To install the CPU:
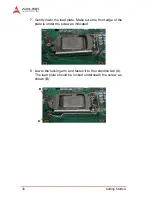
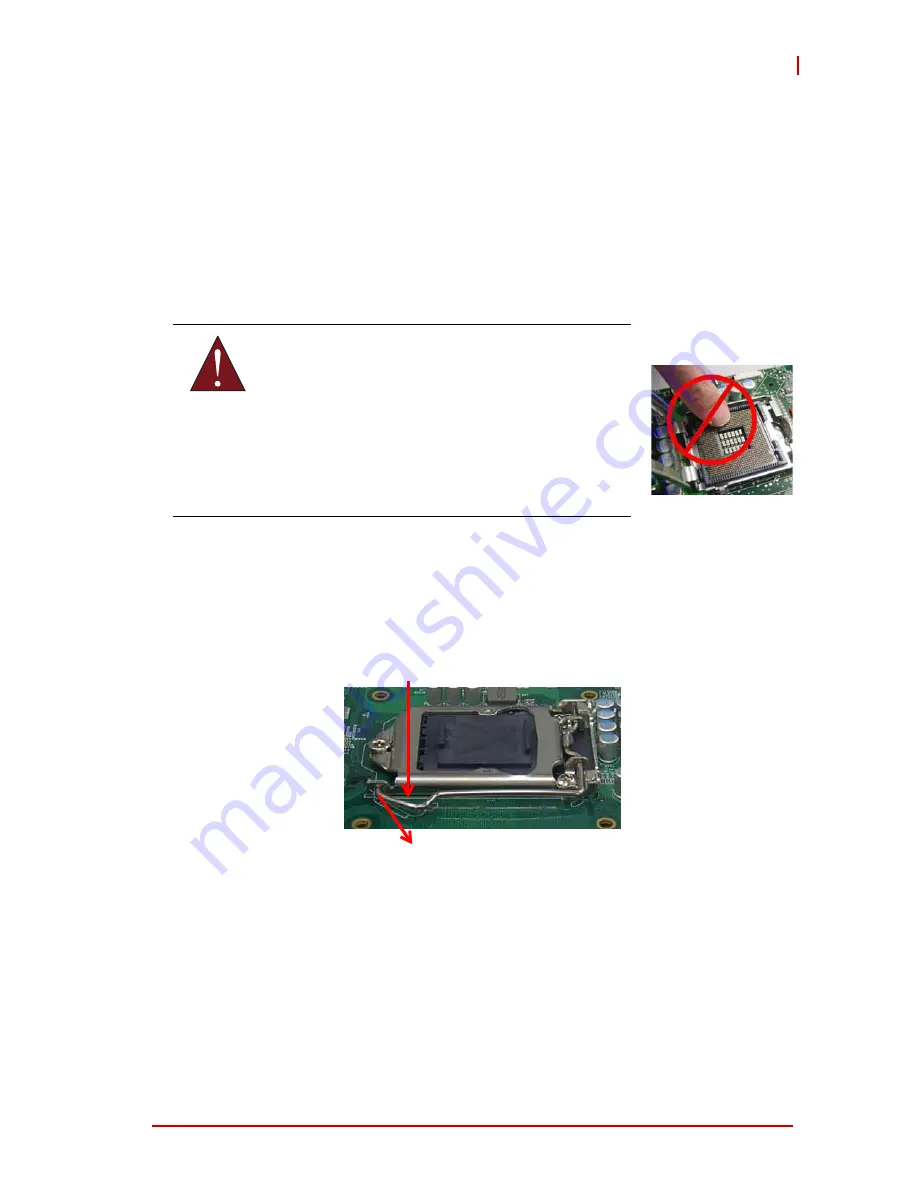
1. Press down on the locking arm (A), then push it away from
the socket to disengage it from the retention tab (B).
WARNING:
Disconnect all power to the board before
installing a CPU to prevent damaging the
board and CPU.
Do not touch socket contacts. Damaging the
contacts voids the product warranty. Follow
the installation instructions carefully to avoid
damaging the board components.
A
B
Содержание NuPRO-A40H
Страница 6: ...vi Preface This page intentionally left blank ...
Страница 9: ...Table of Contents ix NuPRO A40H Important Safety Instructions 83 Getting Service 85 ...
Страница 10: ...x Table of Contents This page intentionally left blank ...
Страница 12: ...xii List of Figures This page intentionally left blank ...
Страница 14: ...xiv List of Tables This page intentionally left blank ...
Страница 22: ...8 Introduction 1 6 Mechanical Drawing Figure 1 2 NuPRO A40H Board Dimensions ...
Страница 26: ...12 Introduction This page intentionally left blank ...
Страница 40: ...26 Hardware Information This page intentionally left blank ...
Страница 76: ...62 BIOS Setup Memory Configuration Memory Remap Enabled or Disable Memory remap above 4G ...
Страница 87: ...Watchdog Timer 73 NuPRO A40H PrintData CmdLineArgs Print requested data to console Sema_Close return 0 ...
Страница 88: ...74 Watchdog Timer This page intentionally left blank ...
Страница 96: ...82 System Resources This page intentionally left blank ...

