


ADJ Products, LLC - www.adj.com - Profile Panel RGBA Instruction Manual Page 13
ADJ Products, LLC - www.adj.com - Profile Panel RGBA User Manual Page 14
Master-Slave Configuration:
This function will allows you to link units together to run in a Master-
Slave set up. In a Master-Slave set up one unit will act as the control-
ling unit and the others will react to the controlling units built-in pro-
grams. Any unit can act as a Master or as a Slave however, only one
unit can be programmed to act as the “Master.”
Master-Slave Connections and Settings:
1. Daisy chain your units via the XLR connector on the rear of
the unit. Use standard XLR data cables to link your units together.
Remember that the Male XLR connector is the input and the
Female XLR connector is the ouput. The first unit in the chain
(master) will use the female XLR connector only. The last unit in
the chain will use the male XLR connector only.
2. Set the “Master” unit to your desired operating mode and then
connect the “Slave” unit or units.
3. For the “Slave” unit(s) press the MODE button until “SLAu” is dis-
played. The “Slave” unit(s) will now follow the “Master” unit.
Profile Panel RGBA Master-Slave Configuration
The UC IR infrared remote gives you control of various functions (See
below). To control the fixture you must aim the remote at the front of
the fixture and be no more than 30 feet away. To use the ADJ UC IR
you must first activate the fixtures infrared sensor, to activate the sen-
sor please see the instructions on page 12.
The Airstream IR remote transmitter plugs into the headphone jack
of your iOS phone or tablet. To control your IR fixture you must raise
the volume to the maximum on your iOS phone or tablet and aim the
transmitter at the fixture sensor and be no more than 15 feet away.
The app is a free download from the app store for your iOS phone
or tablet. The app comes with 3 pages of control depending on the
fixture you are using. Please see below for IR functions including the
corresponding app page.
Works with App page 1.
STAND BY
-
Pressing this button will blackout the fixture. Press the but-
ton again to return to the initial state.
FULL ON
-
Press this button to fully light up the unit. Press this button
again to return to the unit back to its previous state.
FADE/GOBO
-
This button is invalid for this fixture.
“” and “DIMMER -” -
Use these buttons to adjust the output
intensity in color mode.
STROBE
-
Press this button to activate strobing. Use buttons 1-4 to ad-
just the strobe speed. “1” being the slowest, “4” being the fastest. Press
this button again to deactivate strobing.
COLOR
-
Press this button to activate color mode. Use buttons 1-9 to
find your desired color.
1-9
-
Use buttons 1-9 to select your desired color when color mode is
active. Use buttons 1-4 to select your desired strobe speed.
SOUND ON & OFF -
Use the buttons to activate and deactivate sound
active mode.
SHOW 0 -
Press this button to activate show mode. Use buttons 1-9
to select your desired show. Press this button twice for show 10. Press
button 1 twice for show 11.
Profile Panel RGBA UC IR Control and Airstream IR
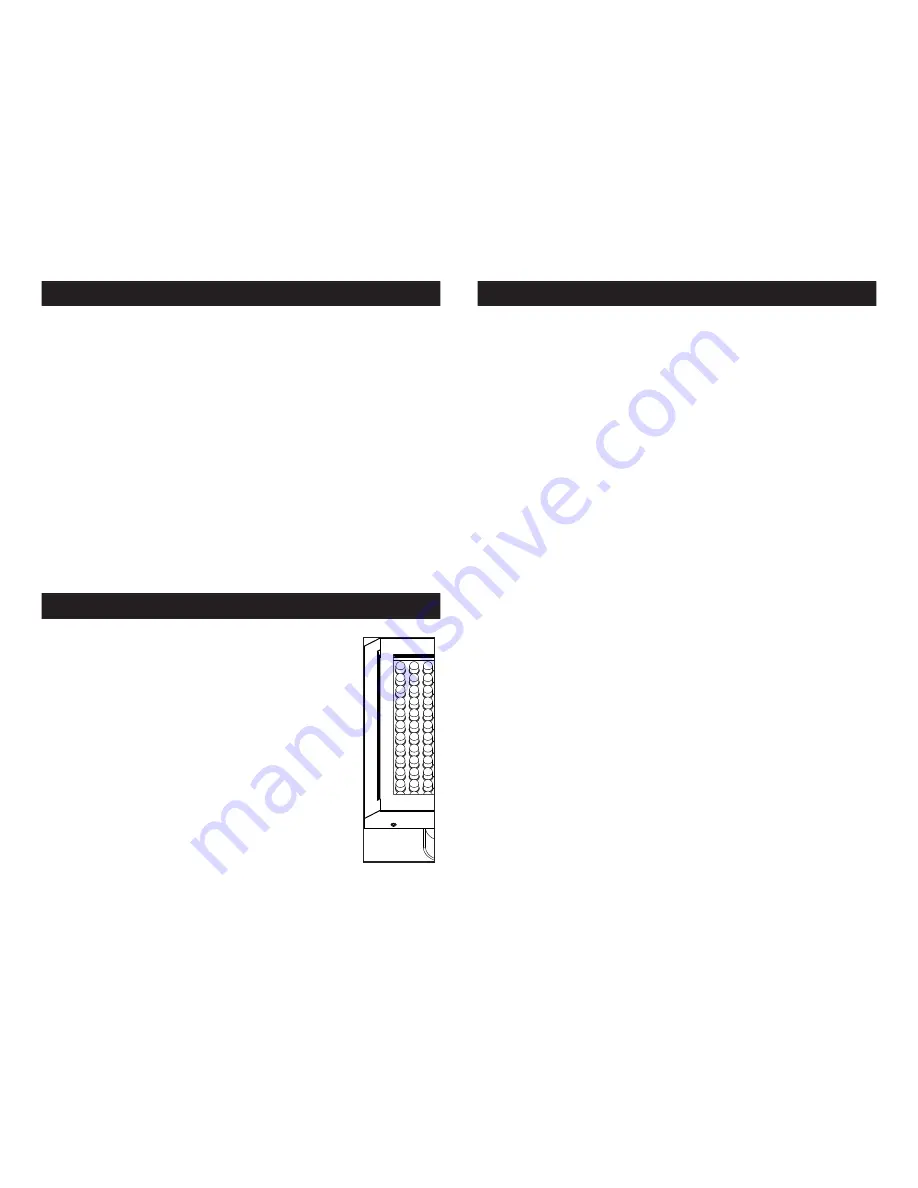
Profile Panel RGBA Frost Filter Slot
The Profile Panel RGBA features a Frost Filter slot
on the face of the unit, which can support a frost
filter sheet the size of:
8.2” x 14.7” / 210 x 375mm
Frost filter sheets can be purchased through ADJ.
Note: The sheets are not cut to size for the unit.
Sheets:
LSF 20-22 - 20 Degree Beam Angle
Sheet Size: 24” x 22”
LSF 30-24 - 30 Degree Beam Angle
Sheet Size: 22” x 24”
LSF 60-24 - 60 Degree Beam Angle
Sheet Size: 20” x 24”


