Owner’s Guide
23
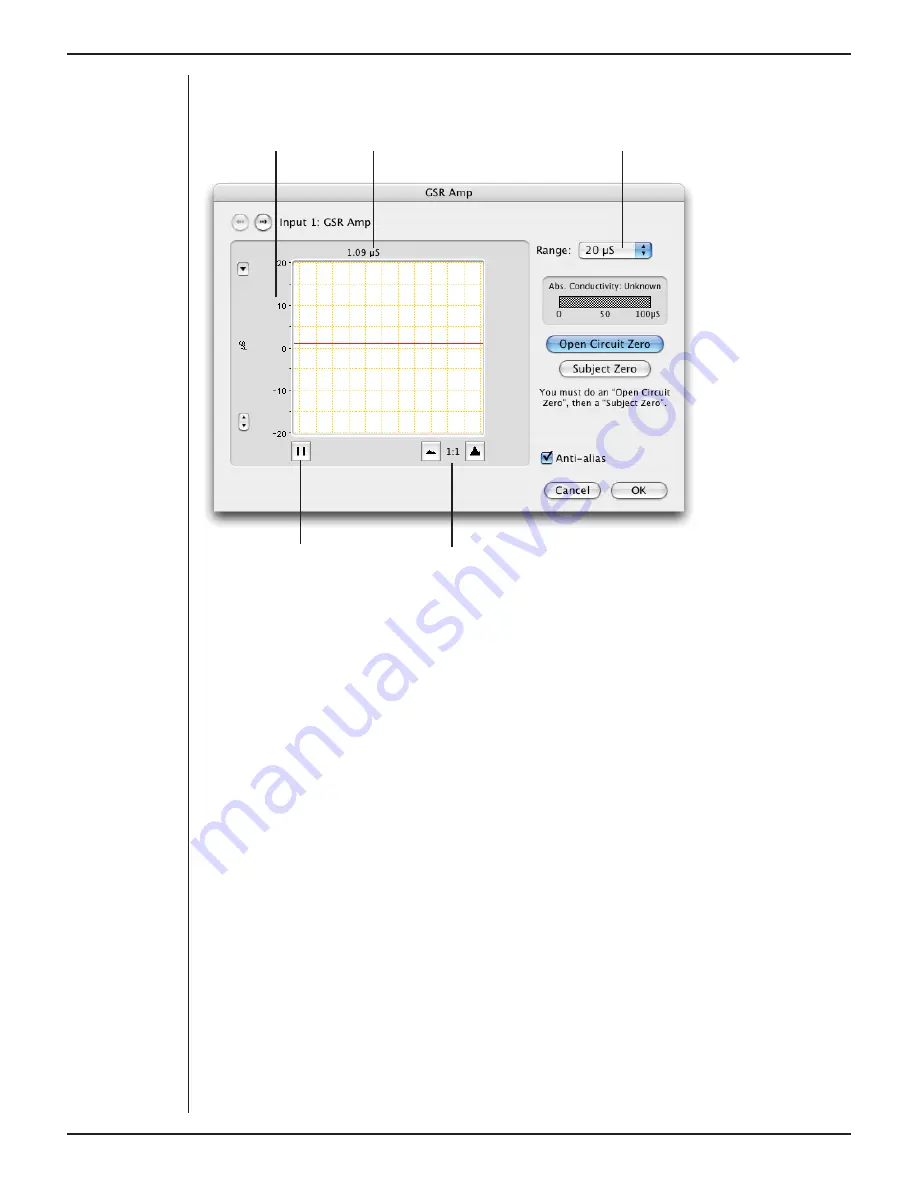
area. It functions the same as the Amplitude axis of the Chart window, and any change
is applied to the Chart window.
Amplitude axis
Signal amplitude
Range pop-up menu
Pause/Scroll button
Compression buttons
Setting the Range
The Range pop-up menu lets you select the input range or sensitivity of the channel.
Changing the range in the GSR Amp dialog is equivalent to changing it in the Chart
Window. There are six ranges: 1, 2, 4, 10, 20 and 40 µS. The default range is 4 µS.
On a Macintosh, Show Range Axis in the Scale pop-up menu displays the range axis on
the right of the display area. The Compression buttons adjust the horizontal axis of the
data display area.
Zeroing
Before measurements can be made with the GSR Amp, it must be zeroed: this is a two-
stage process. A note next to the zeroing buttons indicates its status. If you try to start
sampling before the GSR Amp has been zeroed, you will receive an alert and the GSR
Amp dialog will appear, at which stage the system must be zeroed.
To zero the GSR Amp, first perform an open circuit zero by connecting up the cables
and electrodes to the front-end, without connecting them to the subject. Ensure that
the metal surfaces of the two electrodes do not touch each other, and then click
Open
Circuit Zero
. The status note changes to indicate that subject zeroing needs to be done
(the second stage). Connect up the subject (as described below), then click the
Subject
Zero
button.
The subject zero gives an absolute measure of the skin conductivity of the subject, i.e.
the baseline conductivity from which relative changes are measured. The absolute
Figure 3–5
The GSR Amp
dialog for
Macintosh (also
before zeroing)
Содержание FE231
Страница 1: ...Owner s Guide AMPLIFIER GALVANIC SKIN RESPONSE ...
Страница 17: ...Owner s Guide 17 ...


