www.adeept.com
51
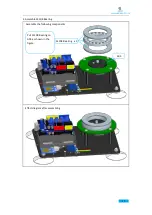
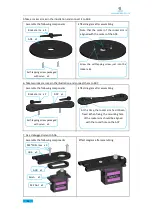
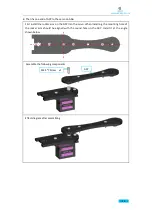
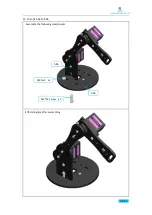
Assemble the following components
Effect diagram after assembling
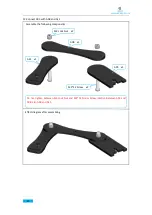
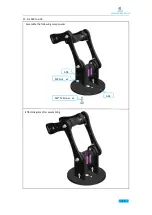
Effect diagram after assembling
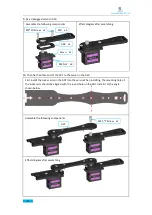
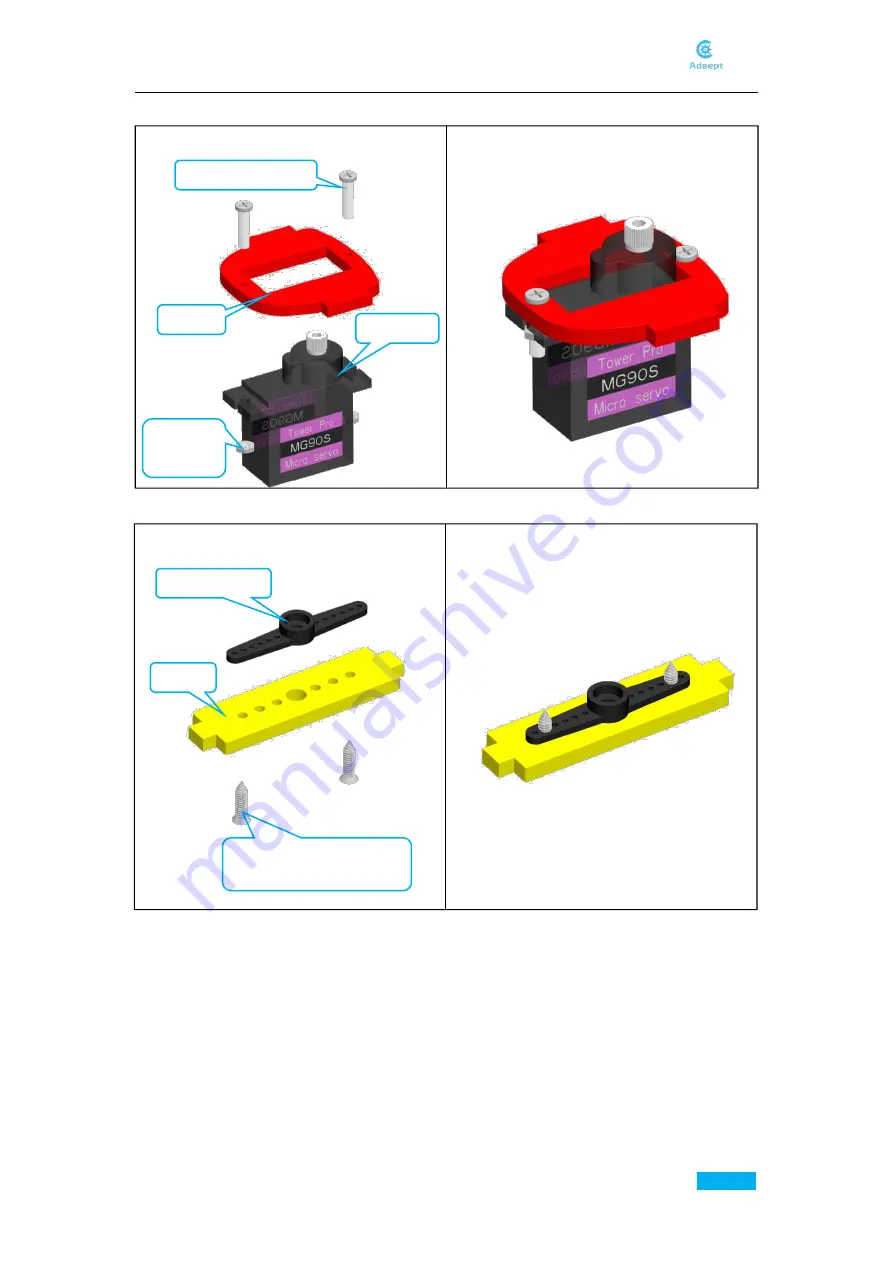
Assemble the following components
5.Fix a debugged servo to A12.
6. Fix a rocker arm to A13.
M2*10 Screw x2
A12 x1
Servo x1
M2 Nut
x2
Rocker arm x1
A13 x1
Self-tapping screw packaged
with servo
x2
Содержание ADA031
Страница 1: ...www adeept com 1...
Страница 13: ...www adeept com 9 Run the downloaded file Click I Agree Click Next...
Страница 23: ...www adeept com 19 Click Run...
Страница 24: ...www adeept com 20 Running effect is as follow...
Страница 50: ...www adeept com 46 Effect diagram after assembling...
Страница 62: ...www adeept com 58 Operating steps Firstly open the code AdeeptPotentiometerControlArm ino we provide...
Страница 69: ...www adeept com 65 Before downloading the program you have to plan how many motions to record this time...
Страница 71: ...www adeept com 67...
Страница 77: ...www adeept com 73 Operating steps Open the file AdeeptArmRobot ino as shown below...
Страница 81: ...www adeept com 77 Click Run to run the code as shown below The interface of successful running is as below...
Страница 84: ...www adeept com 80 Step 3 Click Upload to upload the code to UNO of the robotic arm...
Страница 87: ...www adeept com 83 Next select the development board model and port as shown below...
Страница 88: ...www adeept com 84...
Страница 93: ...www adeept com 89...

