page 26
IRIS-4 Technical Reference Manual.docx 12/01/2023
If you change the setting, you will be presented with a warning that all current pin input settings will be lost,
click «Continue» and then click «Continue» again.
For more information on each format and additional configurations for the Pin alarms see section 6.13, “Pin
inputs”.
5.4.2.3
Pins required
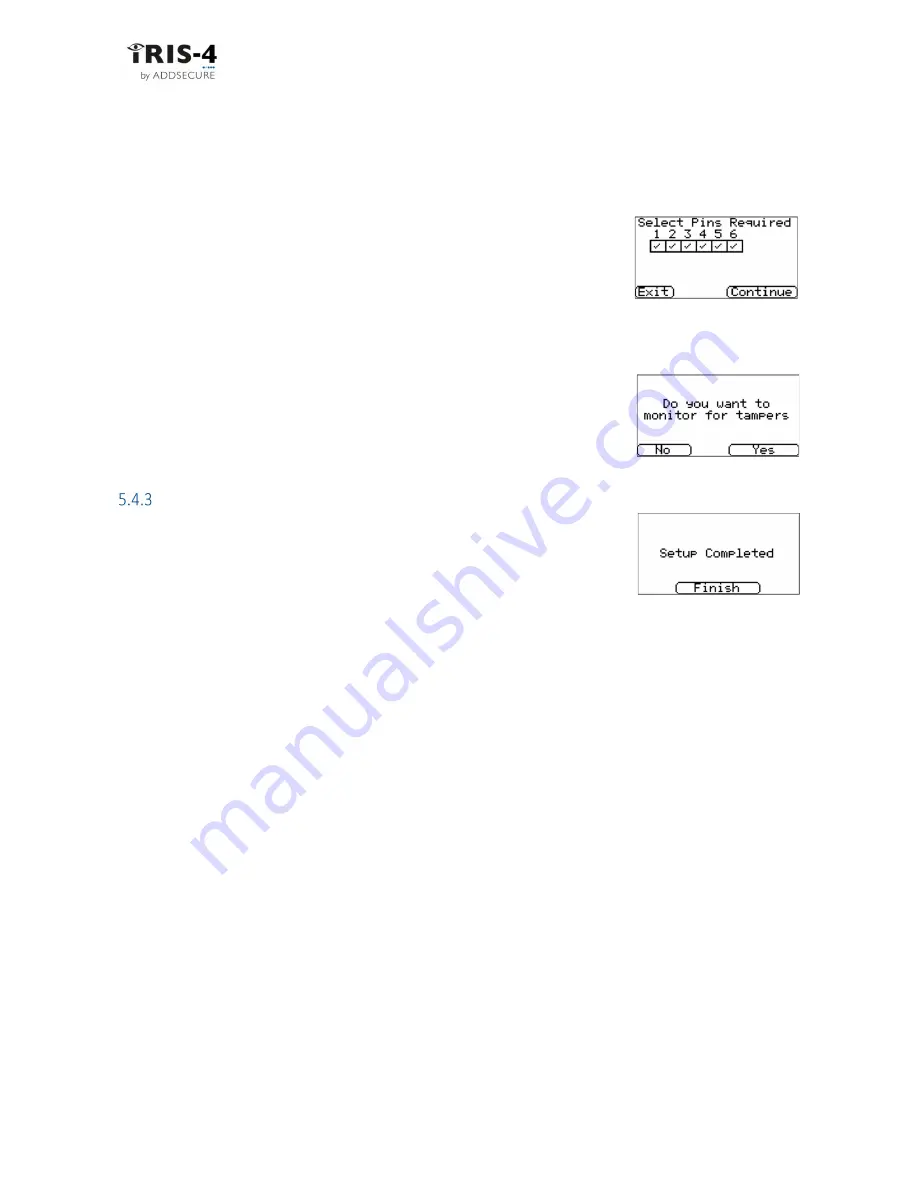
If you have selected SIA, FF or CID for the alarm format, you will now need to
select the pins you wish to enable and use.
How many pins are displayed depends on which product you are working with:
Deselect pins you wish to disable from sending alarms and leave ticked only the pins you want to use for
alarm transmission, and then click ‘Continue’.
5.4.2.4
Monitor for tampers
Click «Yes» to monitor for tamper on the pin alarm inputs, otherwise select
“No”. Monitoring for tamper requires that the sense resistors are installed, see
section 6.13 “Pin inputs”.
Setup complete
The Installation Wizard has now been completed and the terminal is now
configured. Click ‘Finish
’
to exit and return to the main menu.
5.5
Configuring the 160 using the Installer App:
The IRIS Installer app is available from Apple Store or Google Play. Ensure that Bluetooth is enabled on your
mobile device, download the Installer app and start it.
When the 160 is enclosed in its case and no user buttons are accessible, the Bluetooth operation can be
started by tapping twice on its case lid. Use a metal object, such as a screwdriver, to “tap-tap” upon the lid.
The LED will turn blue, and the 160 will begin broadcasting its Bluetooth existence.
On the App, click on “Connect” and wait until the terminal has been found. Enter the installer’s password.
The first time you do this, use the default password “111111”. You will then be asked to enter your own
password.
Enter a new password, 6 - 10 digits. The app menu, as follows, is then presented
Information
Action
Current Status
Console
Settings
Security
Now simply follow the instructions in the app.


